Table of Contents
Advertisement
Quick Links
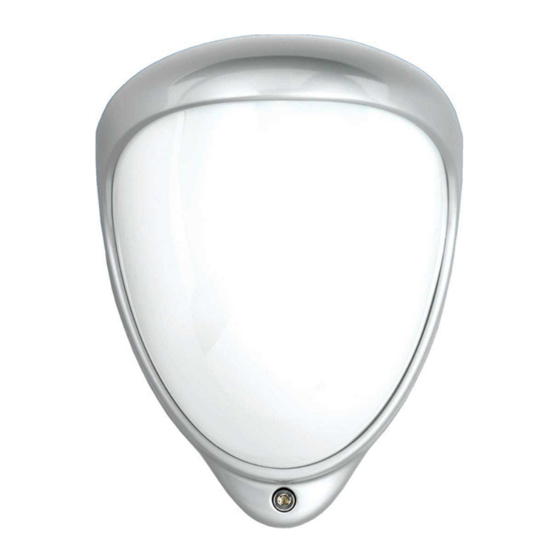
D-TECT 2 IP
GJD230 IP Motion Detector
PACKAGE CONTENTS
•
1 x D-TECT 2 IP
•
1 x Drilling template for fixing holes
•
3 x 31.75mm wall plugs
•
3 x 31.75mm screws
•
2 x Spare sliding curtains
•
2 x Tamper feet
•
1 x Tamper cup
•
1 x Installation manual
•
1 x Creep mirror
INTRODUCTION
The D-TECT 2 IP is a highly sophisticated, but user
friendly, IP-based motion detection device and alarm trigger
that harnesses the power of IP with PoE (Power over
Ethernet) connectivity, advanced signal processing, quad
pyro scanning and unique optical systems to provide state-
of-the-art alarm capture.
MOUNTING THE UNIT
WARNING
•
NYLON WASHERS PROVIDED MUST BE USED
WITH SCREWS
•
ENSURE CABLE ENTRY AND SCREW HOLES ARE
SEALED WITH WATER BASED SEALANT
•
DO NOT USE SILICONE BASED SEALANT
During installation, protect the electronics against water, as
trapped moisture can affect or damage the unit.
1. Drill the wall to accept the fixing screws, the cable
entry, and the tamper cup (if used). See Figures 1
and 2. A hole-drilling template is provided. Note: GJD
recommend using the tamper cup on uneven wall
surfaces.
2. Remove the cover assembly by loosening the locking
screw. The cover hinges from the top and lifts out of
the location slot. See Figure 3.
3. Feed standard CAT5 cable into the cable entry. See
Figures 2, 4 & 5.
4. Screw the unit to the wall ensuring that the rear tamper
pin is correctly located and that the tamper micro
switch is closed. See Figure 6. To aid installation, two
spare tamper feet are provided. One is 1mm longer
and the other is 2mm longer than the tamper foot
originally fitted. The tamper foot is a push fit and can
be removed by carefully pulling it from the pin. See
Figure 2.
5. When the detector is aligned, connected, and
programmed to suit the installation, replace the front
cover and lock as shown. See Figure 7.
CONNECTING THE UNIT
Fit the RJ45 plug to the cable and plug into the socket
on the top PCB. This must be done before the cable is
connected to the PoE switch.
There are 2 volt free relay contacts on the top PCB for
connecting auxiliary equipment. These are programmable
in the web browser set-up page.
MULTI BEAM ALIGNMENT & MASKING
The multifunction lens fitted to D-TECT 2 IP produces
seven long range beams and seven medium to short range
curtain PIR beams. The PIR circuitry detects changes in
heat and movement in the beam pattern; therefore items
such as trees, shrubs, ponds, boiler flues, and animals
should be considered when positioning the detector.
The detector is fitted with a mirror on the pyro sensor to
provide a detection zone directly underneath the detector.
Note: The maximum mounting height is 3 metres when
utilising the creep detection zone.
When using the pet immune configuration the mirror should
be removed.
Note: The PIR sensor is more sensitive to movement
across the beams, and less sensitive to movement
directly towards or away from the beams.
The detector module is fitted with two sliding shutters
to reduce the detection angle. The curtains are fitted to
the pan and tilt module as shown in Figure 9 (shown
with primary and additional curtain sliders fitted). Each
section of the detector lens gives a coverage pattern of
approximately 10 degrees.
An additional set of curtain sliders is provided should the
beam pattern need to be narrowed even further, e.g. if the
minimum detection angle of 10 degrees is required.
1
Creep mirror fitted
Advertisement
Table of Contents

Related Manuals for GJD D-TECT 2 IP


Summary of Contents for GJD D-TECT 2 IP
- Page 1 The multifunction lens fitted to D-TECT 2 IP produces INTRODUCTION seven long range beams and seven medium to short range The D-TECT 2 IP is a highly sophisticated, but user curtain PIR beams. The PIR circuitry detects changes in friendly, IP-based motion detection device and alarm trigger heat and movement in the beam pattern;...
- Page 2 1. programming chart below. 2. Via the web based interface. The user can individually 1. The detection LED lights each time the D-TECT 2 IP program a number of configurable settings, as detects your presence illustrated in the programming chart.
- Page 3 Certifications Program RJ45 Reset 0 2 3 5 6 8 9 11 12 14 15 17 18 25m LONG RANGE 30 0 deg METRE SECTION -2 deg MASK OFF FOR PET ALLEY APPLICATIONS 10 TO 20 METRE SECTION UP TO 20 METRES 70º...
-
Page 4: Before Operation
It may cause a short circuit and damage the unit. Clean and check the products periodically for safe use. If any problem is found, contact GJD or authorised partners to solve the issue before continuing to use the product. -
Page 5: General Connection
PROGRAMMING - USING PROGRAMMING BUTTON General connection Connect the network cable and verify that the unit powers up and that the network connection is working. Factory reset Make sure the detector is powered on. Hold down the reset button for 8 seconds. Release reset button, the status LED on the board will turn off for a second. -
Page 6: Installation And Configuration
INSTALLATION AND CONFIGURATION Detector configuration 1. Open the sensor settings tab. 2. Pressing the Factory default button then the Save settings button will restore the default range, pulse count and LED settings. 3. To change any of the detectors settings use the drop down boxes to select the required setting, changes are saved automatically. - Page 7 5. To change login, enter a new username and password. 6. Press the save button to confirm. Import and export settings Alarm settings and I/O configuration can be exported as a file for backup purposes and to copy the settings to other units. IP address and Login settings are not included in this file.
- Page 8 1. To import a setting file, press Browse button and navigate to the location of your setting file on your hard drive. When the file is selected it is possible to import it with the Upload button. Pay attention to the status message next to the button.
-
Page 9: Alarm Settings
ALARM SETTINGS All alarm settings are made in the Events tab. The D-Tect IP works on the principle “Alarm - Action”. This means that alarms are created based on all types of input signals. For each alarm it is possible to create one or more actions. The actions can be a network alarm message or to trigger a relay. -
Page 10: Partner List
Create alarm actions 1. Press + Add action under the desired alarm. Input fields appear to the right. 2. Choose action type from the Event type dropdown menu. Connect to URL Connect to URL is used to create any type of network alarm. This allows one URL request at alarm enable and one URL request at alarm disable.
Need help?
Do you have a question about the D-TECT 2 IP and is the answer not in the manual?
Questions and answers