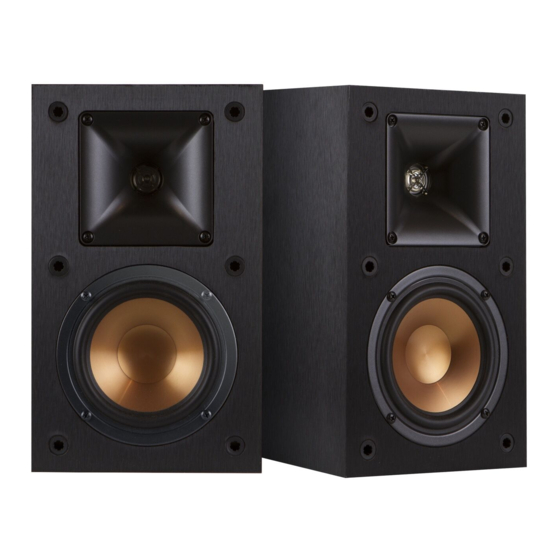
Klipsch R-14M Service Manual
Monitor speaker
Hide thumbs
Also See for R-14M:
- User manual (60 pages) ,
- User manual (49 pages) ,
- User manual (49 pages)
Advertisement
Quick Links
KLIPSCH AUDIO TECHNOLOGIES
R-14M Monitor Speaker Service Manual
Product Type: R-14M Monitor Speaker
Manual Part #: 1061500
Model Line: Reference Premiere
Product Launch Year: 2014
The information contained in this document is solely intended for service and repair of Klipsch Group, Inc product;
use of this information to mimic or copy KGI designs is strictly prohibited and subject to prosecution.
T able of Contents
SPECIFICATIONS......................................................................................................................... 2
EXPLODED VIEW AND WARRANTY PARTS LIST .............................................................. 3
TROUBLESHOOTING GUIDELINES ....................................................................................... 4
................................................................................................................. 2
V
R-14M ................................................................................................... 4
R-14M .................................................................................................. 10
C
O
C
O
C
O
................................................................. 3
N
S
U
M
E
R
N
S
U
M
E
R
N
S
U
M
E
R
Advertisement

Summary of Contents for Klipsch R-14M
-
Page 1: Table Of Contents
Model Line: Reference Premiere Product Launch Year: 2014 The information contained in this document is solely intended for service and repair of Klipsch Group, Inc product; use of this information to mimic or copy KGI designs is strictly prohibited and subject to prosecution. -
Page 2: Specifications
Service Manual – Consumer Specifications Model: R-14M... -
Page 3: Exploded View And Warranty Parts List
Exploded View and Warranty Parts List Warranty Replacement Parts Part Number Parts Description 1061673 R-14M Horn With Tweeter 1061674 R-14M Woofer 1061675 R-14M Grill With Logo 1061676 R-14M Network W/ Input Cup 1061677 R-14M Beauty Carton 1061678 R-14M Inner Pack... -
Page 4: Troubleshooting Guidelines
Service Manual – Consumer Tweeter Removal for R-14M Tools needed: #2 Philips Head Screwdriver Small Flat Blade Screwdriver First, remove the four (4) screws from the corners of the tweeter, highlighted in red... - Page 5 Service Manual – Consumer...
- Page 6 Service Manual – Consumer Once the screws are removed, the tweeter should come free and appear similar to the picture below.
- Page 7 Service Manual – Consumer Once the tweeter is removed from the cabinet, slide back the silicone covers on the terminals, and use a small flat blade screw driver to release the wire clips holding to the positive and negative terminals of the tweeter.
- Page 8 Service Manual – Consumer Once the tweeter is removed, the speaker will look as shown below.
- Page 9 Service Manual – Consumer Next, plug the wires on to the new tweeter, and slide the silicone covers back over the terminals. Place the tweeter back into position, and replace the screws.
-
Page 10: Woofer Removal For R-14M
Service Manual – Consumer Troubleshooting Guides Woofer Removal for R-14M Tools needed: #2 Philips Head Screwdriver Small Flat Blade Screwdriver First, remove the four (4) screws from perimeter of the woofer, highlighted in red... - Page 11 Service Manual – Consumer...
- Page 12 Service Manual – Consumer Once the screws are removed, the woofer should come free and appear similar to the picture below.
- Page 13 Service Manual – Consumer Once the woofer is removed from the cabinet, slide back the silicone covers on the terminals, and use a small flat blade screw driver to release the wire clips holding to the positive and negative terminals of the woofer.
- Page 14 Service Manual – Consumer Once all the screws have been removed, the woofer should come free as shown below.
- Page 15 Service Manual – Consumer Next, plug the wires on to the new woofer, and slide the silicone covers back over the terminals. Place the woofer back into position, and replace the screws. Replace the trim ring by setting into position and gently pressing the trim ring around the edge, verifying the clips on the back are locking into place.


Need help?
Do you have a question about the R-14M and is the answer not in the manual?
Questions and answers