Advertisement
Edo
System Installation Guide
1
Yo, here we go! Hold one of the two
metal brackets against the wall, tabs
facing downward. The center of this
bracket will mark the top of your
print. See Rad Tip #1 below. Install a
fastener screw into a slotted location.
If possible, screw into a stud or
blocking. See Rad Tip
#2 below.
5
Place the second bracket on a at
surface. Facing upward, align the
bottom of your print with the arrows
marked "Edge of print". Place the
coverplate over the print. Magnets in
the coverplate should align with the
tabs of the bracket.
9
Congratulations, you did it! give your
cat a celebratory st bump if
present. Start displaying those
autographed, limited edition Nicolas
Cage adoration posters in all of their
glory!
Tools You'll Need
Drill/Driver
Measuring Tape
Level
Pencil
¹⁄ " Diameter Drill Bit*
Stud Finder*
*
O P T I O N A L T O O L S
2
Straighten the bracket using a level.
Mark additional screw hole locations
with a screw tip or a pencil. For
brackets longer than 12 inches, 3 or
more fasteners are recommended.
6
To ensure that you have achieved a
good connection, lift the print by the
top edge and check for movement of
the bottom coverplate. Rad Tip #3
below.
10
Post a sweet picture of your Edo
Print Hanging System on Instagram.
Warning: Rad prizes may apply to
shel e of the week.
@shelfology #radshel e
What's Included
1x
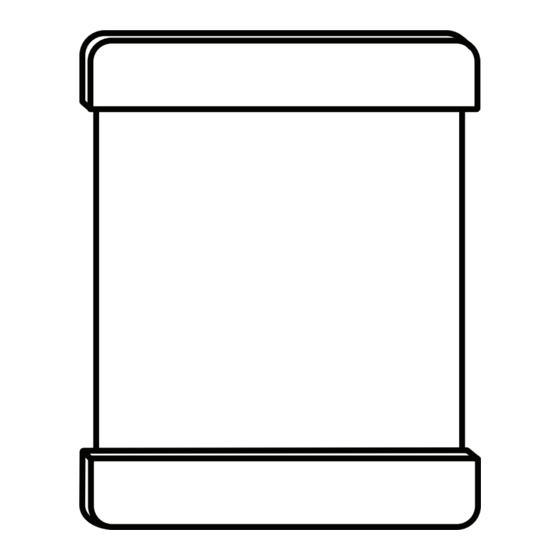
Edo System
1x
Fastener Screw Set
1x
Wall Anchor Set
3
Uninstall the rst screw and the
bracket. Install wall anchors in each
marked location not backed by a
stud or blocking. Predrilling holes
with a ¹⁄ " drill bit is recommended
for accurate anchor placement and
for all masonry applications.
7
Align the print to the upper bracket
and hold in position. Install the top
coverplate over the print and
bracket. The coverplate should sit
nearly ush with the wall, and
obscure the bracket completely.
Rad Tip #1 The hidden magnets
are strong! If you have trouble
separating the bracket from the
cover plate, save those nger-
nails. Place the Edo face down,
and then insert a screwdriver or
at tool into a center slot. Pry
apart by rotating downward.
This will raise the bracket to a
managable position. Remember,
when you reinstall the compo-
nents, they may "snap" back
together unexpectedly. Use 2
people when installing delicate
prints or paper.
Rad Tip #2 Blocking refers to
pieces of wood or other material
that run between wall studs in
order to provide support and
attachment sites for your shelf
or hook.
Still need help? Speak with a
Shelfologist today or see back of
installation guide for further
motivational support.
C A L L A S H E L F O L O G I S T
949.244.1083
C H A T W I T H A S H E L F O L O G I S T
hello@shelfology.com
V I S I T U S O N L I N E
www.shelfology.com
How did we do?
You'll get an email soon asking for a
product review, and we'd be stoked if
you oblige. You rock in advance!
4
Hold bracket in place and install
fasteners into all screw hole
locations.
8
Check for level. Repeat steps 5
through 7 if necessary to achieve a
straight hang.
Rad Tip #3 Thicker print
material may weaken the
magnetic connection, allowing
the bracket and coverplate to
slip. If the connection is too
loose for your liking, mount the
bottom bracket to the wall by
repeating steps 1 through 4.
Ensure that it is the correct
distance from your upper
bracket to accommodate your
print.
*WARNING: Shelf hardware
must be correctly installed into
studs, wall blocking, or posts.
Failure to do so may result in
sagging product, falling
Advertisement
Table of Contents


Need help?
Do you have a question about the Edo and is the answer not in the manual?
Questions and answers