Rockler Dust RIGHT Instructions Manual
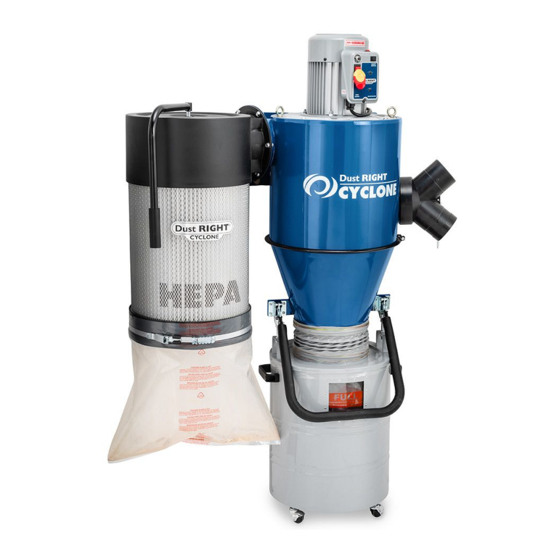
Wall-mount hepa cyclone dust collector
Hide thumbs
Also See for Dust RIGHT:
- User manual ,
- Instructions manual (12 pages) ,
- Instructions (4 pages)
Table of Contents
Advertisement
Advertisement
Table of Contents

Related Manuals for Rockler Dust RIGHT


Summary of Contents for Rockler Dust RIGHT
- Page 1 Wall-Mount HEPA Cyclone Dust Collector Instructions Effective February 2023 Review full instructions prior to use for important safety information. Always check Rockler.com to confirm that you are using the most recent version of instructions for your product.
-
Page 2: General Safety Warnings
• Keep children and bystanders away from the tool operating area; instructions link on the product page at Rockler.com). • Do NOT use power tools in explosive environments, or in > Before using another tool with this product, always read, the presence of flammable liquids, fumes or dust;... -
Page 3: Important Safety Instructions
PRODUCT SPECIFIC SAFETY WARNINGS IMPORTANT SAFETY INSTRUCTIONS When using electrical appliances, basic precautions should always be followed, including the following: READ ALL INSTRUCTIONS BEFORE USING (THIS APPLIANCE) Failure to understand and follow all safety warnings and instructions could result in fire, electrical shock or serious injury. Electrical/Grounding Safe Use >... - Page 4 PRODUCT SPECIFIC SAFETY WARNINGS CONTINUED Safe Use (continued from p. 3) > Do NOT use wall anchors or drywall anchors to mount > Close attention is necessary when used by or near children. the Dust Collector. > Use only as described in this manual. Use only >...
-
Page 5: Choosing A Mounting Location
Electrical Connections and Grounding Choosing a Mounting Location > Do NOT use outdoors or on wet surfaces. > Do NOT install the Wall Mount HEPA Cyclone Dust Collector outside the work area, especially if the work > Do NOT use with damaged cord or plug. If appliance area contains a gas-fueled appliance. - Page 6 Prepping the Mounting Location To locate and mark wooden wall studs in a finished wall, use a stud finder. As you locate the studs in your desired mounting area, be sure to mark both edges and the centerline of each stud. Fig.
- Page 7 opening should be at the top. Also make sure enough of the stud centerlines. Check that it’s level; then use the Lag Screws extend from the studs that the keyhole the pilot holes in the cleat to mark the drilling locations. slots on the unit’s Right and Left Brackets will be able Make sure the marks are centered on the studs.
- Page 8 5/16"-18 x 1/2" Flange Bolt Left Bracket Right Bracket Main Housing Fig. 7 Fig. 8 Hose Hose Clamp Main Housing (Mounted to Wall) 1mm x 30mm x 38" Foam Tape Cone Clamp Cone Cone Fig. 9 Fig. 10...
-
Page 9: Assembly And Installation
Assembly and Installation Main Housing 1. Using the 12mm end of the 10~12mm Open Wrench, attach (Mounted to Wall) the Right Bracket and Left Bracket securely to the Main Housing with four 5/16"-18 x 1/2" Flange Bolts. Fig. 7. The motor assembly of the Wall Mount HEPA Cyclone Dust Collector is very heavy. - Page 10 Six 5/16"-18 x 3/4" Flange Bolts Six 5/16"-18 Flange Nuts Gasket Main Housing (Mounted to wall) Canister Filter Bag Clamp Canister Filter Plastic Bag Fig. 13...
- Page 11 Short Inner Drum Frame Support Drum Handles Long Inner Inner M3 x 12mm Frame Support Frame Phillips Head Screw Hoop 1/4"-20 x 1/2" Flathead Screws Drum Plastic Drum Casters Fig. 14 The following step will be easier to complete if you obtain the assistance of another adult. 11.
- Page 12 Hose Clamp 1mm x 30mm x 38" Foam Tape Drum Lid Drum Fig. 16...
- Page 13 18. Apply the remaining piece of 1mm x 30mm x 38" Foam nuts until the Quick Lever is fully down and the hex nuts Tape around the flange of the Drum Lid. Trim any excess. are tight against the tops of the brackets in the Drum Lid. Fig.
- Page 14 (inlet). Hazardous moving parts inside. Unplug before removing hose from suction chute; attach hose on the suction chute before plugging in. Turning on the Dust Right Wall-Mount HEPA Cyclone Dust Remote Collector is a two-step process that can be accomplished at the...
-
Page 15: Maintenance
TELEPHONE 1-800-279-4441 and moisture. WWW.ROCKLER.COM Check Rockler.com for updates. If you have further questions, please contact our Technical Support Department at 1-800-260-9663 Frequency Range: 315 MHz or support@rockler.com Modulation Type: Amplitude-shift keying (ASK) Bandwidth: 189.58 KHz... - Page 16 69982 Distributed by Rockler Companies, Inc. 1-800-279-4441 4365 Willow Dr. Medina, MN 55340 www.rockler.com Rev 0223...
Need help?
Do you have a question about the Dust RIGHT and is the answer not in the manual?
Questions and answers
Is a separate exhaust fan required for a Rockler Model 67182 dust collector?