Sign In
Upload
Download
Table of Contents
Contents
Add to my manuals
Delete from my manuals
Share
URL of this page:
HTML Link:
Bookmark this page
Add
Manual will be automatically added to "My Manuals"
Print this page
×
Bookmark added
×
Added to my manuals
Manuals
Brands
GAMDIAS Manuals
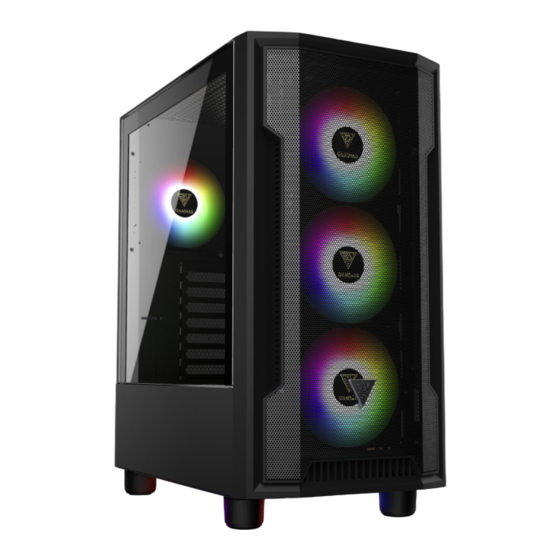
Enclosure
Mesh Series
Quick installation manual
GAMDIAS Mesh Series Quick Installation Manual
Mid-tower pc case
Hide thumbs
Also See for Mesh Series
:
Quick installation manual
(15 pages)
1
Table Of Contents
2
3
4
5
6
7
8
9
10
11
12
13
page
of
13
Go
/
13
Contents
Table of Contents
Bookmarks
Table of Contents
Table of Contents
1 Specifications
2 Exploded View & Parts
3 Accessory
4 Side Panel Removal
5 Motherboard Installation
6 PSU Installation
Radiator Compatibility
O Ports
O Connectors
Advertisement
Quick Links
Download this manual
QUICK
INSTALLATION
GUIDE
Athena
M6
Athena
M6
M I D - T O W E R
P C
C A S E
M I D - T O W E R
P C
C A S E
Table of
Contents
Previous
Page
Next
Page
1
2
3
4
5
Advertisement
Table of Contents
Need help?
Do you have a question about the Mesh Series and is the answer not in the manual?
Ask a question
Questions and answers
Related Manuals for GAMDIAS Mesh Series
Enclosure GAMDIAS Athena M1 Elite Quick Installation Manual
Mid-tower pc case (15 pages)
Enclosure GAMDIAS Talos M1 Quick Installation Manual
Mid-tower pc (19 pages)
Enclosure GAMDIAS Talos M1 A Quick Installation Manual
Mid-tower pc (14 pages)
Enclosure GAMDIAS ATHENA M2 Quick Installation Manual
Mid-tower pc case (13 pages)
Enclosure GAMDIAS MARS M2 Quick Installation Manual
Micro tower pc case (13 pages)
Enclosure GAMDIAS ATHENA M6 WH Quick Installation Manual
Mid-tower pc case (13 pages)
Enclosure GAMDIAS MARS E1 Quick Installation Manual
Mid-tower pc case (13 pages)
Enclosure GAMDIAS Mars M1 Quick Installation Manual
Mid-tower pc case (15 pages)
Enclosure GAMDIAS Mars E2 Quick Installation Manual
(15 pages)
Enclosure GAMDIAS MESH Strips Series Quick Installation Manual
Mid-tower pc case (15 pages)
Enclosure GAMDIAS Talos P1 Quick Installation Manual
Mid-tower pc (19 pages)
Enclosure GAMDIAS ARGUS E1 Quick Installation Manual
Mid-tower pc (14 pages)
Enclosure GAMDIAS Talos-E3 Quick Installation Manual
(13 pages)
Enclosure GAMDIAS ATLAS E1 Quick Installation Manual
(18 pages)
Enclosure GAMDIAS ARGUS E2 ELITE Quick Installation Manual
Mid-tower pc case (13 pages)
Enclosure GAMDIAS TG Series Quick Installation Manual
(13 pages)
This manual is also suitable for:
Athena m6
Athena m6 wh
Table of Contents
Print
Rename the bookmark
Delete bookmark?
Delete from my manuals?
Login
Sign In
OR
Sign in with Facebook
Sign in with Google
Upload manual
Upload from disk
Upload from URL


Need help?
Do you have a question about the Mesh Series and is the answer not in the manual?
Questions and answers