Advertisement
Advertisement
Table of Contents

Subscribe to Our Youtube Channel
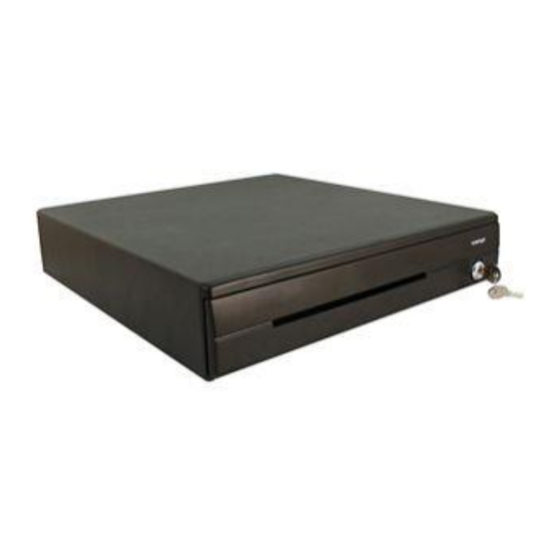
Summary of Contents for POSIFLEX CR-3100 Series
- Page 1 Assembly Disassembly Guide CR-3100 Series...
-
Page 2: Table Of Contents
Assembly Disassembly Guide Table of Contents Maintenance precautions ....................3 Preventive maintenance ....................3 Tools ..........................4 Screws List ........................4 Replacing Control Mechanism ..................5... -
Page 3: Maintenance Precautions
Assembly Disassembly Guide Maintenance precautions -Recommend to use the absolute alcohol for wiping & cleaning. -NOT recommend to use naphtha and strong corrosive solvents (e.g. with Ammonia, formaldehyde, acetone… included) for cleaning. Preventive maintenance Maintenance items: dust, mildew, water vapor, oil stains, oxidation. -Keep the operation environment with normal humidity &... -
Page 4: Tools
Assembly Disassembly Guide Tools Screwdriver Type Specification Photo Crosshead Point #2 ┿ Screwdriver Screws List Parts No. Specification Photo 10684038062 BING HEAD SCREW#6/32-6L W/SW+W... -
Page 5: Replacing Control Mechanism
Assembly Disassembly Guide Replacing Control Mechanism Turn the key to the “Open” position as indicated in the picture, then open the cash drawer. Remove the cash tray as picture shown. Remove the cash drawer as indicated in the picture. - Page 6 Assembly Disassembly Guide Bend the two ends of the iron to make them ~90 degree to the iron strip while removing them as indicated in the picture. Remove the bottom cover by following the direction as indicated in the picture. Loosen the four screws as indicated in the picture.
- Page 7 Assembly Disassembly Guide Change a new control mechanism Install the new back plate first than fasten the four screws as indicated in the picture. P/N:10684038062 Take the “2mm” thickness measured tool with you. Install the new control bracket first. Then insert the 2mm measured tool to the gap between the main chassis and control bracket as indicated in the picture.
- Page 8 Assembly Disassembly Guide Fasten the four screws as indicated in the picture. P/N:10684038062 Install the bottom cover by following the direction as indicated in the picture. Install the iron sheets first then bend the two ends to fix the bottom cover. Install the cash drawer to the main unit as picture shown.
- Page 9 Assembly Disassembly Guide Insert the cash tray as picture shown. Done!


Need help?
Do you have a question about the CR-3100 Series and is the answer not in the manual?
Questions and answers