Table of Contents
Advertisement
Quick Links
INSTALLATION MANUAL
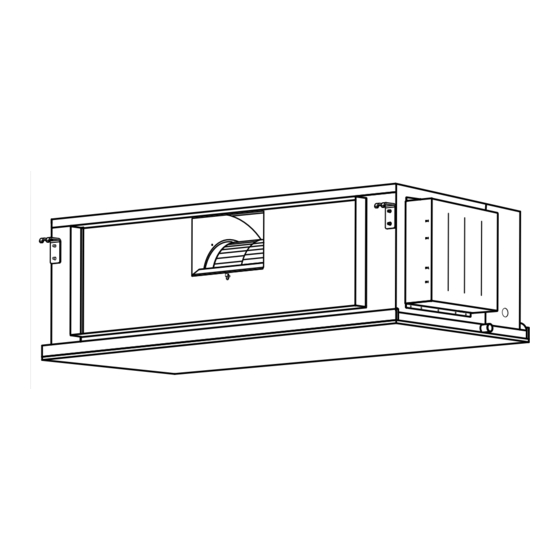
INDOOR UNIT (Outdoor air unit)
For authorized service personnel only.
MANUEL D'INSTALLATION
UNITÉ INTÉRIEURE (Unité d'air extérieure)
Pour le personnel agréé uniquement.
MANUAL DE INSTALACIÓN
UNIDAD INTERIOR (Unidad de aire exterior)
Únicamente para personal de servicio autorizado.
AAUA96TLAV
PART NO. 9365748183-03
Advertisement
Table of Contents

Related Manuals for Fujitsu AIRSTAGE AAUA96TLAV


Summary of Contents for Fujitsu AIRSTAGE AAUA96TLAV
- Page 1 INSTALLATION MANUAL INDOOR UNIT (Outdoor air unit) For authorized service personnel only. MANUEL D’INSTALLATION UNITÉ INTÉRIEURE (Unité d’air extérieure) Pour le personnel agréé uniquement. MANUAL DE INSTALACIÓN UNIDAD INTERIOR (Unidad de aire exterior) Únicamente para personal de servicio autorizado. AAUA96TLAV PART NO.
-
Page 2: Table Of Contents
INSTALLATION MANUAL In Case of Improper Installation The manufacturer shall in no way be responsible for improper installation or maintenance PART NO. 9365748183-03 service, including failure to follow the instructions in this document. VRF system indoor unit (Outdoor air unit) 1.2. -
Page 3: About This Product
Name and Shape Q’ty Application 2. ABOUT THIS PRODUCT Cable tie (Medium) For transmission and remote controller cable binding 2.1. Precautions for using R410A refrigerant WARNING Coupler heat insulation For indoor side pipe joint (Small) (Small) Do not introduce any substance other than the prescribed refrigerant into the refrigeration cycle. -
Page 4: About Unit Of The Length
Service space and service access 2.5. About unit of the length Unit: in (mm) : Service access All Fujitsu General products are manufactured to metric units and tolerances. United [Top view] : Service space States customary units are provided for reference only. -
Page 5: Pipe Installation
3.3.2. Leveling 4. PIPE INSTALLATION Use the procedure in the following fi gure to adjust the levelness. Level CAUTION Be more careful that foreign matter (oil, water, etc.) does not enter the piping than with refrigerant R410A models. Also, when storing the piping, securely seal the openings by pinching, taping, etc. -
Page 6: Installing Heat Insulation
4.3.2. Pipe connection CAUTION • The gas and liquid pipes connections must be brazed. If air or another type of refrigerant enters the refrigeration cycle, the internal pressure • Be sure to braze them before performing any wiring work or installing the drain pipe. in the refrigeration cycle will become abnormally high and prevent the unit from exerting its full performance. -
Page 7: Electrical Wiring
1-9/16 in (40 mm) After installing the Drain hose, check if the drainage is smooth. Downward gradient 0.10 to 0.19 in 15-7/8 in (2.5 to 5.0 mm) (403 mm) GOOD PROHIBITED Main drain port Install the drain pipe Pipe size Drain pipe 1 Main drain Φ... -
Page 8: Electrical Requirement
B. Ground Fault Equipment Breaker requirements WARNING When the Outdoor air unit is connected, select the ground fault equipment breaker on the Match the terminal board numbers and connection cable colors with those of the following formula and table. outdoor unit (or RB unit). Erroneous wiring may cause burning of the electric parts. •... -
Page 9: Connection Of Wiring
A. For solid core wiring • When the 2 cables are attached. (1) To connect the electrical terminal, follow the below diagram and connect after looping GOOD PROHIBITED it around the end of the cable. (2) Use the specifi ed cables, connect them securely, and fasten them so that there is no stress placed on the terminals. -
Page 10: External Input And External Output (Optional Parts)
6.5. External input and external output (Optional parts) CAUTION For 2-wire type For 3-wire type Y1: Non-polar Y1: Red Do not operate any switches other than prescribed, as it can cause the unit to operate Connect the remote Y2: Non-polar Y2: White improperly or malfunction. - Page 11 [In the case of “Pulse” input] DC power supply Connector Input signal Command P.C.B 12 to 24V OFF → ON Operation Load CNA01 or CNA02 resistance CNA01 OFF → ON Stop * The last command has priority. P.C.B * The indoor units within the same remote controller group operates in the same mode. Load ●...
-
Page 12: Ir Receiver Unit (Optional Parts)
● When connecting with unit equipped with a power supply 6.6. IR receiver unit (Optional parts) P.C.B For the installation method, please refer to the INSTALLATION MANUAL of IR receiver Connected unit. device 1 Connected Connection methods device 2 • Connection terminals Connected Controller PCB device 3... -
Page 13: Setting The Address
(3) Remote controller address 7.1. Setting the address i) 3-wire type Rotary switch (RC AD SW)...Factory setting “0” Manual address setting method When connecting multiple indoor units to 1 standard wired remote controller, set the • If the receiver unit is attached, the indoor unit address and the refrigerant circuit address at RC AD SW in sequence from 0. -
Page 14: Test Run
Function 8. TEST RUN Function Setting number Default Details number SP mode 05 8.1. Test run using Outdoor unit (PCB) SP mode 06 SP mode 07 • Refer to the Installation Manual for the outdoor unit if the PCB for the outdoor unit is to SP mode 08 be used for the test run. -
Page 15: Error Codes
11. ERROR CODES UTY-RNKU (3-wire type) Error code If you use a wired type remote controller, error codes will appear on the remote controller display. If you use a wireless remote controller, the lamp on the photodetector unit will output error codes by way of blinking patterns. See the lamp blinking patterns and error codes in the table below.