Advertisement
Quick Links
Advertisement

Related Manuals for Axis Q6100-E


Summary of Contents for Axis Q6100-E
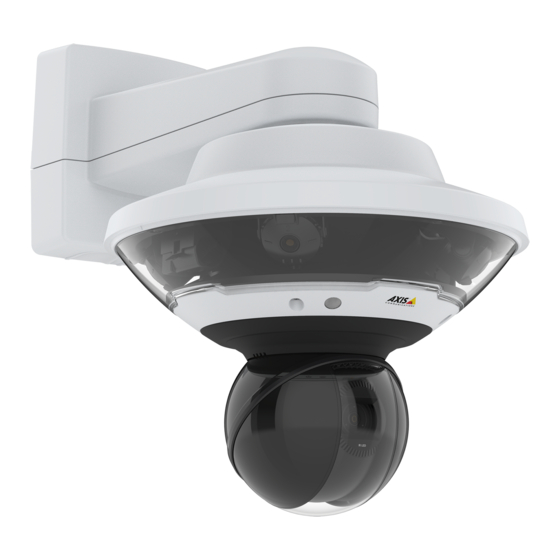
- Page 1 Q6100-E Network Camera Repainting Instructions...
-
Page 2: Impact On Warranty
Risks with repainting There are several risks when disassembling or assembling an Axis product. There is always a certain yield loss during assembly. Training of operators and the use of correct tools mediates some of the problems but they can never be fully avoided. Some of the risks include: ESD Damage - Always handle the product in an ESD safe environment. - Page 3 Clean the parts properly to remove oil, grease and dust. For more information on the materials used in the product, see its datasheet at axis.com. Powder coated parts - Use a primer. Alternatively, remove the original powder coating down to the base material, using fine sandpaper, and clean the parts before painting.
- Page 4 Q6100-E Network Camera Repaint the product Disassembly Cover ring Dome ring...
- Page 5 Q6100-E Network Camera Repaint the product 1. Loosen the four screws from the dome ring and remove the cover ring. 2. Remove the four screws from the dome ring. 3. Slowly lift the inner edge of the dome ring. Be careful not to scratch or dent the dome.
- Page 6 Q6100-E Network Camera Repaint the product 4. Mask the holder hook and all holes. 5. Make sure all necessary preparations of the camera unit and the cover ring have been made. See Preparations on page 3 . Note The SD lid should not be removed during repainting, or else the SD lid gasket will be damaged.
- Page 7 Q6100-E Network Camera Repaint the product Reassembly 1. Reassemble the dome rings (6 screws, 0.7 N m). 2. Reassemble the cover ring (4 screws).
- Page 8 Q6100-E Network Camera Repaint the product 3. Attach the dome assembly to the camera (2 N m).
- Page 9 Repainting Instructions Ver. M1.5 Q6100-E Network Camera Date: August 2020 © Axis Communications AB, 2020 Part No. T10154780...
Need help?
Do you have a question about the Q6100-E and is the answer not in the manual?
Questions and answers