Table of Contents
Advertisement
Quick Links
Advertisement
Table of Contents

Related Manuals for Pharos PDR200


Summary of Contents for Pharos PDR200
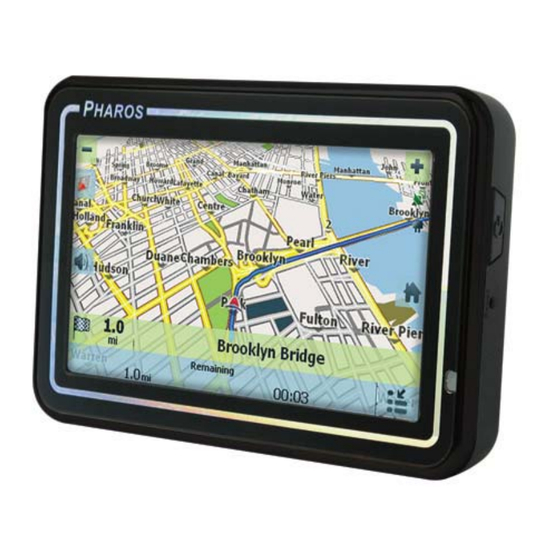
- Page 1 PHAROS DRIVE GPS PDR200 User Manual...
- Page 2 To power on device, hold the power switch up to 5 sec until screen turns on. It may take a few minutes to successfully acquire GPS signals when turning on the GPS device for the first time. Complete this procedure in an outdoor open space. Whenever Reset is pressed, it turns the device off.
-
Page 3: Table Of Contents
4 – Settings Settings Menus ... 21 Map Display ... 21 Prompts... 22 Language Settings... 22 Look & Feel Settings... 22 GPS Settings ... 23 Units of Measure... 24 Time Settings... 24 Brightness ... 24 About... 24 Help... 24 Index... -
Page 4: Getting Started
Welcome to the world of mobile navigation! Simple operation, clear maps in 2D or 3D mode as well as numerous innovative features and functions have made PHAROS GPS the essential guide for every traveler – whether in the car, on foot or by bike. -
Page 6: Map Screen
Tap this icon to adjust or mute the volume. The red GPS receiver means that a reliable GPS signal is not yet located. The green GPS receiver means that a reliable GPS signal is located and that you are ready to navigate. -
Page 7: Location Icons
Set as Starting Point – Designate the selected point as the starting point instead of your current location. This works only when you do not have a GPS signal (such as indoors) or when you are in Map Browsing mode. -
Page 8: Cancel Route
Cancel Route From the Manage Route menu tap the Cancel Route button. The current navigation stops and the GPS clears the route. You can only cancel a route after a destination has been set. 2 – Select Location and Generate Route Go to an Address From the Go menu, tap the New Address button. -
Page 9: Keyboard Command Keys
From the Enter address screen, you can tap In Other Countries to select another country that you can travel to by vehicle. First you will select the country, and then you will enter the address. The followings maps are available on your GPS device: •... -
Page 10: Navigate To An Address
Actions Tap the Actions button to use an address: Figure 6 – Actions for Addresses • As Starting Point, which designates the selected address as the route origin (Map Browsing mode only). • To Show on Map, which displays the selected address on the map. •... -
Page 11: Search For A Location Near You
Points of Interest (POI) The Points of Interest (POI) list is a collection of thousands of interesting or useful places organized by easy-to-find categories. For example, you can use this device to guide you to a shopping center, hotel, restaurant, or gas station. Many categories have subcategories to provide for an even greater list of choices. -
Page 12: Show Or Hide Symbol On Map
Search for a POI Category Tap the Browse button to display the most common POI groups. Many of these groups will include several POI categories, which in turn my contain subcategories. Tap the More button to go straight to the full list of POI categories. Figure 9 –... -
Page 13: Quicknav
Actions Tap the Actions button to use a POI: Figure 11 – Actions for POIs • As Starting Point, which designates the selected address as the route origin (Map Browsing mode only). • To Show on Map, which displays the selected address on the map. •... -
Page 14: Recent Place
Recent Place From the Go menu, tap this button to select an existing location from a list of locations that you have previously traveled to. Figure 13 – Traveling to a Recent Location This device automatically stores the last 64 locations in memory. After 64 locations have been saved, the older location entries are erased. -
Page 15: Address Book
Address Book A Favorite is an address or POI that you have stored for easy retrieval. Save favorite addresses to your Address Book and later you can easily travel to these destinations. Favorites can be saved by using the Actions button within the New Address, Recent Places, and POI entry screens. By default your favorite will be placed into the Favorites group. - Page 16 Figure 17 – Going to a Favorite Destination You can check or clear the checkmarks next to any group to show or hide the group symbol on the Map Screen. Setting an Alert for an Address Book Group Alerts let you know that you are within a certain distance of an item in an Address Book group.
- Page 17 Actions While highlighting a favorite address within a group, tap the Actions button to use the address: Figure 19 - Actions for Address Book • As Starting Point, which designates the selected address as the route origin (Map Browsing mode only).
-
Page 18: Route Management Turn By Turn
3 – Route Management Turn by Turn From the Manage Route menu, tap this button to display a complete Turn-by-Turn list of directions from your current location to the selected destination. The device continuously updates the Turn-by-Turn screen to display the most current instructions as you navigate the route. -
Page 19: Avoid Roads
From the Manage Route menu, tap the Avoid Roads button. The Avoid Roads screen appears, displaying predefined road groups. Figure 21 – Predefined Road Groups The GPS provides the following predefined road groups: • Ferries – The default value is to allow •... -
Page 20: Creating A Group
Creating a Group Tap this button and select Add Group. From the Add Group screen, enter the group name and tap OK. Figure 22 – Add a Road Group The Actions screen also lets you edit or delete a selected group. Adding a Road to a Group When you tap My Roads to Avoid or a road group that you have created, the device displays the group screen, which lets you designate roads to avoid. -
Page 21: Detour
Edit Road – Tap to rename the road and/or select a different group. When you have made your changes, tap Save. • Delete Item – Select a road and tap this button to remove the road from your group. The GPS no longer avoids the removed road. •... -
Page 22: Map Browsing
You can also set an address as an origin so that you can preview a route. You can reconnect to GPS by tapping the bottom bar on the Map Screen or by tapping the GPS Navig. -
Page 23: Map Selection
Map Selection This function should only be used if you want to browse the Canada map while in the US. All US regional maps switch automatically as you travel or as you set an address origin or destination. From the Setup 1 menu, tap the Select Map button to change the selected map to another map. Figure 27 –... -
Page 24: Settings Settings Menus
Volume Control Displays the Volume Control bar. GPS Indicator Displays whether a reliable GPS signal has been located. Power Indicator Displays if your device is plugged in or running on battery power. Information Bar Displays estimated time of arrival. -
Page 25: Voice Prompts
Speed Warning Warns you when your car exceeds the speed limit. Route Recalculation Notifies you when the GPS recalculates your route. For example, when you miss a turn. Unreliable GPS Signal Warns that the GPS signal is too low and unreliable for navigation. -
Page 26: Gps Troubleshooting
Signal too low When you first start the GPS you may hear the “Signal too low” message. This message means that your navigation device hasn’t yet located a reliable GPS signal. Check that your device is connected to a power source, such as the cigarette lighter, and has a clear view of the sky. -
Page 27: Units Of Measure
Units of Measure From the Setup 1 menu, tap this button to specify the measurement system you would like to use. You can select: • Miles, Yards (UK) • Miles, 10th of a Mile (US) • Kilometers, Meters Time Settings From the Setup 1 menu, tap this button to display time settings. -
Page 28: Index
Favorite Locations • 12 Go to an Address • 5 Go to Another Country • 6 Going to a Favorite Destination • 12 GPS Settings • 23 GPS Troubleshooting • 23 Help • 26 Introduction • 2 Keyboard Command Keys • 6 Language Settings •... - Page 29 To use this product other than expressed in the instructions will void customer's product warranty. Pharos Website: www.pharosgps.com Pharos Customer Care Center: 1.888.742.7678...
Need help?
Do you have a question about the PDR200 and is the answer not in the manual?
Questions and answers