
Related Manuals for Prem-I-Air EH1936


Summary of Contents for Prem-I-Air EH1936
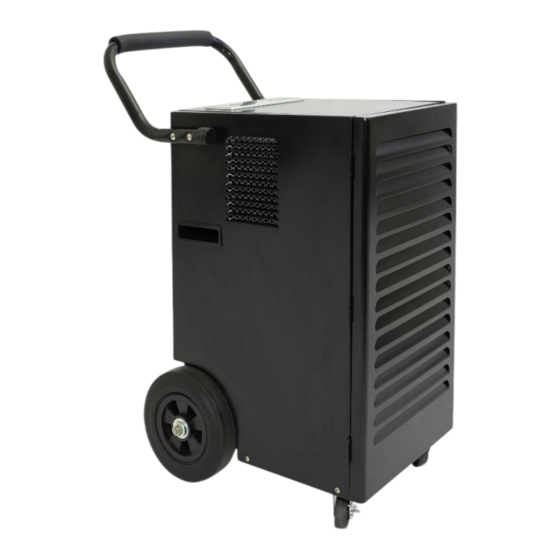
- Page 1 EH1936 INSTRUCTION MANUAL 50 Litre / Day Dehumidifier Please keep this manual for further reference! Thank you for selecting this Prem-i-air dehumidifier. Be sure to read this manual carefully before use.
-
Page 2: Before You Begin
1. BEFORE YOU BEGIN Please read the operating instructions carefully before using your dehumidifier for the first time. 1.1 PRODUCT DESCRIPTION The dehumidifier is used to remove excessive moisture from the air. The resulting reduction in relative humidity protects buildings and their contents from the adverse effects of excess humidity. The environmentally friendly R290 is used as the refrigerant. -
Page 3: For Your Safety
personnel to attempt to find the cause. The propane gas used in the unit has no odor. The lack of smell does not indicate a lack of escaped gas. ⚫ If a leak is detected, immediately evacuate all persons from the area, ventilate the room and contact the fire brigade to advise them that a propane leak has occurred. - Page 4 ⚫ Do not leave the unit running unattended. Do not tilt or turn over the unit. ⚫ Do not unplug while the unit is operating, this may cause damage and unwanted wear. ⚫ Do not unplug by pulling on the power cord. ⚫...
- Page 5 SAFETY PRECAUTIONS ON SERVICING Please follow these warnings when to undertake the following when servicing a dehumidifier with R290. 2.2.1 Checks to the area Prior to beginning work on systems containing flammable refrigerants, safety checks are necessary to ensure that the risk of ignition is minimized. For repair to the refrigerating system, the following precautions shall be complied with prior to conducting work on the system.
-
Page 6: Product Overview
2.2.8 Checks to the refrigeration equipment Where electrical components are being changed, they shall be fit for the purpose and to the correct specification. At all times the manufacturer’s maintenance and service guidelines shall be followed. If in doubt consult the manufacturer’s technical department for assistance. The following checks shall be applied to installations using flammable refrigerants: –... -
Page 7: Installation
4. INSTALLATION 4.1 LOCATION 1. Place the unit on a firm, level surface in an area with at least 50cm of free space around it to allow for proper air circulation. 2. Never install the unit where it could be subject to: ⚫... -
Page 8: Operation
5. OPERATION 5.1 CONTROL PANEL Power After switching on the power, all the indicators and the screen will be lit for 1 second and then turn off. A buzzer will sound, and the power indicator light will be on and the machine will be in standby mode. Press the power button again and the appliance will start, the machines default initial humidity setting is 50%RH, the mode is set to continuous. - Page 9 TANK FULL These LED’s will illuminate, and the unit will Buzz when the tank is full and needs emptying. The unit will shut off till the tank is emptied and re-inserted. TIMER INDICATOR Lights up when the unit is either in startup or shutdown timer operation. CONTINUOUS INDICATOR Lights up when the unit is in continuous operation.
-
Page 10: Continuous Draining
CONTINUOUS DRAINING For continuous operation or unattended dehumidification, please connect the drain hose to the unit. Condensate water can automatically drip into a bucket or drain by gravity. 1. Straighten the drainage pipe 2. Insert one end of the drain pipe through the drain hole and place the other end into the bucket, container, or drain. - Page 11 The air filter requires regular cleaning. The air filter is removable for easy cleaning. Do not operate the unit without an air filter, or the evaporator may be contaminated. 1. Remove the filter from the back of the unit. Use a vacuum cleaner to gently absorb the dust on the surface. If the filter is very dirty, wash it with water and a soft detergent and dry it thoroughly afterwards.
- Page 12 BEFORE CALLING THE SERVICE HELPLINE Before contacting a service professional, please review the trouble shooting list below that include common issues that are not the result of a defect in workmanship or materials. Problem Possible Cause Solution No power supply Connect to a functioning outlet and switch on Drain water tank and reset it or check water Water Full Indication Flashes...
- Page 13 STORAGE Long-term storage - If you will not be using the unit for an extended period of time (more than a few weeks) it is best to clean the unit and dry it out completely. Please store the unit per the following steps: Press power button to switch off and unplug the unit.
-
Page 14: Technical Specification
C & 80%RH SERVICE WARRANTY Prem-I-Air guarantees the product free from defects in materials and workmanship for a period of 1 year. Should this unit be operated under conditions other than those recommended, at voltages other than the voltage indicated on the unit, or any attempts made to service or modify the unit, then the warranty will be rendered void.
Need help?
Do you have a question about the EH1936 and is the answer not in the manual?
Questions and answers