Advertisement
Quick Links
Advertisement

Related Manuals for Acre Aperio AH40


Summary of Contents for Acre Aperio AH40
- Page 1 Reshaping Security acre Security Integration Guide: Aperio® AH40 Wireless...
-
Page 2: Warranty
All acre products are warranted against defect in materials and workmanship for year from the date of shipment. acre will repair or replace products that prove defective and are returned to acre within the warranty period with shipping prepaid. The warranty of acre products shall not apply to defects resulting from misuse, accident, alteration, neglect, improper installation, unauthorized repair, or acts of God. - Page 3 LICENSE: acre, grants the licensee a limited, non-exclusive license (i) to load a copy of the Software into the memory of a single (one) computer as necessary to use the Program, and (ii) to make one (1) backup or archival copy of the Software for use with the same computer.
- Page 4 Aperio® Hub Integration The Aperio® AH40 Ethernet Enabled Communication Hub functions as a bridge between ASSA-ABLOY/ Aperio® enabled locks and a variety of acre Security enabled access control systems such as DNA Fusion. This allows users of systems such as DNA Fusion operators to control the Aperio and ASSA-ABLOY (ASSA) locks remotely from the software.
- Page 5 Aperio Integration Aperio® Hardware Setup Connecting the AH40 Hub to the Local Area Network (LAN) The AH40 communicates to the Mercury enabled Controller via a Networked Ethernet Connection. At a Minimum, the use of a CAT-5e connector complying with 10BASE-T / 100BASE-TX standard must be used. The connection can be achieved by connecting the Ethernet cable to the J700 connector located on the back of the device as pictured below.
- Page 6 Aperio Integration AH40 Jumpers The AH40 has two jumpers on the back of the device. The jumpers can only be accessed by removing the device from its wall mount. The Jumpers and description are as follows: Jumpers Description J400 ANTENNA Select external antenna by connecting the two right pins.
- Page 7 Aperio Integration AH40 External Antenna The AH40 has the ability to transmit information and form a wireless external connection with all locks using a 2.5 gHz connection along the 2400 – 2483,5 MHz frequency range using 16 individual channels. This connection is protected using an AES 128 bit encryption for every connection. The Wireless Transmission power is along 10 dBm/MHz and the peak value has been measured in accordance with EN ETSI 300 328 Maximum spectral density.
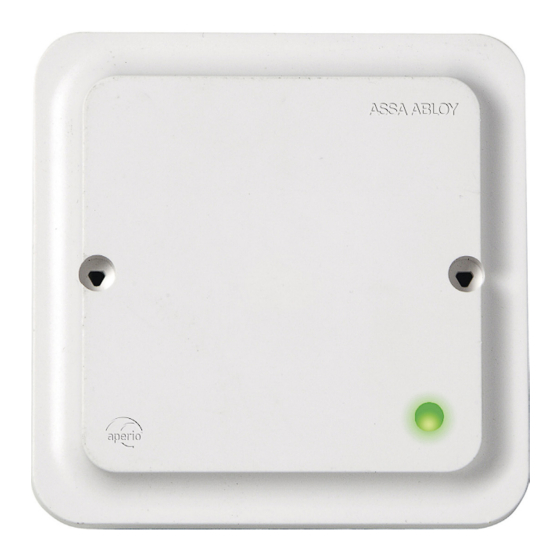
- Page 8 Aperio Integration AH40 Status Lights The AH40 comes with a two LED Status lights. The external status light is configured to provide status information pertaining to the operational status of the unit. The Status light scheme includes the details shown below. The second LED is located in the back of the unit and allows for an instant verification and assessment of the network connection status.
- Page 9 Aperio Integration Once the software is installed you will then be able to Plug-In the Aperio® USB adn follow these directions to initially connect to the system. 1. Connect and Power Up the AH40 hub. Once you have connected it and it has finished its power up sequence you may Connect the Aperio®...
- Page 10 Aperio Integration You will now be able to Modify the AH40’s Network Settings such as the Network Mask and Gateway to Match the existing (W)LAN Configuration. Click OK. 4. Right-Click on the AH40 Row and Select Change IP Address. Add the required IP Address provided by IT or the customer.
- Page 11 Aperio Integration 6. Right-Click on the Hub Row and Select Communication Hub>Configure if the window is not already open and Click on the ACU Settings Change Button. The ACU Settings Window will open. Type In the ACU or Controller IP Address as well as Verify that the ACU Port is 3561 and Check the Enable TLS box.
- Page 12 Aperio Integration 3. Verify that the AH40 Comes Online and then Double-Click the Controller connected to the AH40 to open the Controller Configuration window. 4. Click on Stored Quantities and then Click on the Use TLS for Aperio IP Check Box. 5.
- Page 13 Aperio Integration 6. Click on Change and then Click on Switch to Customer mode in device. Click OK. This will enable the use of the TLS encryption for communication with the LP series Mercury Controller (Series 3/Red Controller). The TLS settings will be restricted to TLS 1.1 and 1.2. Please talk to your network administrator to ensure that these settings will work with your current network security plan.
- Page 14 Aperio Integration Adding Locks to the Aperio® USB Application Prior to any locks and wireless devices being pulled into DNA Fusion, they will first need to be added and configured by using the App with the AH40 hub. To do this, you will need to make sure the Aperio® Programing App and the USB (Dongle) are connected to the system.
- Page 15 Aperio Integration 4. Right-Click on the Hub, Select Lock/Sensor>Configure to enter the lock or sensor configuration window. Once in the Window, the lock will need to be Set to Customer Mode in Similar fashion as the Hub as shown below. 5.
- Page 16 Aperio Integration Configuring Locks in DNA Fusion Once you have added the locks to the AH40 Hub, you can now import them into the Access Control system. For this example, we will be adding the Locks added to the Hub inside of DNA Fusion. 1.
- Page 17 Aperio Integration Configuring Privacy Mode Setting Up Privacy Mode can be done One of Two ways, the first way consists of Double-Clicking on the Reader requiring privacy mode, Select Door Objects, and then Select Privacy from the Drop-Down Menu for Ext. Mode. The second way consists of Right-Clicking the Door and Select Control>Extended>Set Privacy Mode.
- Page 18 Aperio Integration Regardless of the way chosen to implement Privacy Mode you will need to Open the Aperio Hardware App (with Aperio USB plugged in) and Click on Configure Lock or Sensor>Privacy Mode Configuration. Once the window is open, you will need to Click Change and Select Enabled. The Privacy Mode allows the end user to press a button on the inside part of compatible locks that overrides the lock sets’...
-
Page 19: Internal Antenna
Aperio Integration Technical Data Physical Dimensions: 82 mm x 82 mm x 37 mm (H x W x T) Power Supply: 8-24 VDC or Power over Ethernet (PoE) Power Rating: The power supply shall be able to deliver minimum, 1.2 W and be 3 A over current protected. Wire requirements 16-22 AWG.
Need help?
Do you have a question about the Aperio AH40 and is the answer not in the manual?
Questions and answers