Advertisement
Quick Reference Guide
The following items are standard tools for optical fiber splicing.
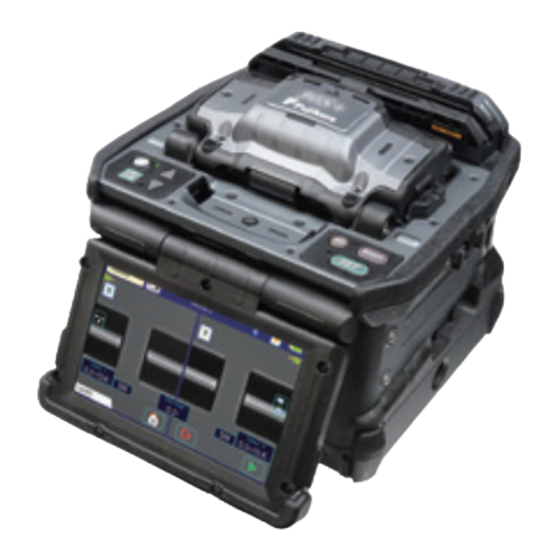
Core Alignment
Fusion Splicer
Install battery pack or DC adaptor
Plug AC adaptor into the DC adaptor.
*No need when using battery pack.
Turn splicer ON.
Confirm Splice Mode
Confirm Heater Mode
Check Wireless Communication status
Clean before splicing
Setup & Preparation completed
*
Basic operations can be performed from the
touch screen after the power is turned on.
S-03
Tools for Splicing Operation
Single Fiber
Stripper
Setup & Preparation Before Splicing
Optical Fiber
Protection sleeve
Cleaver
LED
Splice Mode
•
Select
"G652/SM
fibers (ITU-T G.652).
•
Select "AUTO" mode to splice unknown fiber types.
However, splice time might be longer.
•
"G652/SM
FAST" will shorten the splice time. However,
periodic Fusing Power Calibrations are neccesary.
Heater Mode
•
Select the adequate heater mode according to the sleeve.
The [READY] screen shows the current heater mode.
•
When using a protection sleeve which is not made by Fujikura,
please set parameters based on the specific sleeve.
Wireless communication with accessories
•
Splicr can connect to the CT50 cleaver and RS02/03 ribbon
stripper.
•
When wireless comunication is established, the splicer
monitors the conditon of these tools. If the splicer sees that the
tool has an issue, it alerts the operator with an on-screen alarm.
•
After initial pairing, the devices are always paired.
Communication between splicer, cleaver and stripper resumes
automatically even after power cycling.
•
Refer to the setting guide "SG-02" or instruction manual for
wireless communication function details.
Consumables for
cleaning
•
•
•
Turning ON
Press
key until
turns on.
Turning OFF
Press
key until
turns on.
AUTO" to splice standard SM
QRG-02
Cotton
Cotton swab
Alcohol
green
LED
red
LED
1
Advertisement
Table of Contents

Subscribe to Our Youtube Channel
Related Manuals for Fujikura QRG-02


Summary of Contents for Fujikura QRG-02
- Page 1 Select the adequate heater mode according to the sleeve. The [READY] screen shows the current heater mode. • When using a protection sleeve which is not made by Fujikura, please set parameters based on the specific sleeve. Wireless communication with accessories •...
- Page 2 Quick Reference Guide QRG-02 Splice Operation Cleave Length Cladding diameter 125 m Clean coating or fiber buffer 10~16mm 5~16mm 900μm 250μm 2/5”~2/3” 1/5”~2/3” Place protection sleeve over fiber 10mm Strip fiber Cladding diameter 80 m 2/5” 5~10mm Clean fiber 160μm 1/5”~2/5”...
- Page 3 Quick Reference Guide QRG-02 Pull In case of shorter sleeve than 60mm ◆ Grab the fiber at the edge of wind . ◆ Grab the fiber protector marked Apply proper tension to the fiber during transition to the tube heater to avoid bending of the fiber.
- Page 4 General inquiries : +1-800-235-3423 https://www.a global.com Service & support : +1-800-866-3602 Floor, Shanghai Hang Seng Bank Tower, 1000 Lujiazui Ring Road, Pudong New Area, Shanghai 200120, CHINA Fujikura (CHINA) Co., Ltd General inquiries, service & support : +86-21-6841-3636 http://www.fujikura.com.cn Authorized Splicer Distributor...
Need help?
Do you have a question about the QRG-02 and is the answer not in the manual?
Questions and answers