
Related Manuals for Daikin VRV FXCQ20M7V1B


Summary of Contents for Daikin VRV FXCQ20M7V1B
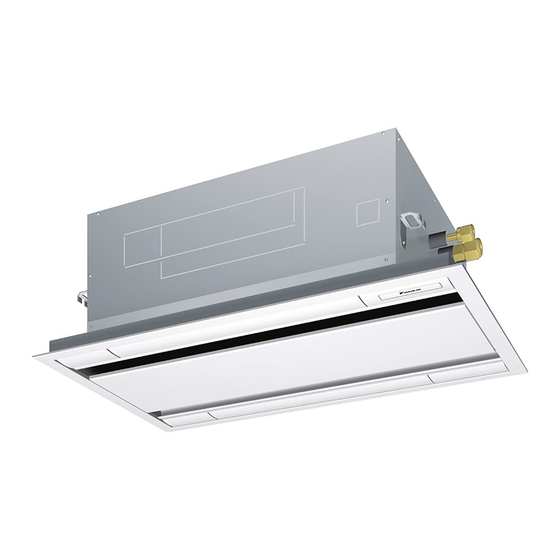
- Page 1 INSTALLATION AND OPERATION MANUAL System air conditioner FXCQ20M7V1B FXCQ25M7V1B FXCQ32M7V1B FXCQ40M7V1B FXCQ50M7V1B FXCQ63M7V1B FXCQ80M7V1B FXCQ125M7V1B...
- Page 2 ≥1500 ≥1500 ≥100 ≥100 ≤ 300 mm 1 ~ 15 m...
- Page 3 Control box IN/D OUT/D Control box Control box IN/D OUT/D IN/D OUT/D Control box OUT/D IN/D FORCED SETTING...
- Page 4 ™ËÌ›ˆÛË Nota tal como estabelecido no Ficheiro Técnico de Construção DAIKIN.TCF.022 e com o parecer positivo de TNO de acordo com o Certificado 0301130401 . Bemærk som anført i den Tekniske Konstruktionsfil DAIKIN.TCF.022 og positivt vurderet af TNO i henhold til Certifikat 0301130401 .
-
Page 5: Table Of Contents
OTHER DAMAGE TO THE EQUIPMENT. BE SURE ONLY Decoration panel. TO USE ACCESSORIES MADE BY DAIKIN WHICH ARE SPECIFICALLY DESIGNED FOR USE WITH THE For the following items, take special care during EQUIPMENT AND HAVE THEM INSTALLED BY A PROFESSIONAL. -
Page 6: Selecting Installation Site
Where nothing blocks air passage. For other installation than standard installation, contact • Where condensate water can be properly drained. your Daikin dealer for details. • Where the false ceiling is not noticeably on an incline. • Where sufficient clearance for maintenance and service can be ensured. -
Page 7: Refrigerant Piping Work
Adjust the unit to the right position for installation. If the refrigerant gas leaks during the work, ventilate the area. A toxic gas is emitted by the refrigerant gas being exposed to a (Refer to the chapter "Preparations before installation") fire. -
Page 8: Electric Wiring Work
Precautions • You can check whether drainage is satisfactory or not by removing the access opening lid and checking the water level of Instal the drain raising pipes at a height of less than 310 mm. the drain pan through the access opening. Be careful when doing so because the fan is turning at the same time. -
Page 9: Wiring Example And How To Set The Remote Controller
Use only specified wires and tightly connect wires to the NOTE For details, refer to the chapter "Wiring example". terminals. Be careful that wires do not place external stress on the terminals. Keep wiring in neat order so that they do not Allowable length of transmission wiring between obstruct other equipment such as popping open the service indoor and outdoor units, and between the indoor... -
Page 10: Installation Of The Decoration Panel
Main/sub changeover EST OPERATION Insert a wedge-head screwdriver into the recess between the Refer to the installation manual of the outdoor unit. upper and lower part of the remote controller and, working from The operation lamp of the remote controller will flash when an the 2 positions, pry off the upper part. - Page 11 How to clean the air filter Fix the air filter. With the air filters arrow direction facing upward, push up along the guide. Clean the air filter when the display shows " " (TIME TO CLEAN Replace the air filter by performing the filter removal procedure AIR FILTER).
-
Page 12: Wiring Diagram
IRING DIAGRAM : FIELD WIRING : BLACK : TERMINAL : BLUE : CONNECTOR : ORANGE : WIRE CLAMP : PINK : PROTECTIVE EARTH (SCREW) : RED : WHITE : YELLOW 33H......FLOAT SWITCH 33S......LIMIT SWITCH (SWING FLAP) A1P ......PRINTED CIRCUIT BOARD C1R ......CAPACITOR (M1F) F1T......THERMAL FUSE (125°C)(M1F EMBEDDED) F1U ......FUSE (250 V/5 A) - Page 13 NOTES NOTES...
- Page 14 Zandvoordestraat 300, B-8400 Oostende, Belgium 4PWEN15108-1...
Need help?
Do you have a question about the VRV FXCQ20M7V1B and is the answer not in the manual?
Questions and answers