Table of Contents
Advertisement
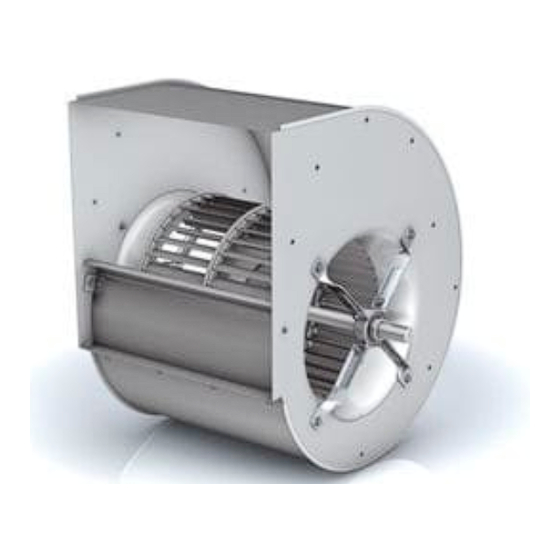
SERIES - SERIE - SERIEN - SÉRIE - SERIE
AT-AS-ASH-RSH-ADH-ADH-E-RDH-RDH-E
❒
Fans in accordance with ATEX directive - Declaration of conformity at the end of this manual
❒
Ventilatori conformi alla direttiva ATEX - Dichiarazione di conformità in fondo a questo manuale
❒
Ventilatoren gemäß der ATEX-Richtlinie - Konformitätserklärung am Ende dieses Anleitungen
❒
Ventilateurs conformes à la directive ATEX - Déclaration de conformité à la fin de ce manuel
❒
Ventiladores conforme a la directiva ATEX - Declaración de conformidad al final de este manual
Regal Beloit Italy S.p.A.
Stabilimento, uffici amministrativi e commerciali:
CENTRIFUGAL FANS
VENTILATORI CENTRIFUGHI
RADIAL-VENTILATOREN
VENTILATEURS CENTRIFUGES
VENTILADORES CENTRÍFUGOS
INSTALLATION AND MAINTENANCE MANUAL
MANUALE USO E MANUTENZIONE
GEBRAUCHS- UND WARTUNGSANLEITUNGEN
MANUEL D'UTILISATION ET MAINTENANCE
MANUAL DE USO Y MANTENIMIENTO
Sede Legale: Viale Luigi Majno 26 - 20129 Milano - Italia
Società Soggetta a Direzione e Coordinamento di Regal Beloit Co. (USA)
24040 Ciserano Loc. Zingonia (BG) - Via Modena, 18 - Tel. 035-873111 - Fax 035-884319
COD. 985719/12 - 10-2020
e-mail: info@nicotra-gebhardt.com
Advertisement
Table of Contents


Need help?
Do you have a question about the AT Series and is the answer not in the manual?
Questions and answers