Advertisement
We are here for you!
+49 (0) 2306-759 58 0
by telephone, Mon - Fri from 10 am to 6.30 pm, Sat from 10 am to 4 pm
+49 (0) 2306 - 759 58 45
by fax
www.light11.eu
service@light11.eu
inform and order around the clock
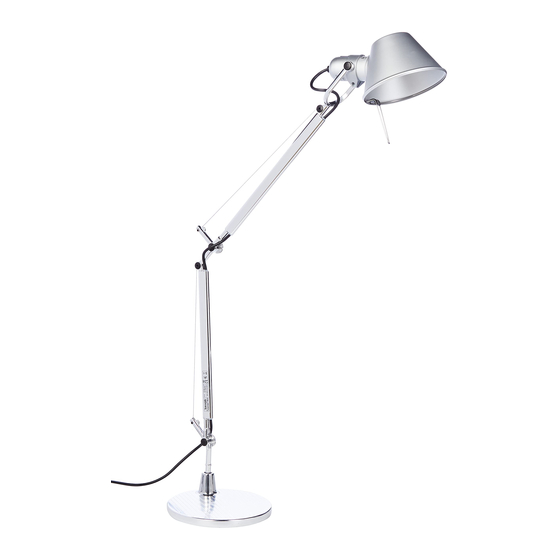
Assembly instructions
Replacement hinge for Artemide Tolomeo lamps
Illustrated step-by-step guide for mounting the Tolomeo Joint
Advertisement
Table of Contents

Related Manuals for Artemide Tolomeo


Summary of Contents for Artemide Tolomeo
- Page 1 Assembly instructions Replacement hinge for Artemide Tolomeo lamps Illustrated step-by-step guide for mounting the Tolomeo Joint We are here for you! +49 (0) 2306-759 58 0 by telephone, Mon - Fri from 10 am to 6.30 pm, Sat from 10 am to 4 pm...
- Page 2 • large screwdriver (slot) Required spare: • Artemide Tolomeo Replacement Hinge No 14 Please note that the repairs described here are carried out at your own risk. In the case of any damage to the luminaire in the course of a non-expert repair, we assume no warranty.
- Page 3 5. After releasing the joint from the aluminium arm, you will see that it is still atta- ched to a spring that is part of the Tolomeo rope pull system. In order to detach the joint from the spring, you need to move the joint transversely to the spring loop and lever the hook with the aid of a small screwdriver.
- Page 4 6. Now, you can attach the new joint to the spring. To do so, press the loop at the end of the spring onto the end piece of the joint (pictures 11-13). 7. Then insert the spring, including the new joint, into the lamp arm (pictures 14-15) 8.
- Page 5 9. Now place the previously removed plastic cover back into the cable feed (picture 18). 10. The next step is to reconnect the new joint to the lower lever. For this, you have to screw the new joint and the angled joint, which later connects the lamp arm to the base, together.
- Page 6 This may require some effort. If possible, carry out this step with the help of another person (pictures 28-29). 13. As final step, the retaining screws of the Tolomeo joint must be firmly locked. Please do not forget to place the washers according to the pictures shown...
Need help?
Do you have a question about the Tolomeo and is the answer not in the manual?
Questions and answers