Table of Contents
Advertisement
Quick Links
Advertisement
Table of Contents

Related Manuals for VDO AcquaLink


Summary of Contents for VDO AcquaLink
- Page 1 Installation Instructions V1.1 08/16 AcquaLink 110mm Gauges...
-
Page 3: Table Of Contents
Content Preliminary Remarks Safety Instructions Safety Instructions for Maintenance The VDO 110mm Gauge Components VDO Bus Available versions The NMEA Interface Installation of the VDO 110mm gauge Hardware Specification Pinout Technical Data Accessory... -
Page 4: Preliminary Remarks
We thank you for making a good choice, and we are convinced that this instrument will be reliable and a great help to you and keep you safe at sea. In order to ensure easy and safe handling of your VDO 110mm gauge, you should familiarize yourself with all the features and functions. - Page 5 Before beginning work the negative Terminal of the battery should be disconnected. Use of information provided by the VDO 110mm gauge does not release you from the responsibility over your ship and demands good seamanship. Always use your nautical experience in interpreting the displayed values.
-
Page 6: Safety Instructions For Maintenance
Connect the wires only in accordance with the wiring diagram. Safety Instructions for Maintenance The 110mm gauge is maintenance-free. Do not use cleaning agents. Repairs on the gauge should be carried out only by VDO authorized specialists... -
Page 7: The Vdo 110Mm Gauge
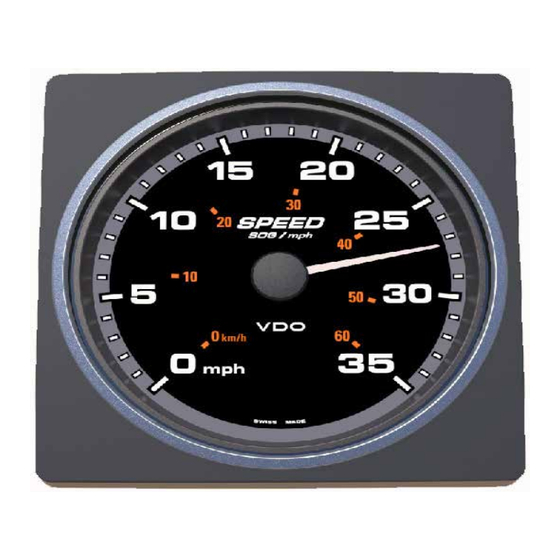
The VDO 110mm Gauge The 110mm gauges can be used in the AcquaLink system or added to a existing NMEA 2000 network. In the AcquaLink system the gauges receive the data through the AcquaLink Nav Box. The gauges are daisy chained with VDO bus cables. -
Page 8: Vdo Bus
The VDO Bus is a proprietary CanBus system based on NMEA 2000. Heart of the VDO Bus AcquaLink system is the Nav Box. The Nav Box provides a wide range of digital and analogue input possiblities and distributes the received data to all gauges in the VDO Bus network. - Page 9 The VDO Bus network has to be terminated with three 120ohm termina- tors (included with the Nav Box) You need to connect an 180Ohm terminator plug at the end of any VDO segment or not used Nav Box connector. Note: VDO Bus cables have two female connectors.
-
Page 10: The Nmea Interface
Calculation 12V power supply: The voltage drop for every segment of the VDO Bus is calculated as follow: Ohm‘s Law: E (voltage drop) = I (circuit current) x R (wire resistance) R= 2/2x Cable Length (m) x Power Pair Resistance / 100 I= LEN (Load Equivalency Number) x 0.050 amps... - Page 11 Rudder angle 127245 Rudder Note: If more than one Tachometer is used in a NMEA 2000 network the gauges have to be preprogrammed using the AcquaLink Nav Box. With the Nav Box you can write instance numbers 0-3 to a gauge.
- Page 12 EasyLink daisy chain connection. Up to 16 satellite gauges can be connected to each tachometer. The 52mm gauges are displaying the data distributed by the tachometer. The gauges can be used in a VDO or NMEA 2000 network. Note: Engine instance can not be selected Supported NMEA 2000 PGNs...
-
Page 13: Installation Of The Vdo 110Mm Gauge
A2C59501945 Boost pressure 52mm EasyLink (psi) 127488 Rapid Update Installation of the VDO 110mm gauge Before beginning, disconnect the negative terminal on the battery, other- wise you risk a short circuit. If the craft is supplied by auxiliary batteries, you must also disconnect the negative terminals on these batteries! Short circuits can cause fires, battery explosions and damages to other electron- ic systems. - Page 14 - Connect the Bus ca- bles and terminators on the rear of the instru- ment, before fixing the unit to the panel - Assemble the unit as shown in the diagram above...
- Page 15 - Fix the gauge by turning the Spinlock in a clockwise direction and locking it hand tight...
-
Page 16: Hardware Specification
Hardware Specification Connectors Note: Connector Y is only on all Tachometers... -
Page 17: Pinout
Pinout Connector X: VDO Bus M12 Connectors Signal Ignition Kl. 15 GND Kl. 31 Battery+ Kl. 30 CAN H CAN L GND Kl. 31 Ignition Kl. 15 GND Kl. 31 Connector Y: EasyLink Superseal Connector (Only on Tachometers Signal Power... -
Page 18: Technical Data
Technical Data Housing Material PBT GB 20 Bezel Material PC graphilgrey/ RAL 7021 Dimensions WxHxD: 124.5 x 124.5 x 69.2 mm 2x M12 8 Pin; 3 Pin Superseal on Connectors Tachometers Operating temperature -20° / +70° Storage temperature -40 / +85° Operating voltage range 8 –... -
Page 19: Accessory
Accessory Packed A2C Description A2C96244600 VDO Bus Cable 0,5m A2C96244900 VDO BUS VDO Bus to NMEA 2000 A2C38805700 VDO Bus Cable 2m A2C38804900 Infield Installation Connector VDO BUS/ WIND A2C99793900 Termination Resistor VDO BUS A2C38805500 Gender Changer VDO BUS A2C96243700... - Page 20 Switzerland www.marine.vdo.com VDO – A Trademark of the Continental Corporation The information provided in this brochure contains only general descriptions or performance characteristics, which do not always apply as described in case of actual use or which may change as a result of further development of the products.
Need help?
Do you have a question about the AcquaLink and is the answer not in the manual?
Questions and answers