Advertisement
Quick Links
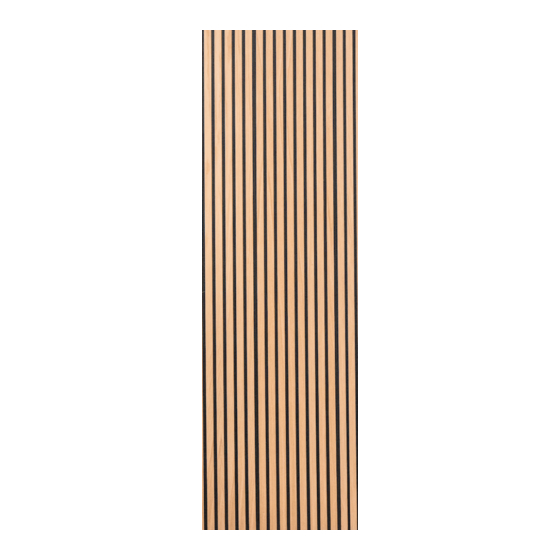
ARBOR
wall mounting
Models
Arbor is available in two depths - Arbor and Arbor Slim - with different
thicknesses that have a substantial impact on the acoustics of a space. Arbor
measures 21mm, while Arbor Slim is a more compact option at 10mm. This
mounting guide applies to both models.
Tools
Power Drill
(Not Included)
(Not Included)
Box Cutter
(Not Included)
(Not Included)
More
For more information, visit us at www.loftwall.com/arbor or scan
Help
the QR Code to the right.
Construction
Nail Gun with
Adhesive
Finishing Nails
(Not Included)
Pliers
Tape Measure
(Not Included)
21 mm
(13/16")
Circular Saw
(Not Included)
Level
(Not Included)
10 mm
(13/32")
Arbor
14 mm
(1/2")
26 mm
(1 1/32")
Arbor Slim
14 mm
(1/2")
26 mm
(1 1/32")
2400 mm
(94 1/2")
600 mm
(23 5/8 in)
Advertisement

Related Manuals for LOFTWALL Arbor


Summary of Contents for LOFTWALL Arbor
- Page 1 Arbor Models Arbor is available in two depths - Arbor and Arbor Slim - with different thicknesses that have a substantial impact on the acoustics of a space. Arbor measures 21mm, while Arbor Slim is a more compact option at 10mm. This 14 mm mounting guide applies to both models.
- Page 2 ................7-8 drop-tiles ................14-15 Note This mounting guide provides illustrations of Arbor represented like the image featured on this page. Be aware that the gray areas in the illustration represent the acoustic felt backer and the white...
- Page 3 Step 2 To begin, prepare the wall. Clean it thoroughly and remove Using screws secure Arbor to the wall, making sure to drill through anything that might get in the way, such as screws or nails. the acoustic felt backer and not the wood veneer. Place each screw Determine the size of the wall by measuring its dimensions.
- Page 4 _____________________________________________ _____________________________________________ _____________________________________________ _____________________________________________ Cutting _____________________________________________ Arbor will often need to be cut to fit a chosen wall/space. Here is a Arbor _____________________________________________ list of best practices when cutting Arbor: _____________________________________________ • Use a Box Cutter to cut through the acoustic felt backer and a _____________________________________________ Circular Saw when cutting through the wood veneer.
- Page 5 • Using decorative framing, such as molding, can help offset irregular or an uneven wall surface. • Arbor looks best when installed with no gaps between ends or rows. • Screws or nails should always be placed through acoustic felt backer.
- Page 6 Once the adhesive is dried remove finishing nails. Cutting Notes _____________________________________________ Arbor will often need to be cut to fit a chosen wall/space. Here is a Arbor _____________________________________________ list of best practices when cutting Arbor: _____________________________________________ •...
- Page 7 Attach the furring strips to the wall every 24”, creating a framework anything that might get in the way, such as screws or nails. for Arbor to attach to. Furring strips should always hang in the Determine the size of the wall by measuring its dimensions.
- Page 8 16” to 24”. following should have PET on the left. Cutting Notes _____________________________________________ Arbor will often need to be cut to fit a chosen wall/space. Here is a Arbor _____________________________________________ list of best practices when cutting Arbor: _____________________________________________ •...
- Page 9 26 mm (1 1/32”) Models Arbor is available in two depths - Arbor and Arbor Slim - with different 2400 mm (94 1/2“) thicknesses that have a substantial impact on the acoustics of a space. Arbor 21 mm (13/16”)
- Page 10 Using a screwdriver, attach the furring strips to the ceiling every 24”, anything that might get in the way, such as screws or nails. creating a framework for Arbor to attach to. Furring strips should Determine the size of the wall by measuring its dimensions.
- Page 11 16” to 24”. that follows should have PET on the left. Cutting Notes _____________________________________________ Arbor will often need to be cut to fit a chosen wall/space. Here is a Arbor _____________________________________________ list of best practices when cutting Arbor: _____________________________________________ •...
- Page 12 • Using decorative framing, such as molding, can help offset irregular or an uneven wall surface. • Arbor looks best when installed with no gaps between ends or rows. • Screws or nails should always be placed through acoustic felt backer.
- Page 13 Arbor before beginning. Step 5 Cutting Arbor will often need to be cut to fit a chosen wall/space. Here is a Be sure as you hang the panels that each one is oriented the same Arbor way horizontally; i.e. if the acoustic backing is on the left then each list of best practices when cutting Arbor: panel that follows should have acoustic felt backer on the left.
- Page 14 • Using decorative framing, such as molding, can help offset irregular or an uneven wall surface. • Arbor looks best when installed with no gaps between ends or rows. • Screws or nails should always be placed through acoustic felt backer.
- Page 15 Step 5 Cutting Continue step 4 until all tiles have been filled with Arbor Slim. Arbor will often need to be cut to fit a chosen wall/space. Here is a Arbor list of best practices when cutting Arbor: •...