
Related Manuals for Blue Thumb Zenshu Fountain Kit


Summary of Contents for Blue Thumb Zenshu Fountain Kit
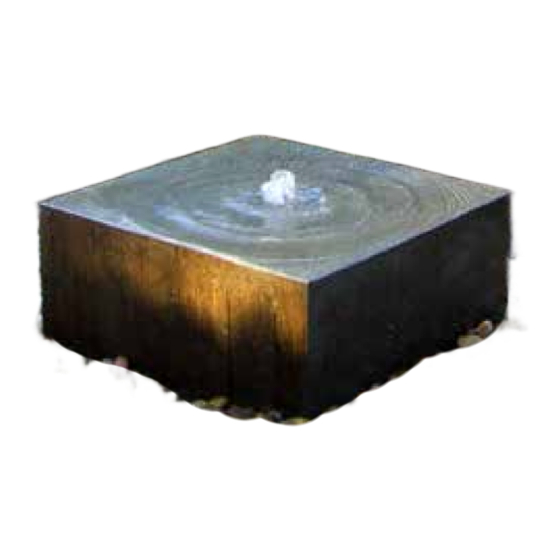
- Page 1 Zenshu Fountain Kit Installation Manual For use with Large Single Zenshu Fountains...
- Page 2 Included in this Kit: Blue Thumb makes installation of your Large Stone Fountain Kit easy by following these instructions. Subscribe to our YouTube channel, BlueThumbINC, for related informational videos. This manual shows installation of our round Achelous Basin, however, these steps can be followed for our larger square Altum Basin.
- Page 3 Bathe your water feature in warm white light. Waterproof lighting automatically transforms your Yard or Garden from dusk to dawn. External Up-lighting Add-on Our IllumiGlow Fountain 3 Light Kit will ® bring your bubbling display center stage by illuminating the columns and water flowing down the rocks in a warm white light, for a dramatic but soothing evening show.
- Page 4 STEP 9 Cover the Grate The PVC spacer is hardly viewable and easily disguised with polished pebbles while providing easier access for movement of the fountain at any future date. Finishing Select decorative gravel that compliments your selected fountain, adjacent landscape and is sized appropriately to not fall through the holes in the fountain basin grates.
- Page 5 Once the fountain basin is level, carefully backfill around the basin using excavated soil. Optional Auto Fill Kit Install If a Blue Thumb Elite Auto Fill Kit is being incorporated, you may bury your water supply line and make any Auto Fill connections at this time.
- Page 6 STEP 5 Placement of Grates Install one of the grates at this time. Place the grate so that the center line aligns with the sticker on basin edge. This positioning provides the most stability for the grates to support the fountain. Make sure the PVC center support sits in the center of the basin under the grate for added strength.
- Page 7 STEP 8 Testing If you haven’t already added water to the fountain basin, pull out the plug and add water until the basin is full to the bottom of the grates. Plug in the pump cord to test your fountain. Set the water flow and plume height by adjusting the valve with the provided red valve key.
- Page 8 Maintenance General Fountain and System Maintenance • It is OK to run pump continuously 24/7, or you may choose to connect it to a timer. • Fill evaporated water as necessary or considering installing an Auto Fill Kit #ABDAUTO. • Add Muck Buster #PB2682 every couple of weeks to the basin ®...
Need help?
Do you have a question about the Zenshu Fountain Kit and is the answer not in the manual?
Questions and answers