Table of Contents
Advertisement
Quick Links
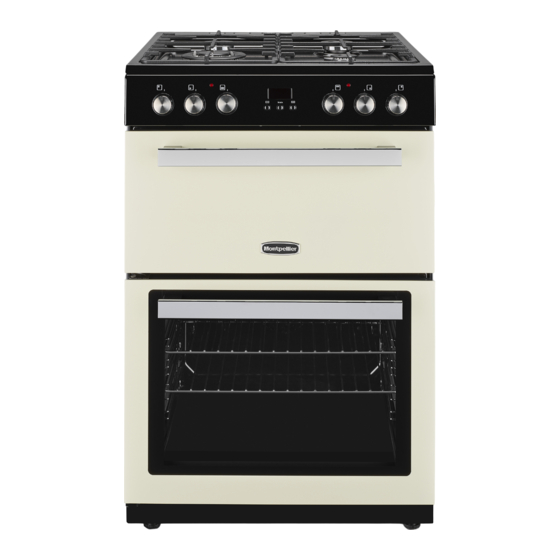
60cm Dual Fuel Mini Range Cooker.
MMRDF60FC/K - Cream/Black
Please read these instructions carefully before attempting to install or use this appliance.
We recommend that you keep these instructions in a safe place for future reference.
THE PERFECT BALANCE OF FUNCTION AND STYLE
LAUNDRY - DISHWASHING - COOKING - COOLING
Installation and Operating Instructions
Advertisement
Table of Contents


Need help?
Do you have a question about the MMRDF60FC and is the answer not in the manual?
Questions and answers