
Subscribe to Our Youtube Channel
Related Manuals for Apelson UBARUNW6


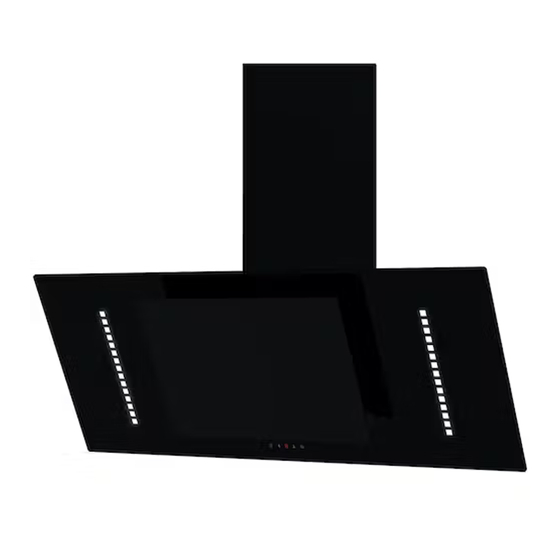
Summary of Contents for Apelson UBARUNW6
- Page 1 User Manual Instruction Manual Cooker Hood MODEL:UBARUNW6,UBARUNW7 UBARUNW9 口 口 旦 口 口 日 口 口 3 口 口 口 口 口 口 口 口 口 口 口 口 口 口 口 口 口 口 口 口 00口00 ,(;,,,,,, """"""""'',,...
- Page 2 [01] x1 [02] x1 [03] x1 [04] x1 [07] x4 [05] x6 [06] x6 (3.5 x 10mm) (4 x 32mm)
- Page 3 Not included VENT PACK (Ø125mm) CARBFILT4 Preparation Safty Installation Care & maintenance...
- Page 4 Safety WARNING: There is a risk of electric shock and fi re if cleaning is not carried out in accordance with these instructions. WARNING: Where applicable, this appliance is supplied with fi xings. Please ensure you use the correct fi xings suitable for the substrate where the appliance will be installed and that they are able to support the weight of the appliance.
- Page 5 WARNING: Before connecting the hood, check that the supplied voltage and frequency match with that indicated on the appliance rating plate. Failure to install the appliance in accordance with these instructions may result in a safety hazard. If in doubt, ask for advice instore or from a qualifi...
- Page 6 Do not install the appliance outdoors in a damp place or in an area which may be prone to water leaks such as under or near a sink unit. In the event of a water leak affecting the appliance, do not use and contact customer services to arrange for inspection.
-
Page 7: Installation
Installation This appliance must be installed correctly by a qualifi ed person, strictly following the manufacturer’s instructions. Warning: Danger of electric shock! The power supply must be cut off before the appliance is installed completely. Only a qualifi ed person in compliance with the instructions provided can install the appliance. The manufacturer declines all responsibility for improper installation, which may harm persons and animals and cause damage. - Page 8 CARBFILT4 VENT PACK (Ø125mm) CARBFILT4 VENT PACK (Ø125mm) Choose a type of installation: Ducted option A (extraction to the outside) or Recirculation option B (no extraction to the outside). This appliance is for installation to a wall only. Beware of sharp metal edges during installation, wear protective gloves when handling the product.
- Page 9 B>=760mm > Warning: Caution! Before drilling it is extremely important to check the wall for hidden pipes, electrical cables, etc, using an appropriate detection device. For safety reasons, use only the same size fi xing and screws which are recommended in this instruction manual.
- Page 10 [01] x1 [01]...
- Page 11 [05] [05] x2...
- Page 12 75mm [03] [05] [03] x1 [03] [05] x2...
- Page 13 Only for ducted option. [07] [04] [04] x1 [07] x2 VENT PACK (Ø125mm)
- Page 14 [02] [02] x1 Only for recirculation option. CARBFILT4 CARBFILT4 CARBFILT4...
- Page 15 [02] [02] x1 [07] [07] x2...
- Page 16 Installation All installation must be carried out by a competent person or qualifi ed electrician. Before connecting the mains supply ensure that the mains voltage corresponds to the voltage on the rating plate. Direct Connection The appliance must be connected directly to the mains using an omnipolar circuit breaker with a minimum opening of 3mm between the contacts.
-
Page 17: Before You Start
Before you start Switch on the appliance at the switched fused connection unit. The appliance is ready for use. WARNING: Read the instructions before using the appliance. Function & Settings Four-button panel To obtain the best results from your cooker hood it is recommended that you leave it switched on for up to 15 minutes after you have fi nished cooking. - Page 18 General Use Light On/Off Use this control to switch the light on independently of the fan motor and the icon will be red. When the fan is in use, and the light is off, the icon will be white but will turn red if the light is then switched on.
- Page 19 Controlling the cooker hood remotely IMPORTANT: This section is only applicable if you have also purchased a compatible induction hob with Radio Frequency (RF) capability. Contact the Customer Helpline at the end of this manual for compatible models. Before First Use This cooker hood model and a compatible induction hob model must be paired by Radio Frequency (RF) before remote control can occur.
- Page 20 Speed Level of the Combined Power Output of the Hob Hood Speed 1 This speed will be selected when there are no more than two cooking zones in use, and the combined output is 8 or less. For example, zone 1 is on 2, and zone 2 is on 5.
-
Page 21: Care And Maintenance
Care & maintenance Lamp replacement The LED lamps in this appliance are not replaceable by the consumer. If a lamp fails, please contact the customer helpline at the end of Care & maintenance to arrange an engineer visit. Carbon filter replacement Replace every three months. -
Page 22: Customer Service
Customer Service If your product breaks down. To arrange an in guarantee service call, please contact customer services on the following numbers. UK and N.Ireland T: 0344 800 1128 E: uksupport@apelson.co.uk www.spareszone.co.uk Republic of Ireland (ROI) T: 014475261 E: uksupport@apelson.co.uk... - Page 23 Notes...
- Page 24 Apelson Appliances UK Ltd Unit 3 Normandy Landings Pope Street Castleford WF6 2AG United Kingdom UBARUNW6&UBARUNW7&UBARUNW9 User Handbook V1 20210219...
Need help?
Do you have a question about the UBARUNW6 and is the answer not in the manual?
Questions and answers