Table of Contents
Advertisement
Advertisement
Table of Contents

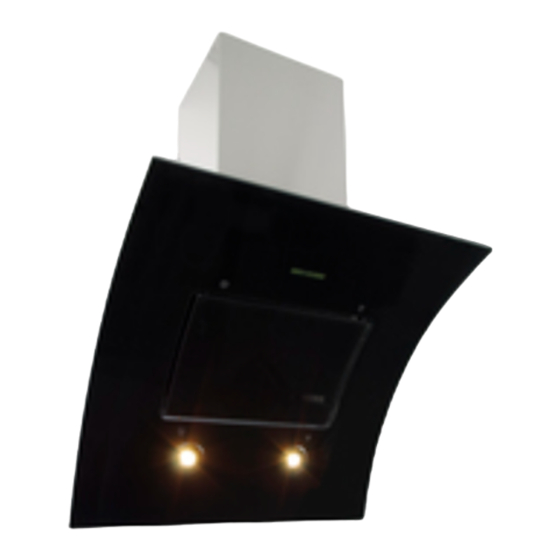
Summary of Contents for Apelson CURVA60
- Page 1 USER MANUAL CURVA60/70/90 CURVED BLACK GLASS HOOD Customer Care 0344 800 1128...
-
Page 2: Table Of Contents
If in doubt, do not use the when you move house, make sure you also pass on this appliance but contact Apelson on 0344 800 1128. manual so that the new owner can become familiar with Decide on the appropriate location for your product. -
Page 3: Safety Information
IMPORTANT INFORMATION CURVA60/70/90 SAFETY INFORMATION These instructions are for your safety. Please read through external timer or separated remote-control system. them thoroughly prior to installation and retain them for The appliance is for domestic use only. future reference. Consult local regulations regarding fumes outlets. Do not All installation work must be carried out by a competent connect the hood to a fume, ventilation or hot air duct. -
Page 4: Environment Information
IMPORTANT INFORMATION CURVA60/70/90 ENVIRONMENTAL INFORMATION TECHNICAL AND LEGAL INFORMATION Waste electrical products should not be disposed of TECHNICAL INFORMATION: with household waste. Please recycle where facilities Power supply: 220-240V~, 50Hz exist. Check with your Local Authority or retailer for Power consumption - Fan: 198W recycling advice. -
Page 5: Your Hood
YOUR HOOD CURVA60/70/90 YOUR HOOD CONTROL PANEL Filter cleaning alert indicator/switch. Icon will flash when you need to clean the aluminium grease filters and can be deactivated with a single press. Clock setting. Press icon to turn on the LED display and then press icon... -
Page 6: Accessories Not Supplied
FIRST USE/SETTING UP YOUR HOOD CURVA60/70/90 We recommend that you read the instructions in this owner’s manual carefully before use for the best performance and to extend the life of your appliance, as it will provide you with all the instructions you require to ensure its safe installation, use and maintenance. -
Page 7: Care And Maintenance
CARE AND MAINTENANCE CURVA60/70/90 ALUMINIUM FILTERS WARNING DOUBLE POLE SWITCHED FUSED SPUR OUTLET Exterior cleaning: use non-corrosive, liquid detergent and Always switch off the electricity supply before avoid the use of abrasive cleaning products. performing maintenance work. In the event of a FUSE fault, contact customer services. -
Page 8: Installation
INSTALLATION CURVA60/70/90 Mark on the wall the hole positions as shown in diagram. provided must install the appliance. The manufacturer CAUTION declines all responsibility for improper installation, which may harm persons and animals and damage property. The Wall Plugs supplied are suitable for solid walls only. - Page 9 INSTALLATION CURVA60/70/90 Fix the lower decorative chimney using two screws. [05] X2 Position the hood over the top two screws then insert [03] X2 the bottom long screws and washers from inside the hood, tighten top two screws to secure then fix inner decorative glass.
-
Page 10: Electrical Requirements
INSTALLATION CURVA60/70/90 ELECTRICAL REQUIREMENTS Any permanent electrical installation must comply with the latest I.E.E. Regulations and local electricity company contractor who is on the roll of the National Inspection Council for Electrical Installation Contracting (NICEIC) should undertake the electrical installation. -
Page 11: Troubleshooting
TROUBLESHOOTING CURVA60/70/90 FAULT CAUSE SOLUTION Check the plug Hood doesn’t work No power supply Check the main switch Contact customer service. High temperature safety device activated the manufactures instructions After running for a while, motor stop Readjust the distance to:... -
Page 12: Guarantee
USEFUL CONTACTS CURVA60/70/90 USEFUL CONTACTS TECHNICAL SUPPORT Apelson Appliances UK LTD Phone: 0344 800 1128 Email: uksupport@apelson.co.uk Web: www.spareszone.co.uk SPARES Apelson Appliances UK LTD Phone: 0344 800 1128 Email: uksupport@apelson.co.uk Web: www.spareszone.co.uk SERVICE AND GUARANTEE Apelson Appliances UK LTD Phone: 0344 800 1128 Email: uksupport@apelson.co.uk... - Page 16 APELSON APPLIANCES UK LTD Unit 3 Normandy Landings Pope St Castleford WF6 2AG...


Need help?
Do you have a question about the CURVA60 and is the answer not in the manual?
Questions and answers