Advertisement
Table of Contents
Dear customer,
Thank you very much for choosing a Noctua cooler for your
LGA4677 system.
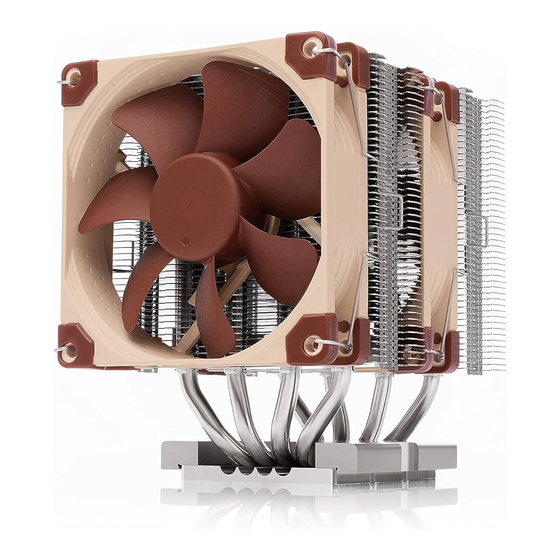
This manual will guide you through the installation process step
by step using an NH-D9 DX-3647 4U heatsink as an example.
Please note that the installation procedure is identical for all
models.
Enjoy your Noctua cooler on LGA4677!
Yours sincerely,
Roland Mossig, Noctua CEO
This mounting kit for LGA4677 is compatible with Noctua DX-4189,
DX-3647 and TR4-SP3 series heatsinks. It is not compatible with
most other Noctua CPU coolers. For up-to-date cooler compatibility
information, please visit ncc.noctua.at/socket-compatibility-overview
Prior to installing the cooler, please consult the compatibility
centre on our website (ncc.noctua.at) and verify that the cooler
is fully compatible with your motherboard.
Please also make sure that your PC case offers sufficient clearance for
the cooler and that there are no compatibility issues with any other
components (e.g. tall RAM modules). Double check that the
heatsink and fan clips do not make contact with the VGA
card, other PCIe cards, motherboard heatsinks or any other
components. Noctua cannot be held responsible for any damage or
losses caused by compatibility issues.
Should you encounter any difficulties, please check the FAQs on our
website (www.noctua.at/faqs) and don't hesitate to contact our
support team at support@noctua.at.
Required mounting parts:
Plastic CPU carrier frame
Please note that installing an LGA4677 processor and heatsink
requires a plastic CPU carrier frame such as the one shown
above. These carrier frames are included with boxed retail CPUs
and available separately via Intel sales partners for tray type
CPUs. As different CPUs require different carrier frame types
(E1A, E1B or E1C), please make sure to purchase the correct
carrier frame for tray type CPUs.
2x NM-XFB9
brackets
NOCTUA NM-i4677
INSTALLATION MANUAL
1
Installing/replacing the mounting brackets
Take the fan(s) off the cooler. If the original mounting brackets
are already installed on the cooler, please take them off first. Then
install the NM-XFB9 brackets for LGA4677.
Caution: Gently tighten the screws until they stop, but do not use
4x NM-SSC2
excessive force (max. torque 0.6 Nm).
short screws
2
Assembly of carrier frame, CPU and heatsink &
installation to the socket
Please follow the official Intel installation manual for how to
attach the CPU carrier frame to the heatsink, insert the CPU to the
carrier frame and install the CPU/heatsink assembly to the socket:
www.intel.com/processorinstall
Note that while the Intel illustrations show a 2U heatsink, the
Noctua NM-XFB9 brackets use the same mounting parts, so the
procedure is identical for Noctua heatsinks.
When attaching the CPU carrier frame to the base of the heatsink,
turn the heatsink upside down so that the base is facing upwards.
Carefully put it down onto the tips of the heatpipes and secure it
with your hand so that it cannot tilt and that the fins cannot get
bent.
Remove the plastic protection cover from the base of the heatsink
and be careful not to damage the layer of pre-applied thermal
compound.
Caution: If you are not using the heatsink for the first time and
it therefore doesn't have a fresh layer of pre-applied thermal
compound anymore, you need to apply a thin layer of thermal
compound to the CPU yourself before clipping it to the heatsink.
If there are residual traces of previous thermal paste or thermal
pads on your CPU or on the heatsink, please clean them off first.
3
Installing the fans
Reattach the fans to the heatsink using the supplied fan clips:
Advertisement
Table of Contents

Related Manuals for Noctua NM-i4677


Summary of Contents for Noctua NM-i4677
- Page 1 Take the fan(s) off the cooler. If the original mounting brackets Please follow the official Intel installation manual for how to Thank you very much for choosing a Noctua cooler for your are already installed on the cooler, please take them off first. Then attach the CPU carrier frame to the heatsink, insert the CPU to the LGA4677 system.
- Page 2 700g, we recommend taking off the fan from the heatsink in order to reduce the weight below 700g. Noctua cannot be held responsible for any damage that may arise due to excessive stress during transport if you keep the heatsink installed.
Need help?
Do you have a question about the NM-i4677 and is the answer not in the manual?
Questions and answers