
Related Manuals for Designers Fountain 52TB3L5-NI


Summary of Contents for Designers Fountain 52TB3L5-NI
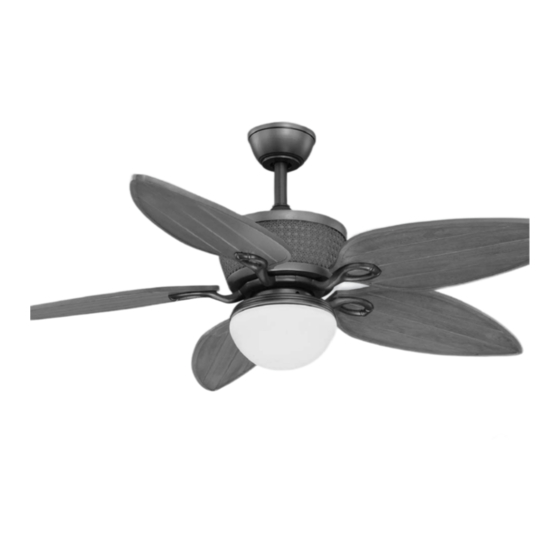
- Page 1 Distinctive Lighting and Ceiling Fans CEILING FAN OWNER'S MANUAL MODEL: 52TB3L5-NI READ AND SAVE THESE INSTRUCTIONS FOR CEILING FAN PARTS AND SERVICE, CALL 1-877-902-5588 FAN RATING AC 120V. 60Hz UL LISTED MODEL : AC-552OD...
-
Page 2: Safety Rules
1. SAFETY RULES 1. To reduce the risk of electric shock, 8. Do not operate reversing switch while insure electricity has been turned off fan blades are in motion. Fan must be at the circuit breaker or fuse box turned off and blades stopped before before beginning. -
Page 3: Tools And Materials Required
2. TOOLS AND MATERIALS REQUIRED Philips screw driver Blade screw driver 11 mm wrench Step ladder Wire cutters 3. PACKAGE CONTENTS Unpack your fan and check the contents. You should have the following items; a. Blade set (5) b. Hanger bracket assembly c. -
Page 4: Mounting Options
4. MOUNTING OPTIONS If there isn't an existing UL listed mounting box, then read the following instructions. Disconnect the power by removing fuses or turning off circuit breakers. Secure the outlet box directly to the Outlet box building structure. Use appropriate fasteners and building materials. -
Page 5: Hanging The Fan
5. HANGING THE FAN Hanger bracket REMEMBER to turn off the power. Follow the steps below to hang your fan properly: Ceiling canopy Step 1. Remove the decorative canopy bottom cover from the canopy by turning the cover counter clockwise.(Fig. 5) Canopy cover Step 2. -
Page 6: Make The Electric Connections
CHANGING THE DOWNROD (OPTIONAL) NOTE: Your fan comes with a 6" downrod Cross pin attached to the hanger ball. In addition you have been provided with a 4" Hanger downrod to use if desired. If you choose to ball use the 4" downrod, perform the following Set screw steps: 1. -
Page 7: Finishing The Installation
Figures 11 and 12 illustrate the wiring POWER LINES 120V connections for optional wall control (The wire color out of wall control may vary, see GREEN wall control's installation manual for GROUND correct wire connections.) WIRING LIGHT GROUND TO WARNING: TO REDUCE THE RISK OF FIRE, MOUNTING ELECTRIC SHOCK, OR OTHER PERSONAL BRACKET... - Page 8 9. INSTALLATING THE SWITCH HOUSING Step 1. Remove 1 of the 3 screws from the mounting ring and loosen the other 2 screws. (Do not remove) Step 2. While holding the switch housing under your fan, snap together the wire connection plugs . Step 3.
-
Page 9: Installing The Light Bulbs & Glass Shade
11. INSTALLING THE LIGHT BULBS & GLASS SHADE 1. Install 3 x 40W candelabra bulbs (not included). (Fig. 17) 2. Raise light kit up against bottom of fan housing and secure it to fan by twisting glass clockwise until snug. DO NOT OVERTIGHTEN. -
Page 10: Operating Your Fan
12. OPERATING YOUR FAN NOTE: Wait for fan to stop before changing the setting of the slide switch. Turn on the power and check the operation of your fan. There are two pull chains available in your fan: 1. 3-speed pull chain- it controls the fan speed as follows: 1 pull- High, 2 pulls- Figure 18 Medium, 3 pulls- Low, and 4 pulls- Off. -
Page 11: Troubleshooting
13. TROUBLESHOOTING Problem Solution Fan will not start. 1. Check circuit fuses or breakers. 2. Check line wire connections to the fan and switch wire connections in the switch housing. CAUTION: Make sure main power is off. Fan sounds 1. Make sure all motor housing screws are snug. noisy.
Need help?
Do you have a question about the 52TB3L5-NI and is the answer not in the manual?
Questions and answers