Advertisement
Quick Links
Advertisement

Related Manuals for Emerson InSinkErator NeoChiller CWT150-3


Summary of Contents for Emerson InSinkErator NeoChiller CWT150-3
- Page 1 InSinkErator NeoChiller Installation, Care & Use Model: CWT150-3...
- Page 2 GENERAL PRECAUTIONS AND SUGGESTIONS BEFORE USING THE APPLIANCE IMPORTANT SAFETY INFORMATION In order to use your appliance to its best, we advise reading these Before carrying out any maintenance or cleaning operation, remove the plug Failure to comply with any of these safety regulations could cause fires, instructions carefully as they contain useful information.
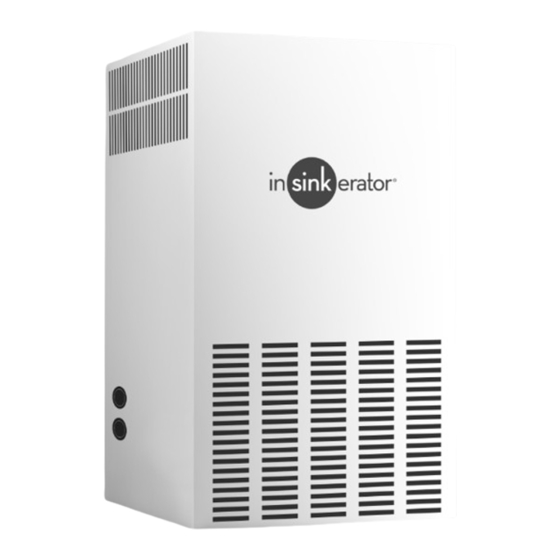
- Page 3 REMOVAL OF PACKAGING 260mm 235mm 260mm • Place the appliance in its installation site. • Cut straps A and remove carton B, polystyrene C and external plastic bag D. Chiller unit • Do away with plastic bags D and polystyrene C immediately as they are a overview danger for children.
-
Page 4: Positioning The Appliance
Chiller unit parts list (Fig. 1) ENGLISH POSITIONING THE APPLIANCE 1A. Neo Chiller Position the appliance in the point of installation, away from sources of heat 2A. 6.35mm ( ¼”) Blue Tube and direct sunlight. We also advise against installing the appliance outdoors 3A. - Page 5 Pre installation with All taps The cabinet shall provide minimum 150 mm (5.9 inches) uniform spacing around the unit. ≤ 150mm (5.9") ≤ 150mm ≤ 150mm (5.9") (5.9") Install the mounting bracket to the underside of the chiiler on the fan grill side and opposite side.
- Page 6 FILL ICE BANK IN WATER IN CO2 FILL FILL FILL MAX X MIN N ICE CONTAINER FILLING CHANGE WATER MAINS CONNECTION FROM PORT C TO B ADJUST WATER TEMPERATURE AND TURN ON POWER Remove plug from ICE BANK FILL port (C). Connect plastic tube to this port and the Turn on water supply and check for water leaks.
- Page 7 Installation with Completed installation overview F-4N1 Tap NOTICE: Property Damage. Before plugging in Chiller, check for leaks in all water supply connections. NOTICE: Property Damage. Do not use an extension cord set with the Chiller. (A standard grounded outlet within 760mm (30") of the Chiller is required under the sink.)
- Page 8 Installation with F-HC1100 Hot and Chilled Water Tap NOTICE: Property Damage. Before plugging in Chiller, check for leaks in all water supply connections. NOTICE: Property Damage. Do not use an extension cord set with the Chiller. (A standard grounded outlet within 760mm (30") of the Chiller is required under the sink.)
- Page 9 Installation with F-HC3300 Hot and Chilled Water Tap NOTICE: Property Damage. Before plugging in Chiller, check for leaks in all water supply connections. NOTICE: Property Damage. Do not use an extension cord set with the Chiller. (A standard grounded outlet within 760mm (30") of the Chiller is required under the sink.)
-
Page 10: Routine Maintenance
HOW OFTEN This limited warranty is provided by InSinkErator, a business unit of Emerson Electric Co., (“InSinkErator” or “Manufacturer” or “we” or “our” or “us”) to the original consumer owner of the InSinkErator product with which this limited warranty is provided (the “InSinkErator Product”), and any subsequent owner Cleaning the outside of the •... - Page 11 Faults and remedies WARNING! The operations should be carried out by a qualified professional. Many of these problems are not caused by the cooler but could occur due to the electricity supply or by incorrect useage of the cooler. PROBLEM POSSIBLE CAUSE WHAT TO DO Water is not cold...
- Page 12 Email: sales@insinkerator.com.au www.insinkerator.com.au The Emerson logo is a trademark and a service mark of Emerson Electric Co. InSinkErator may make improvements and/or changes in the specifications at any time, in its sole discretion, without notice or obligation and further reserves the right to change or discontinue models.
Need help?
Do you have a question about the InSinkErator NeoChiller CWT150-3 and is the answer not in the manual?
Questions and answers