Table of Contents
Advertisement
Quick Links
Advertisement
Table of Contents

Related Manuals for Abbyson Alix 72 In. Media Console


Summary of Contents for Abbyson Alix 72 In. Media Console
- Page 1 Assembly Instructions & User’s Manual Alix 72 In. Media Console Abbyson Customer Experience Team : 1-888-406-0838 (spare/replacement parts) or Email: samsclub@abbysonliving.com THIS ASSEMBLY MANUAL CONTAINS IMPORTANT SAFETY INFORMATION. PLEASE READ AND KEEP FOR FUTURE REFERENCE. P a g e...
-
Page 2: Table Of Contents
Table of Contents Important Safety Information ......................3 Before Assembly ..........................3 Care & Use ............................3 Package Contents ..........................4 Product Information .......................... 5 Components ............................5 Hardware .............................. 5 Tools ..............................5 Step 1 ..............................6 Step 2 ..............................6 Step 3 .............................. -
Page 3: Important Safety Information
Important Safety Information • Please read all instructions carefully before assembling this product. • Where applicable, and for your safety, assembly by an adult is strongly recommended. • Use only vendor-supplied hardware to assemble this item. Using unauthorized hardware could jeopardize the structural integrity of the item. •... -
Page 4: Package Contents
Package Contents Component Description Quantity Component Description Quantity Console Anti-Tip Kit P a g e... -
Page 5: Product Information
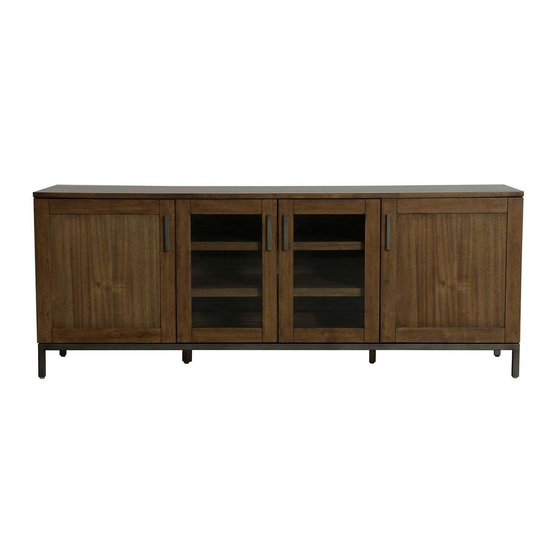
Product Information Overall Product Dimensions: 72” x 20” x 27.76” (182.9cm x 50.8cm x 70.6cm) Product Weight Capacity: Supports up to 150 lbs. (68 kg) Shelf Weight Capacity: Supports up to 50 lbs. (22.7 kg) Components Console (A) Anti-Tip Kit (B) Qty: 1 Qty: 1 Hardware... -
Page 6: Step 1
Step 1 Use long screw (E) to secure one clip (C) to the wall. Step 2 Use short screw (D) and screwdriver to secure secondary clip to the back of the console (A). Wait to attach zip tie. P a g e... -
Page 7: Step 3
Step 3 Once clips are installed, lace zip tie (F) through wall clip (C) and console clip (C) as shown, and then slide the thin end of the tie through the receiving end of the plastic strap. Pull to tighten the piece of console against the wall. Installation of the Anti-Tip Kit is complete. -
Page 8: Step 4
Step 4 When completed with the steps above, please move forward to adjust accessories for individual or using default as manufacturer has set up. • HINGE P a g e... - Page 9 • Leveler Your console has legs or feet, the levelers will be on the bottom. Tilt the item back to locate them. Remember, it’s the leveler – not the leg or foot – that needs to be adjusted to level your piece. P a g e...
-
Page 10: Warning
Warning • Do not use this product unless all screws and bolts are securely tightened. • Check that all screws and bolts are secure every three months or as needed. • Dispose of packing material properly. Do not use plastic cover as head covering as it may cause suffocation. -
Page 11: Storage Instructions
Use clean and soft rags or cloths to wipe off dust on the surface along the grains. Always keep surfaces clear of any acid or chemical substances. Avoid cleaners that use chemical products. Avoid placing furniture in direct sunlight. Avoid extreme changes in temperature by arranging furniture away from radiators, heat, and air Care conditioning units.
Need help?
Do you have a question about the Alix 72 In. Media Console and is the answer not in the manual?
Questions and answers