Advertisement
Table of Contents
HARDWARE INCLUDE:
A. 4 – Bolt
B. 2 – Handle
C. 2 - Anti Tip Kit
I. 4 -Small Screw
II. 4- Large Screw
III. 4-Bracket
IV. 2-Retention Belt
A.
4 Pcs
Bolt
Date: 20-12-2019
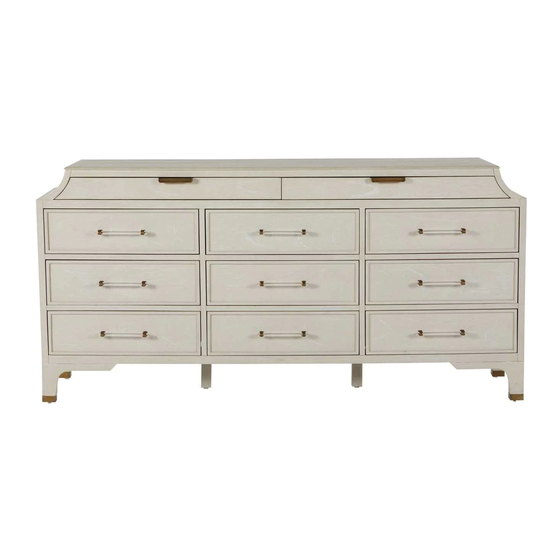
ALEXANDRA DRESSER
ASSEMBLY INSTRUCTION
HARDWARE :
B.
2 Pcs
Handle
C.
2 Set
Anti Tip Kit
(Tools Not Included)
Screwdriver
Page 1 of 3
Advertisement
Table of Contents

Subscribe to Our Youtube Channel
Summary of Contents for GABBY ALEXANDRA
- Page 1 ALEXANDRA DRESSER ASSEMBLY INSTRUCTION HARDWARE INCLUDE: A. 4 – Bolt B. 2 – Handle C. 2 - Anti Tip Kit I. 4 -Small Screw II. 4- Large Screw III. 4-Bracket IV. 2-Retention Belt HARDWARE : 4 Pcs 2 Pcs 2 Set...
- Page 2 ALEXANDRA DRESSER ASSEMBLY INSTRUCTION Bolt Handle Bolt Screwdriver Screwdriver Handle Handle Bolt Screwdriver STEP 1 Install drawer handle taken from blister pack for the two top drawer. - Re-position the acrylic handle for the nine drawer below Pre-installed at the backside of the face drawer.
- Page 3 Page 2 of 3 Wall STEP 3 Attach the Brackets (III) horizontally to the top of the back of the Dresser using the Small Screws (I). Screw the remaining Brackets (III) vertically 1 inch below the brackets attached to the Dresser using the large screws (II).


Need help?
Do you have a question about the ALEXANDRA and is the answer not in the manual?
Questions and answers