Advertisement
Quick Links
John Lewis
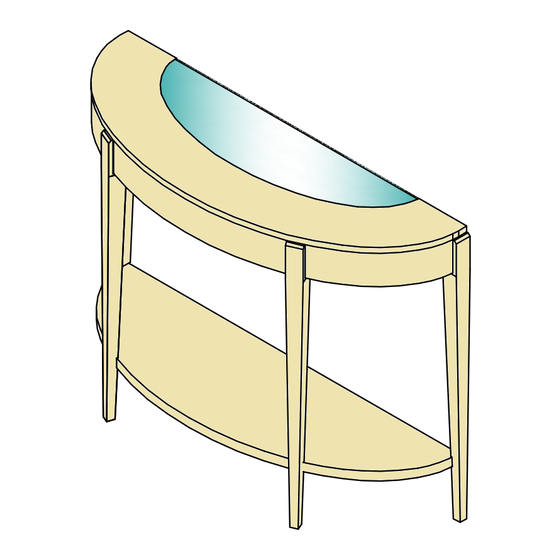
GARBO DEMI LUNE CONSOLE
Thank you for purchasing this Garbo Demi Lune Console . Please read the instructions carefully before
use to ensure safe and satisfactory operation of this product.
Pre-assembly preparation
Please ensure instructions are read in full before attempting to assemble this product.
Necessary Tools
Please check the pack contents before attempting to assemble this product. A full checklist of components is
given in this leaflet. If any components are missing, please contact the retailer from whom you bought this
product.
This product takes approximately 30 MINUTES to assemble with 2 PEOPLE.
All assembly should be performed on a flat, stable, clean and soft surface.
This product is HEAVY, it should be assembled as near as possible to the point of use. TAKE CARE
WHEN LIFTING to avoid personal injury and (or) damage to the product
The fitting pack contains SMALL ITEMS which should be KEPT AWAY FROM YOUNG CHILDREN.
IMPORTANT: Retain these instructions for future reference.
Stock Number: 877 34911
Page :
IW-17- 6610-069-0
1
Advertisement

Subscribe to Our Youtube Channel
Related Manuals for John Lewis GARBO DEMI LUNE CONSOLE 87734911


Summary of Contents for John Lewis GARBO DEMI LUNE CONSOLE 87734911
- Page 1 John Lewis GARBO DEMI LUNE CONSOLE Stock Number: 877 34911 Thank you for purchasing this Garbo Demi Lune Console . Please read the instructions carefully before use to ensure safe and satisfactory operation of this product. Pre-assembly preparation Please ensure instructions are read in full before attempting to assemble this product.
- Page 2 Fittings and parts checklist Left leg Table top Fixed shelf Middle legs Right leg Flat washer Lock washer Stainless Pv fitting steel insert system grub screw (Wall fixing kit) Page : 2 IW-17- 6610-069-0...
- Page 3 Wall fixing - if in doubt seek professional advice Page : 3...
- Page 4 Step By Step Assembly Instructions Step 1 : Insert 4 x PV fitting system dowel (F) to the middle legs ( 2) , left leg (3) , and right leg (4) as shown. Note: Ensure PV system dowels are aligned as shown. Fitting F x 4 Step 2...
- Page 5 Step 3 3. 1 With the help of an assistant: Fitting : Lay the table top ( 1 ) on a flat, stable, clean and soft surface. Attach middle legs ( 2) into place on table top( 1 ) by inserting bolts (A) into the predrilled holes of each wood support bracket as shown.
- Page 6 Step 4 With the help of an assistant: : Screw bolts (A) into the predrilled holes of each wood support bracket as shown. Insert flat washer (B), lock washer (C) and hex nut (D) onto all threaded bolts (A) in the order as shown - (B) followed by (C) followed by (D). Tighten hex nut (D) on top then tighten the hex nut (D) on bottom using the spanner (E) as shown.
- Page 7 Step 5 With the help of an assistant, stand the unit upright. Remove stainless steel film cover from stainless steel insert and carefully place into the recess on the top as shown. Step 6 Remove the stainless steel insert by pushing up from the access hole as shown. Warning : Be careful when handling the stainless steel insert, the edges are sharp.
-
Page 8: Care And Maintenance
Care and Maintenance Wood Furniture Wood displays different grain patterns depending on which way they are cut - for example, the 'medullary ray' which can appear on oak furniture is a mark of good quality timber - these are just characteristics of the natural beauty of the wood. - Page 9 As with all cleaners, test a small inconspicuous spot before treating the entire surface. All products should be used in strict accordance with instructions on package. PLEASE KEEP THESE INSTRUCTIONS FOR FUTURE REFERENCE John Lewis Partnership 171 Victoria Street, London, SWIE 5NN www.johnlewis.com Page : 9...
Need help?
Do you have a question about the GARBO DEMI LUNE CONSOLE 87734911 and is the answer not in the manual?
Questions and answers