Advertisement
- 1 Introduction
- 2 Preliminary Examination
- 3 General Description & Intended Use
- 4 Direct Soil Measurement
- 5 Probe Features
- 6 Specifications
- 7 Functional Description & LCD Display
- 8 Preparation
- 9 Storage
- 10 Operation
- 11 Calibration
- 12 Auto-Off
- 13 Clear Calibration
- 14 "Err" Message
- 15 Battery Indicator
- 16 Care & Maintenance
- 17 Accessories
- 18 Battery Replacement
- 19 Documents / Resources
Introduction
Dear Customer,
Thank you for choosing a Hanna Instruments product. Please read this instruction manual carefully before using the tester. For more information about Hanna Instruments and our products, visit www.hannainst.com or e-mail us at sales@hannainst.com.
For technical support, contact your local Hanna Instruments Office or e-mail us at tech@hannainst.com.
Preliminary Examination
Remove the tester and accessories from the packing material and examine it carefully. If you require any further information, please contact Hanna Instruments technical support team at tech@hannainst.com.
Each HI981030 is delivered in a cardboard box and is supplied with:
- HI70004 pH 4.01 buffer solution, 20 mL sachet (2 pcs.)
- HI70007 pH 7.01 buffer solution, 20 mL sachet (2 pcs.)
- HI700663 Cleaning solution for soil deposits
- HI700664 Cleaning solution for humus deposits
- HI9072 Electrode storage solution, 13 mL dropper
- HI9071 Gelled bridge electrolyte
- CR2032 3V Lithium-ion battery
- Instrument quality certificate
- Instruction manual
 Note: Save all packing material until you are sure that the tester works correctly. Any damaged or defective item must be returned in its original packing material with the supplied accessories.
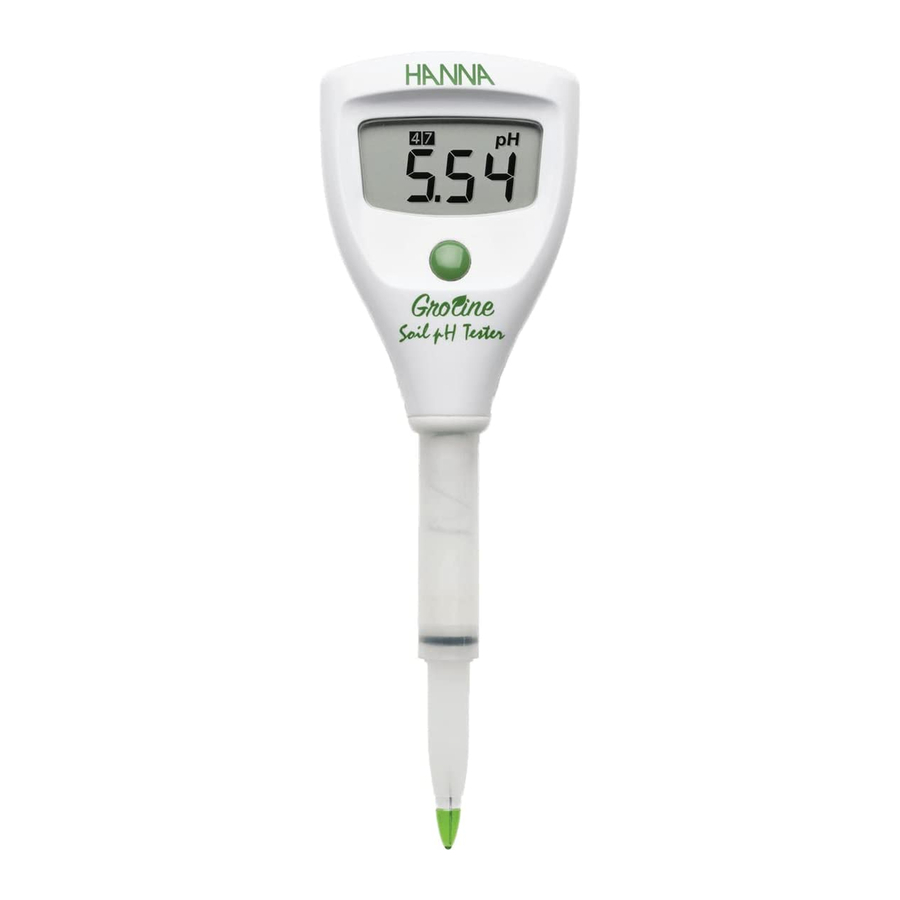
General Description & Intended Use
The HI981030 Soil pH Tester is designed to measure the pH or acidity of the soil as a key factor in ensuring strong and healthy plant growth. It features a single button operation system and is easy to use. It has a compact and waterproof casing and automatic pH calibration at one or two points. All readings are automatically compensated for temperature variations with a built-in temperature sensor.
Direct Soil Measurement
Direct soil pH testing offers the benefit of not needing to take soil samples, as the pH is tested right in the ground.
- Inspect the pH probe to ensure the bridge electrolyte gel has not dried out. Refill if necessary.
- Calibrate the pH probe prior to measurement.
- Using an auger (HI721319) or ruler, make a hole down into the soil (app. 20 cm). The hole needs to be the same depth each time to avoid pH discrepancies.
- Add some distilled or deionized water to the hole; the soil should be damp but not saturated.
- Wash the electrode with tap water and insert into the hole.
- Allow for the reading to develop or stabilize.
- After measurement, gently wash off leftover soil (avoid using a cloth or a wipe).
Note: Direct soil pH testing is not recommended if the ground is stony or hardened as the electrode can be damaged. To prepare the soil prior to measurement, take a representative soil sample and add HI7051 Soil preparation solution.
Probe Features
Conical Tip: The conical tip allows for easy penetration into damp soil. If the soil is hardened (or stony) it is best to use an auger (HI721319 ) to make a hole for the pH electrode to be inserted into.

Open Junction Reference: The open junction design consists of a solid gel interface between the soil sample and the internal Ag/AgCl reference. This interface prevents silver from entering the sample and makes it impermeable to clogging, resulting in fast response and stable reading.
Polyvinylidene Fluoride (PVDF) Body: PVDF is a food-grade plastic that is resistant to most chemicals and solvents, including sodium hypochlorite, it is also resistant to fungal growth. It has high abrasion resistance, mechanical strength, and resistance to ultraviolet.
Removable Polyvinylidene Fluoride (PVDF) Reference Sleeve: The PVDF outer junction sleeve can be removed and cleaned. Once cleaned, a small amount of supplied gel electrolyte is added and the junction is refreshed, improving the measurement and extending the life of the tester.
Specifications
| Range | 0.00 to 12.00 pH |
| Resolution | 0.01 pH |
| Accuracy | ±0.05 pH |
| Calibration | Automatic, one or two-point |
| Temperature compensation | Automatic, 0 to 50°C |
| Electrode | Built-in probe for specific application |
| Battery type | CR2032 Lithium-ion (included) |
| Battery life | Approximately 800 hours of continuous use |
| Auto-off | 8 minutes, 60 minutes or disabled |
| Environment | 0 to 50°C (32 to 122°F); RH 95% max |
| Dimensions | 51 x 151 x 21 mm (2 x 5.9 x 0.9") |
| Weight | 46 g (1.62 oz.) |
Functional Description & LCD Display

Preparation
- Remove the protective cap. Do not be alarmed if salt deposits are present. Rinse the probe with water and blot dry.
- If the glass and / or junction are dry soak the electrode (bottom 4 cm / 1.5 ") in storage solution for a minimum of 30 minutes. Rinse with water and blot dry.
- Calibrate the electrode before using. For best results is recommended to recalibrate periodically.
Storage
- To ensure a quick response, the glass tip and junction should be kept moist.
- Replace the protective cap with a few drops of storage solution when not in use. Do not store the electrode in distilled or deionized water.
Operation
Press the ON/OFF button to turn the meter on. The tester displays all LCD segments for a few seconds. The tester will enter measurement mode, the current reading and calibrated buffers will be shown.

Calibration
From measurement mode, press and hold the ON/OFF button until "CAL" is displayed.

- For one or two-point calibration using pH 7.01 buffer solution, follow A procedure A.
- For one-point calibration using pH 4.01 buffer solution, follow B procedure B.
Note: It is recommended to calibrate the electrode with buffers at the temperature it will be used at.
One or Two-Point Calibration with pH 7.01
When "7.01" is displayed, place the tip of the electrode in pH 7.01 buffer. When the reading is stable, the stability icon will disappear. When "4.01" is displayed, follow the procedure to the right for a one or two-point calibration.

One-Point
- Press the ON/OFF button to save the one-point calibration.
![]()
- "Sto" will be displayed when the calibration is saved.
![]()
- The tester will return to measurement mode and the calibration tag will be displayed.
![]()


Two-Point
- Place the tip of the electrode in pH 4.01 buffer. The buffer is automatically recognized, the stability indicator will blink.
![]()
- Wait until the measurement is stable and the stability indicator disappears. "Sto" will be displayed when the calibration is saved.
![]()
- The tester will return to measurement mode and the calibration tags will be displayed.
![]()


One-Point Calibration with pH 4.01
- When "7.01" is displayed, place the tip of the electrode in pH 4.01 buffer. The buffer value will be recognized automatically and "4.01" will be displayed.
![]()
- When the reading is stable, the stability indicator will disappear."Sto" will be displayed when the calibration is saved.
![]()
- The tester will return to measurement mode and the calibration tag will be displayed.
![]()


Auto-Off
From measurement mode, press and hold the ON/OFF button. The LCD will show "OFF", "CAL" followed by "d08" (default setting, 8 minutes). Release the ON/OFF button. A single press on the ON/OFF button will change the auto-off timer to "d60" (60 minutes). To disable the auto-off feature press the ON/ OFF button again, LCD will show "d--". Press and hold to exit.

Clear Calibration
To clear the user calibration and restore the tester to factory default. From calibration mode, press and hold the ON/OFF button, the LCD will show "CLr".

"Err" Message
In calibration mode, if the probe is in the correct buffer solution and the "Err" message is displayed, the probe should be cleaned. Soak the probe in cleaning solution for 20 minutes. Rinse with water and hydrate electrode in storage solution for a minimum of 30 minutes before calibrating.

Battery Indicator
When the battery level is low, the tag on the LCD will blink. When the battery is depleted the "Erb" message is displayed and the tester is powered off.

Care & Maintenance
General Information
Please read the information below, to ensure the highest possible accuracy:
- Fresh buffer should be used for each calibration, once the sachets are opened the buffer value can change over time.
- For improved accuracy a two-point calibration is recommended.
- If the electrode is slow or sluggish, soak it in cleaning solution for 20 minutes. Rinse with water and hydrate the electrode in storage solution for a minimum of 30 minutes before calibrating.
- If measurements are taken successively, rinse the probe thoroughly in distilled or deionized water to eliminate cross-contamination.
- When not in use, add a few drops of storage solution to the protective cap to keep the glass tip and the junction hydrated. If storage solution is not available, pH 4.01 or pH 7.01 buffer can be used. Never store the probe in distilled or deionized water.
- The outer junction sleeve can be removed and cleaned with purified water. Once cleaned a small amount of supplied gel electrolyte should be added to refresh the junction and improve the pH measurement.
Note: Never immerse the tester over the maximum immersion level.
Refilling the Electrode
- To remove the electrode sleeve, rotate it carefully and slide it off the probe body, keeping it parallel to the pH electrode.

![warning]() Note: Handle the probe with care, the pH electrode stem is made of glass.
Note: Handle the probe with care, the pH electrode stem is made of glass. - Rinse off any traces of electrolyte gel from the sleeve. Soak the tip of the pH electrode in HI70061 General purpose cleaning solution (or HI700661, HI700663,HI700664) for 20 minutes. Rinse with distilled or deionized water.
- Refill the reference well with HI9071 Gelled bridge electrolyte.

- Replace the sleeve making sure that the black O ring is fixed inside the electrode.
![]()
- Rinse off excess gel with distilled or deionized water.
- Shake the probe down as you would do with a clinical thermometer to eliminate any trapped air bubbles.
![]()
- Soak the probe in HI70300 Electrode storage solution for a minimum of 30 minutes before calibrating.


Accessories
pH Buffer Solution
| HI70004G | GroLine pH 4.01 buffer solution, 20 mL sachet (25 pcs.) |
| HI70007G | GroLine pH 7.01 buffer solution, 20 mL sachet (25 pcs.) |
| HI77400P | pH 4.01 & 7.01 buffer solution, 20 mL sachet (10 pcs., 5 each) |
Electrode Cleaning Solution
| HI70061G | GroLine general purpose cleaning solution, 20 mL sachet (25 pcs.) |
| HI700661P | General purpose cleaning solution for agriculture, 20 mL sachet (25 pcs.) |
| HI700663P | Cleaning solution for soil deposits, 20 mL sachet (25 pcs.) |
| HI700664P | Cleaning solution for humus deposits, 20 mL sachet (25 pcs.) |
Electrode Storage Solution
| HI70300G | GroLine electrode storage solution, 20 mL sachet (25 pcs.) |
| HI70300-023 | GroLine electrode storage solution, 230 mL |
| HI9072 | Electrode storage solution, 13 mL dropper |
Electrode Fill Solution
| HI9071 | Gelled bridge electrolyte |
Other Accessories
| HI721319 | Soil auger |
| HI7051M | Soil preparation solution, 230 mL |
Battery Replacement
To change the CR2032 lithium-ion battery, turn the battery cover located on the back of the tester counterclockwise to unlock. Remove cover and replace the battery with positive (+) side facing out.

Note: Only use the battery type specified in the manual. Old batteries should be disposed in accordance with local regulations.

Documents / Resources
References
Download manual
Here you can download full pdf version of manual, it may contain additional safety instructions, warranty information, FCC rules, etc.
Download Hanna Instruments Groline HI981030 - Soil PH Tester Manual
Advertisement


Need help?
Do you have a question about the Groline HI981030 and is the answer not in the manual?
Questions and answers