Table of Contents
Advertisement
Quick Links
Advertisement
Table of Contents

Summary of Contents for HENNING WeightWatcher Beam
- Page 1 Operating Manual WeightWatcher Beam Service-Hotline: +49 2336 9298-232...
-
Page 2: Table Of Contents
16. Operation Instructions in Brief ..................14 Henning GmbH & Co. KG Industriegebiet S5 Loher Str. 4 58332 Schwelm (Germany) Tel.: +49 2336 9298-0 Fax.: +49 2336 9298-100 Service-Hotline: +49 2336 9298-232 info@henning-gmbh.de www.henning-gmbh.de © Copyright 2014 by Henning GmbH & Co. KG Rev. 1.1 09/2014... -
Page 3: Connection Diagram
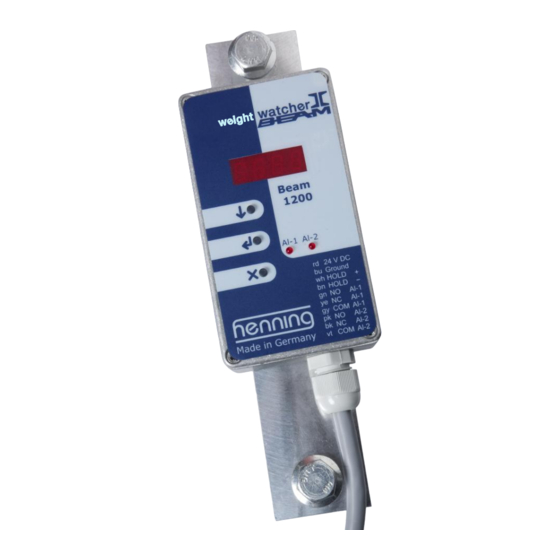
Brown - Hold input Green NO contact AL-1 Yellow NC contact AL-1 Grey COM contact AL-1 Pink NO contact AL-2 Black NC contact AL-2 Violet COM contact AL-2 © Copyright 2014 by Henning GmbH & Co. KG Rev. 1.1 09/2014... -
Page 4: Alarm Relays
After ten minutes without any push of a button it changes into the energy-saving mode, i.e. the display goes off for being reactivated by the next push of a button. © Copyright 2014 by Henning GmbH & Co. KG Rev. 1.1 09/2014... -
Page 5: How To Adjust A Parameter
4.) After setting the last digit, press button again. After that the whole figure will be flashing. 5.) Press button once more to apply the adjusted parameter. © Copyright 2014 by Henning GmbH & Co. KG Rev. 1.1 09/2014... -
Page 6: Scheme Of Menu
(4 digits in the menu-item selected) calibrating of WeightWatcher Beam (cali) zero point adjustment (tara) state-changing thresholds of alarm-relays (alar) weight unit (unit) version number (Program-Version) © Copyright 2014 by Henning GmbH & Co. KG Rev. 1.1 09/2014... -
Page 7: How To Calibrate The Load Measuring
Take the following steps to calibrate the WeightWatcher Beam 1. Mount the rope-sensor to the upper belt 2. Connect WeightWatcher Beam to a power supply ranging between 12V and 28V DC Calibrate the WeightWatcher Beam both under full load and zero-load conditions a. -
Page 8: Alarm Limits
4. After having adjusted the last digit and accordingly pressed , the whole figure will be flashing. 5. Press once more to apply the parameter. 6. You can quit this menu-item at any time by pressing © Copyright 2014 by Henning GmbH & Co. KG Rev. 1.1 09/2014... -
Page 9: How To Adjust The Display
125 V AC 0,3 A max. switching capacity 62 VA (resistive load) max. switching capacity 62 VA (inductive load) min. switching load DC 10 mV DC 0,01 mA © Copyright 2014 by Henning GmbH & Co. KG Rev. 1.1 09/2014... -
Page 10: Installation Des Weightwatcher Beam
The sensors are to be fitted at various distances (see table) to their respective profiles. Two holes (minimum diameter - 11mm) must always be drilled at a distance of 179 mm apart. This applies to all three WeightWatcher Beams. © Copyright 2014 by Henning GmbH & Co. KG Rev. 1.1 09/2014... - Page 11 Version 1 © Copyright 2014 by Henning GmbH & Co. KG Rev. 1.1 09/2014...
- Page 12 Version 2 © Copyright 2014 by Henning GmbH & Co. KG Rev. 1.1 09/2014...
-
Page 13: Operation Instructions In Brief
Press times to confirm the adjustment. 5.) Connect the control lines to the lift controller and make sure that you accordingly choose the make- resp. break-contact. © Copyright 2014 by Henning GmbH & Co. KG Rev. 1.1 09/2014... - Page 14 © Copyright 2014 by Henning GmbH & Co. KG Rev. 1.1 09/2014...


Need help?
Do you have a question about the WeightWatcher Beam and is the answer not in the manual?
Questions and answers