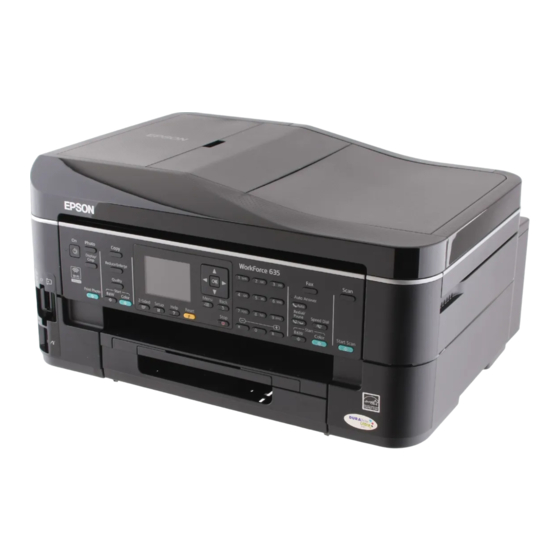
Epson WorkForce 630 Start Here
Workforce 630 series all-in-one printer
Hide thumbs
Also See for WorkForce 630:
- Quick manual (64 pages) ,
- Specifications (2 pages) ,
- Basic operation manual (112 pages)
Advertisement
Quick Links
WorkForce
630 Series
®
Start Here
Read these instructions before using your product. These
instructions are for the WorkForce 630/632/633/635.
1
Unpack
Phone cord
Caution:
Do not open ink cartridge packages until you are ready to
install the ink. Cartridges are vacuum packed to maintain reliability.
Remove all protective materials.
Caution:
Do not remove the plastic strip shown below. It is part of the
Automatic Document Feeder.
2
Turn on
1
Connect the power cable.
Caution:
Do not connect to your computer yet.
*411856600*
*411856600*
French control
panel stickers
(included for
Power cord
Canada only)
2
Raise the control panel and press the
To lower the control panel, press the release bar
underneath.
3
Select settings
1
To select English as your language, press OK.
(If you want to change the language, press
select it, then press OK.)
2
Select your Country/Region and press OK.
3
Select On if Daylight Saving Time is in effect (spring
through summer), otherwise select Off. Press OK.
4
Select the Date format and press OK.
5
Press the number keys to enter the Date and press OK.
6
Select the Time format (12h or 24h) and press OK.
7
Press the number keys to enter the Time. Then press
to select AM or PM, if necessary.
or
8
Press OK.
4
Install ink cartridges
1
Lift up the scanner.
On button.
or
to
Advertisement

Subscribe to Our Youtube Channel
Summary of Contents for Epson WorkForce 630
- Page 1 WorkForce 630 Series ® Start Here Read these instructions before using your product. These instructions are for the WorkForce 630/632/633/635. Unpack Phone cord Power cord Caution: Do not open ink cartridge packages until you are ready to install the ink. Cartridges are vacuum packed to maintain reliability. Remove all protective materials.
- Page 2 Open the cartridge cover. Shake the ink cartridges gently 4 or 5 times, then unpack them. Remove only the yellow tape from each cartridge. Caution: Don’t remove any other seals or the cartridges may leak. Insert the cartridges in the holder for each color. Press each cartridge down until it clicks.
- Page 3 M acintosh ® Double-click the Click Install and follow the on-screen instructions. Any questions? Quick Guide Basic instructions for network setup, copying, printing, faxing, and scanning. On-screen help with your software Select Help or ? when you’re using your software. Epson icon.
-
Page 4: Epson Technical Support
Designed for Excellence is a trademark of Epson America, Inc. General Notice: Other product names used herein are for identification purposes only and may be trademarks of their respective owners. Epson disclaims any and all rights in those marks. This information is subject to change without notice.


Need help?
Do you have a question about the WorkForce 630 and is the answer not in the manual?
Questions and answers
How do I scan to memory card on work force 630
To scan to a memory card on the Epson WorkForce 630:
1. Insert a memory card into the printer.
2. Press the Scan button on the printer.
3. Use the arrow buttons to select "Scan to Memory Card."
4. Choose your scan settings.
5. Press the Start button to begin scanning.
The scanned file will be saved as a JPG or PDF on the memory card.
This answer is automatically generated