Advertisement
integrate with AcqKnowledge—plus access HD license if enabled.
Compatibility
• Requires computer running Windows (macOS not supported)
• The NIBP100E module is used in both the standard and -HD systems
• The NIBP100E-HD requires a separate license to access hemodynamic
calculations
• These instructions reference the MP160 data acquisition and analysis system;
the NIBP100E module works with both the MP160 and the older MP150
• Requires AcqKnowledge 5.0.7 or later
MODULE QUICK SETUP INSTRUCTIONS
1. Connect MP160 device to the computer.
2. Attach the NIBP100E module to the MP160 data acquisition system.
3. Connect the NIBP100E USB cable to the USB connector on the back of the module
and a USB port on the Windows computer.
4. Connect the AC150A power cord to the back of the module and plug it into a properly
grounded AC Mains socket.
5.
Select the correct double-cuff sensor size by using the sizing graph on the finger cuff
controller. If a participant's finger size is between two cuff sizes, choose the larger cuff.
6. Assemble the finger cuff hardware by connecting the double-cuff finger sensor, the cuff
controller, and finger sensor cable.
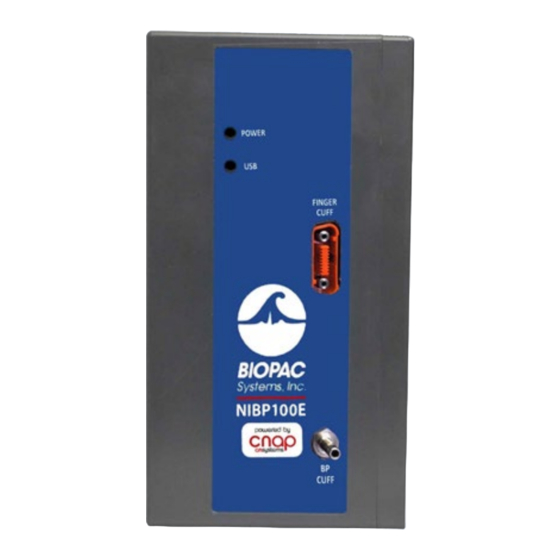
7. Connect the finger sensor cable to the outlet labeled "Finger Cuff" on the front of the
NIBP100E module.
QUICK START INSTALLATION
Noninvasive BP Amplifier and AcqKnowledge
Congratulations on your NIBP100E/NIBP100E-HD purchase.
Follow this Quick Start Guide to set up the NIBP100E module and
www.biopac.com
NIBP SYSTEM COMPONENTS
NIBP100E module with AC150 power supply
•
NIBP100E
•
License:
NIBP100E -HD
Double-finger cuffs: small, medium, and large
•
(RXNIBPEFINGER-S, -M, -L)
Arm cuffs: small, medium. large, extra-large
•
(RXNIBPDCUF12-19, 17-25, 23-33, 31-40)
CNAP Controller with Holder (RXNIBPECONTROL)
•
NBP Cuff Hose Extension
•
•
TFC Forearm Controller Strap
TFC Cable
•
USB Cable (CBLUSB)
•
KEY20 flash drive or
KEY22 flash drive
NIBP100E rear panel
Sizing graph on
finger cuff controller
Doc111
12.13.2021
Advertisement
Table of Contents

Related Manuals for BIOPAC Systems NIBP100E


Summary of Contents for BIOPAC Systems NIBP100E
- Page 1 1. Connect MP160 device to the computer. 2. Attach the NIBP100E module to the MP160 data acquisition system. 3. Connect the NIBP100E USB cable to the USB connector on the back of the module NIBP100E rear panel and a USB port on the Windows computer.
- Page 2 9. Connect the blood pressure arm cuff to the outlet labeled “BP Cuff” on the front of the NIBP100E. 10. Power on the MP160 device. 11. Power on the NIBP100E module by pressing the power button on the rear of the device. The power and USB lights should be illuminated when the device is ready.
- Page 3 3. If the correct license is installed, close the About dialog box, which will return the user to the module setup window. Depending on which license has been installed, the window will display checkboxes for the four (4) non-HD cardiac channels or the four non-HD channels plus six (6) HD cardiac channels. Configuration window NIBP100E Quick Start www.biopac.com...
- Page 4 7 set to the “on” or up position. HD units will also have switches for channels 8, 9 and 10 in the “on” or up position by default. The NIBP100E-HD user may choose to switch channels 8, 9, or 10 to the “off” or down position to free up those channels for other hardware.
Need help?
Do you have a question about the NIBP100E and is the answer not in the manual?
Questions and answers