Advertisement
Quick Links
Advertisement

Related Manuals for OLDE MIDWAY SPIN2000


Summary of Contents for OLDE MIDWAY SPIN2000
- Page 1 INSTRUCTION 2000 SPIN MANUAL...
-
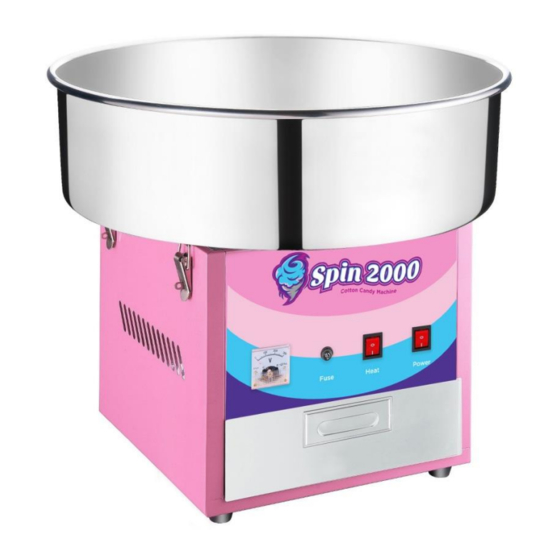
Page 2: Specifications
WARNING Misuse of this machine may result in serious injury. Please read and follow all precautions below. This machine is not a toy and should not be operated by children. Take proper safety precautions when using this machine. Do not use the machine for other than its intended purpose and do not modify. Use only on grounded outlet and with a grounded 3-prong extension cord that meets or exceeds electrical rating. - Page 3 COTTON CANDY MACHINE & CART PARTS (PREINSTALLED)
- Page 4 FIRST-TIME SET UP PROCEDURE If your model includes a cart, please advance to page 7 to complete the cart assembly before proceeding. 1. Wipe the pan and floss head with a damp clean cloth and dry thoroughly. Do not clean with detergent or abrasive chemicals. 2.
- Page 5 Safety Switch (not shown) Pan Bracket Latch Fig. 1 Fig. 2 4. Carefully, hold the pan on top of the base aligning pan brackets with the four latches. (Fig. 1) 5. Securely latch the pan to the machine by hooking the latch ring over the pan brackets and pressing down on each of the four latches until fully engaged.
- Page 6 OPERATION INSTRUCTIONS 1. Press the power switch ON and allow the machine to run for 1-2 minutes. Note: If the machine begins to vibrate excessively, turn the Power Switch to OFF. Unplug the machine and make sure it’s on a level working surface. 2.
- Page 7 COTTON CANDY CART ASSEMBLY STEP 1: Remove the 6 preinstalled bolts (C) from the cross posts (F). Fig. 1 STEP 2: Arrange leg post (D), U bar (E), and cross post (F). Cross post (F) should be attached to the hole furthest away from the black end cap on leg post (D).
- Page 8 STEP 7: Press on end-cap (h) to hide Fig. 3 the bolts on outside of tire. See Fig. 3. Fig. 4 STEP 8: Turn the frame upright. Remove the pan from the cotton candy machine. Set the cotton candy machine base on the posts, the power outlet should be between the wheels.
-
Page 9: Care And Maintenance
CARE & MAINTENANCE CLEANING After your final batch of cotton candy in a session, keep the machine running and hot while cleaning the floss head by slowly pouring a small amount of water into the center. NOTE: The water will immediately become hot steam. Keep the floss head spinning through until water runs almost clear. -
Page 10: Troubleshooting
TROUBLESHOOTING MACHINE HAS NO POWER Check to make sure that the bowl is seated correctly and all four latches are engaged and secure. If the safety switch is engaged and both switches are ON, unplug the machine and check the fuse; replace if defective. Contact us for further assistance if this does not resolve the problem.
Need help?
Do you have a question about the SPIN2000 and is the answer not in the manual?
Questions and answers