Table of Contents
Advertisement
Quick Links
Advertisement
Table of Contents

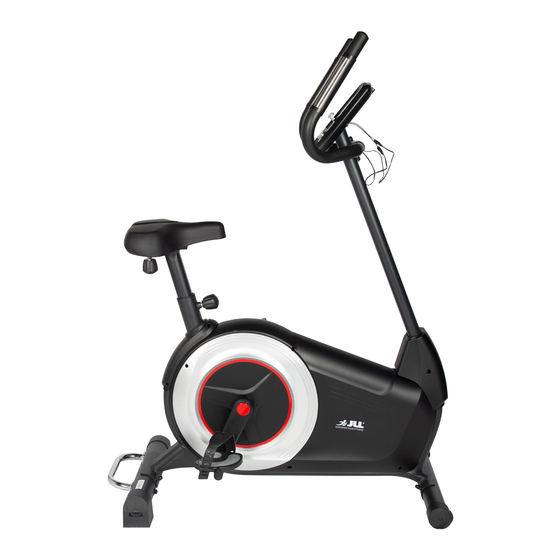
Related Manuals for JLL JF600 PRO


Summary of Contents for JLL JF600 PRO
- Page 1 INSTRUCTION GUIDE JF600 PRO MONITOR...
- Page 2 The contents of this manual are subject to change without notice to improve quality. © 2023 JLL Fitness Ltd JLL Fitness Ltd owns the copyright for this manual. Use or reproduction of this manual in parts or entirety without the authorization of JLL Fitness Ltd is prohibited.
-
Page 3: Table Of Contents
CONTENTS - Safety precautions p. 4 - Cleaning p. 5 - Installation p. 6 - Operation p. 7 p. 7 Creating users p. 8 Manual mode p. 8 Program mode p. 8 H.R.C mode p. 9 Watt program p. 9 User program mode p. -
Page 4: Safety Precautions
SAFETY PRECAUTIONS The monitor on this machine has been tested to the required standards, each of those passed regulations are shown via the following symbols: WEEE - Waste Electrical and Electronic Equipment Recycling. ABS - Acrylonitrile Butadiene Styrene often referred to as ABS is a type of plastic that is an opaque thermoplastic. CE - The product conforms with relevant EU directives regarding health and safety or environmental protection. -
Page 5: Cleaning
CLEANING Please take care when cleaning this monitor as the LCD screen can easily be scratched. You will need a soft dry cloth Do not spray cleaning chemicals directly onto the monitor Do not apply water to the monitor as it is electrical and may damage the internal components... -
Page 6: Installation
INSTALLATION STEP 1 STEP 2 Remove the four screws already in the back of Connect the male to female wires from the vertical post to the monitor. the monitor. STEP 3 Secure the monitor to the frame using the four screws removed previously. -
Page 7: Operation
Plug in the power supply and the monitor will display every segment on the LCD screen for 2 seconds. CREATING USERS The JF600 PRO monitor allows you to input up to 4 different users. • When the monitor is powered on, you will be able to select a user from 1-4 using the silver dial. -
Page 8: Manual Mode
MANUAL MODE After entering the user data settings you will be in manual mode. A flashing M will indicate this in the top left of the monitor, press the silver dial to confirm your program selection. • Start by setting the level, this is your resistance level. Press the silver dial to confirm. •... -
Page 9: Watt Program
WATT PROGRAM • From the main menu use the dial to select the watt program which is symbolised using a W icon. • Use the dial to set the watt target, the default will be 120. • Once confirmed, use the dial to set the workout duration. •... -
Page 10: Body Fat Function
BODY FAT FUNCTION • Once you have completed a workout or pressed the ‘Start/Stop’ button then press the ‘Body Fat’ button to start the measurement. • The console will display U1 and start measuring. • During the measurement the user will need to keep both hands on the pulse plates. The measurement will take approx eight seconds. -
Page 11: Bluetooth/Iconsole App
BLUETOOTH/iCONSOLE APP This monitor is equipped with Bluetooth which is designed to connect to the iConsole app. The app can be downloaded from the App Store or from Google Play. Once connected the monitor will power off and all readings will be displayed within the app. For more instructions on how to use the iConsole app click the link below or scan the QR code: IConsole App Instructions... -
Page 12: Data Readouts
DATA READOUTS Readout Measurement Time Minutes : Seconds Speed KM/H Distance Kilometres Pulse PPM (Pulsations Per Minute) Revolutions Per Minute Body fat... -
Page 13: Troubleshoot
TROUBLESHOOT Issue Resolutions No power to the monitor • Make sure the power cable is fully inserted into the back of the machine and the plug is pushed fully into the socket. • Check your connection wires from the monitor to the vertical post. They must not be trapped, fully connected and the pins must be straight. -
Page 14: Contact Details
CONTACT DETAILS Tel: 0121 328 7507 Email: info@jllfitness.co.uk Live Chat: WWW.JLLFITNESS.CO.UK... - Page 16 @JLLFITNESS...
Need help?
Do you have a question about the JF600 PRO and is the answer not in the manual?
Questions and answers