
Subscribe to Our Youtube Channel
Related Manuals for rizoma GRDW205Z11


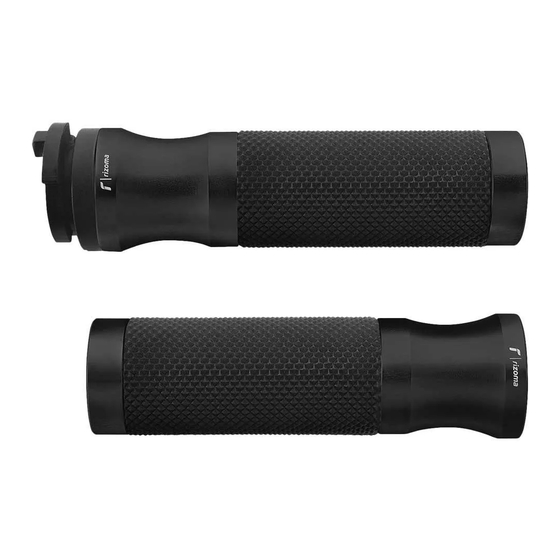
Summary of Contents for rizoma GRDW205Z11
- Page 6 Your RIZOMA products require regular inspection and maintenance. The more you ride the more often you must inspect your RIZOMA products. If your products are leak- ing, bent, deformed, cracked, chipped or worn, no matter how slight, immediately have a RIZOMA dealer inspect the products before you ride again. In any case never try to repair or modify the Rizoma products or their components, always replace with Rizoma original components.
- Page 7 PART NUMBER GRDW205Z11 PART NUMBER GRDW205Z11...
- Page 8 Il livello di difficoltà e il tempo di montaggio non comprendono lo smontaggio dei componenti OEM. ENG ! – Before you start mounting the product please GRDW205Z11 check the completeness of the kit on the part list. The difficulty level and the time of assemblage shown do not include the removal of OEM components.
- Page 9 MONTAGGIO BOCCOLA INSERT BUSHING PART NUMBER Step 1 GRDW205Z11 MONTAGGIO BOCCOLA INSERT BUSHING PART NUMBER Step 1 GRDW205Z11...
- Page 10 MONTAGGIO MANOPOLA SX INSTALL LH GRIP PART NUMBER Step 2 GRDW205Z11 MONTAGGIO MANOPOLA SX INSTALL LH GRIP PART NUMBER Step 2 GRDW205Z11...
- Page 11 SERRAGGIO GRANI MANOPOLA SX TIGHTEN HEADLESS SCREWS LH GRIP PART NUMBER Step 3 GRDW205Z11 ITA ! – Una volta in posizione avvitare i grani con frena filetti medio. ENG ! – Once in position tightening the headless screw with thread locker medium.
- Page 12 MONTAGGIO MANOPOLA DX INSTALL RH GRIP PART NUMBER Step 4 GRDW205Z11 MONTAGGIO MANOPOLA DX INSTALL RH GRIP PART NUMBER Step 4 GRDW205Z11...
- Page 13 PART NUMBER Step 5 GRDW205Z11 ITA ! – Aprire i gusci del comando acceleratore, inserire la manopola e richiudere i gusci. Prima di guidare, aprire e rilasciare l'acceleratore in diverse posizioni durante il suo movimento per assicurarsi che l'acceleratore funzioni correttamente e ritorni con scatto nella posizione di chiusura.
- Page 14 MONTAGGIO DISTANZIALE INSTALL SPACER PART NUMBER Step 6 GRDW205Z11 ITA ! – Per il corretto montaggio del distanziale controllare che tra il terminale manubrio/proguard/indicatore a manubrio e il distanziale ci sia circa 1 mm. ENG ! – For the correct install the spacer check that between the handlebar cap/proguard/handlebar turn signal and the spacer there is about 1...
- Page 15 ................................................................................................................................................................................................................................................................................................................................................................................................................................................................................................................................................................................................................................................................................................................................................................................................................................................................................................................................
- Page 16 ................................................................................................................................................................................................................................................................................................................................................................................................................................................................................................................................................................................................................................................................................................................................................................................................................................................................................................................................
- Page 17 ITA – RIZOMA si riserva il diritto, a sua esclusiva discrezione, di apportare modifiche al prodotto e a queste informazioni in qualsiasi momento e senza preavviso. Anche se molti cataloghi e pubblicità rappresentano piloti impegnati in guida estrema o stunt, questa attività è estre- mamente pericolosa, aumenta il rischio d’incidente e aumenta la gravità...
- Page 18 ENG – RIZOMA reserves the right, in its sole discretion, to make changes to the product and this information at any time and without prior notice. Although many catalogs and advertisements depict riders engaged in extreme or stunt riding, this activity is extremely dangerous, increases the risk of an accident, and increases the severity of any injury.
Need help?
Do you have a question about the GRDW205Z11 and is the answer not in the manual?
Questions and answers