Advertisement
Quick Links
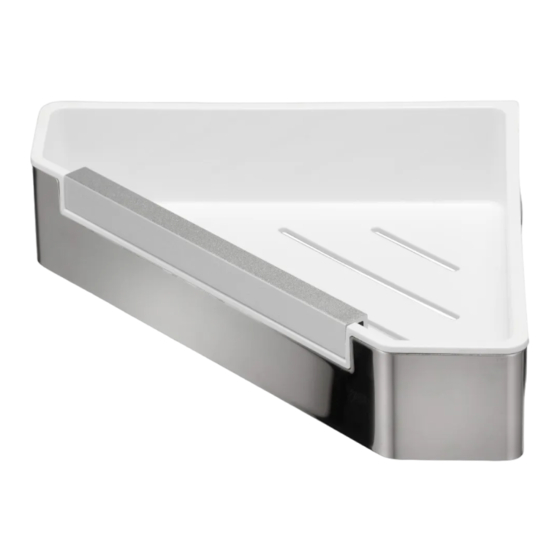
CORNER SHOWER SHELF WITH WIPER BLADE
QM950122
ALL PRODUCT DIMENSIONS DETAILED IN THIS INSTALLATION
AND MAINTENANCE MANUAL ARE APPROXIMATE
ALL ILLUSTRATIONS OF THE PRODUCT ARE FOR REFERENCE
ONLY. COMPONENTS SUPPLIED WITH INDIVIDUAL PRODUCTS
MAY DIFFER
TABLE OF CONTENTS
SECTION
CONTENTS
1
INTRODUCTION
2
PRE-INSTALLATION
3
INSTALLING THE ANGLED SHELF
CONTACT DETAILS
Croydex
Central Way
Andover
Hampshire
SP10 5AW
UK
Tel: +44 (0)1264 365881
Email: info@croydex.co.uk
www.croydex.com
1
PAGE
2
2
3 - 4c
WMA 146 R01
Advertisement

Related Manuals for Croydex QM950122


Summary of Contents for Croydex QM950122
- Page 1 CORNER SHOWER SHELF WITH WIPER BLADE QM950122 TABLE OF CONTENTS SECTION CONTENTS PAGE INTRODUCTION PRE-INSTALLATION INSTALLING THE ANGLED SHELF 3 - 4c CONTACT DETAILS Croydex Central Way Andover Hampshire SP10 5AW Tel: +44 (0)1264 365881 Email: info@croydex.co.uk ALL PRODUCT DIMENSIONS DETAILED IN THIS INSTALLATION AND MAINTENANCE MANUAL ARE APPROXIMATE www.croydex.com...
- Page 2 SECTION 1 - INTRODUCTION SECTION 2 - PRE-INSTALLATION INTRODUCTION PRODUCT FITTING Thank you for purchasing this Croydex product. Please follow IMPORTANT! all assembly and product care instructions to ensure that your Before attempting to install this product, ensure that it fits product is assembled safely and retains it's high quality finish.
- Page 3 SECTION 3 - INSTALLATION INSTALLING THE ANGLED SHELF Insert the wall plugs flush to the wall surface. If fitting to a tiled surface the wall plugs should be inserted below the surface of the tile to avoid cracking. BEFORE INSTALLING the wall bracket, ensure that the safety (See Fig.
- Page 4 SECTION 3 - INSTALLATION Check that the wall bracket is level. Use the slots to adjust the Install the inner plastic enclosure. levelling if necessary. (See Fig. 5) (See Fig. 7) fig. 5 fig. 7 Tighten the screws to lock the bracket in place. Do not Install the wiper into the recess located at the front of the (See Fig.
Need help?
Do you have a question about the QM950122 and is the answer not in the manual?
Questions and answers