Table of Contents
Advertisement
Available languages
Available languages
Quick Links
Item #1000000000
Model #13-0093-W-GB
USE AND CARE GUIDE
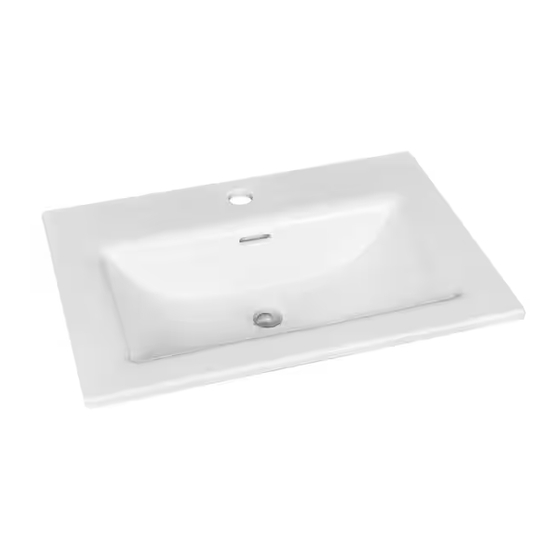
DROP-IN BASIN
Questions, problems, missing parts? Before returning to the store,
call Glacier Bay Customer Service
8 a.m. - 6 p.m., EST, Monday-Friday
1-855-HD-GLACIER
HOMEDEPOT.COM
THANK YOU
We appreciate the trust and con dence you have placed in Glacier Bay through the purchase of this sink. We strive to
continually create quality products designed to enhance your home. Visit us online to see our full line of products available for your home
improvement needs. Thank you for choosing Glacier Bay!
Advertisement
Table of Contents

Related Manuals for Glacier bay 13-0093-W-GB


Summary of Contents for Glacier bay 13-0093-W-GB
- Page 1 THANK YOU We appreciate the trust and con dence you have placed in Glacier Bay through the purchase of this sink. We strive to continually create quality products designed to enhance your home. Visit us online to see our full line of products available for your home...
-
Page 2: Safety Information
Glacier Bay products are manufactured with superior quality standards and workmanship and are backed by our limited lifetime warranty. Glacier Bay products are warranted to the original consumer purchaser to be free of defects in materials or workmanship. We will replace FREE OF CHARGE any product or parts that proves defective. -
Page 3: Pre-Installation
Pre-Installation NOTE: This sink can be handicapped installed. To comply with the ADA requirements, the sink shall be installed at 34 inches (865mm) height maximum measured from the oor to top of front rim. PLANNING INSTALLATION Before beginning installation of this product, ensure all parts are present. If any part is missing or damaged, do not attempt to assemble, install, or operate the product. -
Page 4: Package Contents
Pre-Installation (continued) PACKAGE CONTENTS NOTE: The template (B) is to be used as a guide for cutting the sink opening in the countertop, if one does not exist. To avoid possible damage to the cabinet, cut the counter top before installing it to the cabinet. Part Description Quantity... -
Page 5: Installation
Installation Cutting the counter top Positioning the sink Center the sink (A) and line up the drain over the cutout to NOTE: To avoid possible damage to the cabinet, cut the ensure the sink (A) fits easily into the opening. counter top before installing the counter top to the cabinet. -
Page 6: Care And Cleaning
Installation (continued) Installing the drain and plumbing Faucet (not included) Install the drain (not provided) according to the manufacturer’s installation instructions. CAUTION: Do not overtighten the drain assembly. This may cause the bowl to forcefully crack during installation or at some time in the future. Install the waste system, faucet, and the water supply ... - Page 7 Questions, problems, missing parts? Before returning to the store, call Glacier Bay Customer Service 8 a.m. - 6 p.m., EST, Monday-Friday 1-855-HD-GLACIER HOMEDEPOT.COM Retain this manual for future use.
- Page 8 ¿Preguntas, problemas o piezas faltantes? Antes de regresar a la tienda, llama al Servicio al Cliente de Glacier Bay de Lunes a Viernes entre 8 a.m. y 6 p.m. (Hora Estándar del Este) 8 a.m. - 6 p.m., EST, Monday-Friday 1-855-HD-GLACIER HOMEDEPOT.COM...
-
Page 9: Información De Seguridad
Garantía Los productos Glacier Bay se fabrican con normas y mano de obra de calidad superior, y están respaldados por nuestra garantía limitada de por vida. Los productos Glacier Bay están garantizados para el comprador original contra defectos materiales o de fabricación. -
Page 10: Herramientas Necesarias
Preinstalación NOTA: Este lavamanos puede instalarse para discapacitados. Para cumplir con los requisitos de la ADA requisitos de la ADA, el lavamanos se instalará a una altura de 34 pulgadas (865 mm) máxima medida desde el suelo hasta la parte superior del borde frontal. PLANIFICAR LA INSTALACIÓN Antes de comenzar la instalación de este producto, asegúrese de que todas las piezas están presentes. -
Page 11: Contenido Del Paquete
Preinstalación (continuación) CONTENIDO DEL PAQUETE NOTE: La plantilla (B) debe servir de guía para cortar el hueco del lavabo en la encimera, si no existe. Para evitar posibles daños en el gabinete, corte la encimera antes de instalarla en el gabinete. Pieza Descripción Cantidad... -
Page 12: Instalación
Instalación Cómo cortar la abertura Como colocar el lavamanos Centre el lavamanos (A) y alinee el desagüe sobre el recorte NOTA: Para evitar posibles daños al gabinete, recorta para asegurarse de que el lavamanos (A) encaja fácilmente el mostrador antes de instalarlo en el gabinete. en la abertura. -
Page 13: Mantenimiento Y Limpieza
Installation Instalación (continuación) Cómo instalar el desagüe y la plomería Grifo Instala el desagüe (no incluido) conforme a las instrucciones (no incluido) de instalación del fabricante. PRECAUCIÓN: No aprietes demasiado el ensamblaje del desagüe. Esto puede provocar que el tazón se agriete durante la instalación o en el futuro. - Page 14 ¿Preguntas, problemas o piezas faltantes? Antes de regresar a la tienda, llama al Servicio al Cliente de Glacier Bay, de Lunes a Viernes entre 8 a.m. y 6 p.m. (Hora Estándar del Este) 1-855-HD-GLACIER HOMEDEPOT.COM Conserva este manual para referencia futura.
Need help?
Do you have a question about the 13-0093-W-GB and is the answer not in the manual?
Questions and answers