Advertisement
Quick Links
Advertisement

Related Manuals for Clementi PULCINELLA Series


Summary of Contents for Clementi PULCINELLA Series
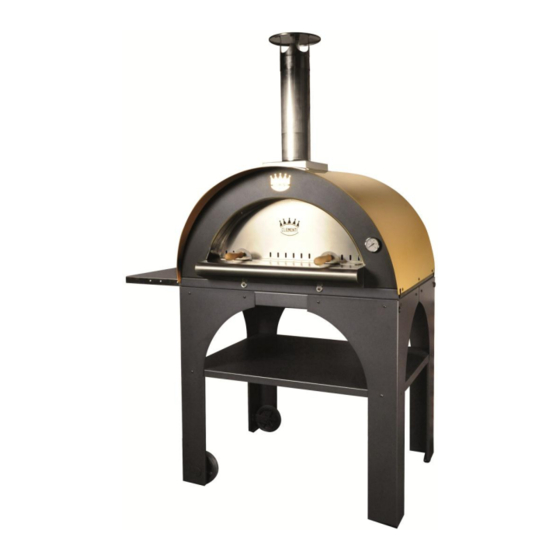
- Page 1 TROLLEY ASSEMBLY INSTRUCTIONS PULCINELLA LINE...
- Page 3 Take 2 pieces (fig.6) and fix them (with the screws supplied) to the shelf (fig.4) matching the holes.
- Page 4 Fix the 4 legs (fig. 1and 2) with the shelf under the trolley by matching the holes and using the screws supplied, like in the illustration above.
- Page 5 DETAIL A Enter the piece of metal (fig. 11 Always with the screws supplied, fix 4 front crossbar (fig. 3 and 9) with the legs (fig. 1 and 2) by matching the holes. At the same time, fix 2 pieces of metal (fig. 11) on left and on the right like in the detail A...
- Page 6 DETAIL B After entering the axis for the wheels (fig. 8) put the metallic piece Enter the wheels (fig. 7) in the hole and turn the two tabs and the axis for the wheels (fig. 8) (see the picture) like illustrated in the image, then use the metallic piece to stop the wheels (see detail B)
- Page 7 DETAIL C insert the handles (fig. 10) on both the sides of the trolley, like illustrated in the image, then insert the screw on both the handles (see DETAIL C)
- Page 8 always using the screws supplied, insert the logo (fig. 12) as illustrated in the images...
Need help?
Do you have a question about the PULCINELLA Series and is the answer not in the manual?
Questions and answers