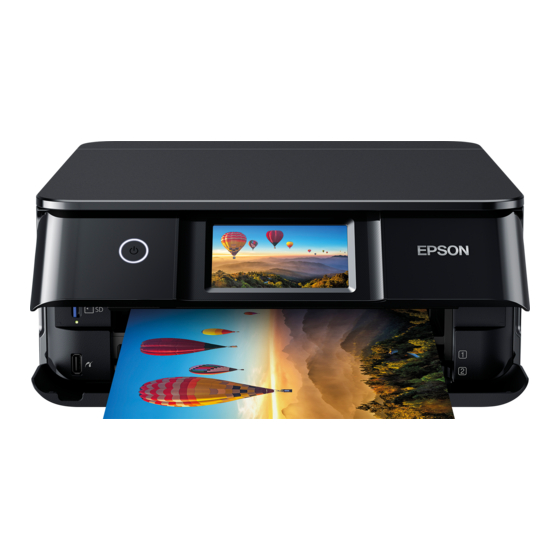
Epson XP-8700 Series Setup Manual
Hide thumbs
Also See for XP-8700 Series:
- User manual (350 pages) ,
- Start here (4 pages) ,
- User manual (226 pages)
Advertisement
Quick Links
Advertisement

Related Manuals for Epson XP-8700 Series


Summary of Contents for Epson XP-8700 Series
- Page 1 Setup Guide NPD6838-00 EN...
- Page 2 Setup Guide Unpacking Unpacking Remove all protective materials. Close the scanner unit.
- Page 3 Setup Guide Unpacking Caution: Be careful not to trap your finger or hand when opening or closing the scanner unit; otherwise, you may get injured.
-
Page 4: Turning On The Printer
Setup Guide Turning on the Printer Turning on the Printer Place the printer on a flat and stable surface and then connect the power cable and plug it in. Note: Keep the product away from direct sunlight or cooling and heating equipment. Hold down the power button until the lamp turns on and raise the control panel. -
Page 5: Selecting A Language
Setup Guide Selecting a Language Selecting a Language Select your language. Press or swipe the screen to scroll down. -
Page 6: Installing Ink Cartridges
Setup Guide Installing Ink Cartridges Installing Ink Cartridges Press the menu at the bottom of the screen to continue setting up without using the app. When the instruction to install the ink cartridges is displayed, open the scanner unit. Important: Do not touch the white cable inside the printer. - Page 7 Setup Guide Installing Ink Cartridges Important: ❏ For the initial setup, make sure you use the ink cartridges that came with this printer. These cartridges cannot be saved for later use. ❏ Do not touch the sections shown in the illustration of the cartridge. Remove the caps with cap-side up, and then store them in the plastic bag.
- Page 8 Setup Guide Installing Ink Cartridges Close the scanner unit slowly. Press Installed on the printer screen to start charging the ink. Important: Do not open the scanner unit or turn off the printer until ink charging is complete. Note: ❏ The screen for adjusting the printer to guarantee print quality is displayed when ink charging is finished. ❏...
- Page 9 Setup Guide Adjusting the Printer to Guarantee Print Quality Adjusting the Printer to Guarantee Print Quality Make sure the screen for adjusting the printer to guarantee print quality is displayed on the printer’s screen. Follow the wizard and perform adjustment until the screen for loading paper is displayed. Open the front cover until it clicks, and then slide out the paper cassette.
- Page 10 Setup Guide Adjusting the Printer to Guarantee Print Quality Slide the edge guides to their maximum position. Load A4 paper, with the printable side face-down, into the paper cassette until paper hits it’s end.
- Page 11 Setup Guide Adjusting the Printer to Guarantee Print Quality Slide the side edge guides to the edges of the paper. Keep the cassette flat and insert it back into the printer carefully and slowly.
- Page 12 Setup Guide Adjusting the Printer to Guarantee Print Quality Follow the remaining steps in the wizard. Adjustment is complete when the following screen is displayed. Note: The output tray ejects automatically when you start printing.
- Page 13 Setup Guide Information Information Do you know that you can influence the impact you have on the environment when printing? 1. The type of paper you use has an influence on the environmental impact of your printer. Choosing paper certified under environmental stewardship initiatives, such as EN 12281:2002, or carrying recognised ecolabels, can help reduce your impact on the environment through the initiatives the manufacturers implement.
Need help?
Do you have a question about the XP-8700 Series and is the answer not in the manual?
Questions and answers