Table of Contents
Advertisement
Quick Links
Installation - Quick Guide
System components:
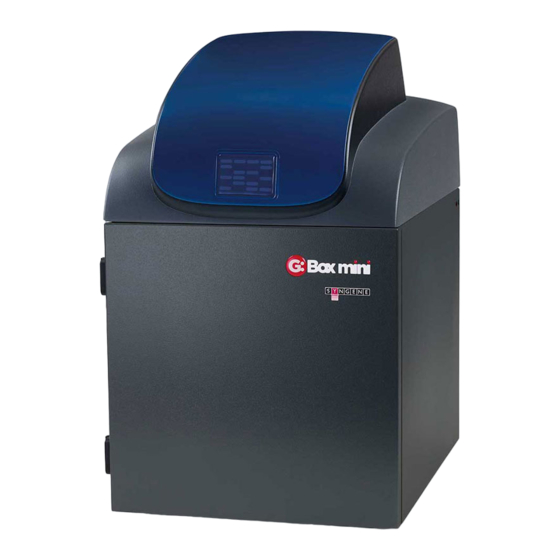
1. Darkroom with epi lighting (factory fitted)
2. Pre-fitted camera with lens, close-up lens and UV filter (factory fitted)
3. UV transilluminator (optional)
4. Syngene branded flash drive containing software installers, camera
calibration and media keys
5. All required cables and accessories
Caution: Do not connect power supply to any of the components until you
are satisfied that everything is connected correctly. For assistance please
contact your local supplier or Syngene.
Mount components (if purchased PC and monitor)
1. 1x G:BOX Mount bracket
2. 1x Monitor Mount bracket
3. 1x Monitor Mount spacer
4. 4x M4x16 screws
5. 8x M4X12 Screws
6. 4x M4x8 screws
Attaching the Mount (if purchased PC and monitor)
1. Remove the sticker from the front top cover.
2. Using 4 of the supplied M4X12 screws, carefully
place your monitor face down on a clear surface
taking care not to damage the screen. If the VESA
mount on the monitor is recessed it is
recommended that you use the supplied spacer
between the monitor and the monitor mount
bracket.
3. Using either the supplied M4X12 or M4X16
screws (dependant upon whether using the
spacer or not) attach the monitor mount (and
spacer if required) to the back of the monitor as
shown.
4. Lower the monitor onto the G:BOX mount
bracket and secure at the sides of the bracket
using the 4 M4X8 screws.
G:BOX mini 6 and 9
M4x16 Screws
1
M4x12 Screws
M4 X8 Screws
2
3
1
Advertisement
Table of Contents

Related Manuals for Syngene G:BOX mini 6


Summary of Contents for Syngene G:BOX mini 6
- Page 1 1. Darkroom with epi lighting (factory fitted) 2. Pre-fitted camera with lens, close-up lens and UV filter (factory fitted) 3. UV transilluminator (optional) 4. Syngene branded flash drive containing software installers, camera calibration and media keys 5. All required cables and accessories Caution: Do not connect power supply to any of the components until you are satisfied that everything is connected correctly.
- Page 2 PC set-up (if purchased) You may require Administrator rights to install software. 1. Turn the PC on and plug the Syngene branded flash drive into your PC. 2. Navigate to the GeneSys folder on the flash drive and run the Setup file.
- Page 3 G:BOX mini 6 and 9 Installation - Quick Guide When using GeneSys software for the first time or when you have purchased additional accessories, (e.g. converter screens), you need to programme the accessories into GeneSys software. Load GeneSys software 1. From the Home page select the View Available Hardware icon.
Need help?
Do you have a question about the G:BOX mini 6 and is the answer not in the manual?
Questions and answers