
Related Manuals for 1 Sound Tower Series


Summary of Contents for 1 Sound Tower Series
- Page 1 Tower Series LCC44/LCC84 Wall Installation 1 SOUND INC – 34 Apple Street, Tinton Falls, NJ 07724 – +1-732-798-9900 – www.1-sound.com...
-
Page 2: Table Of Contents
Contents Chapter 1. Speaker models..............3 TOWER LCC44................3 TOWER LCC44 Specifications..........3 TOWER LCC84................3 TOWER LCC84 Specifications..........3 Chapter 2. Accessories...............4 LCC44 Wall Bracket............... 4 LCC84 Wall Bracket............... 4 Chapter 3. Installing LCC44/LCC84 on a Wall Mount Bracket..5 Critical information................5 Products, accessories and tools required........ -
Page 3: Chapter 1. Speaker Models
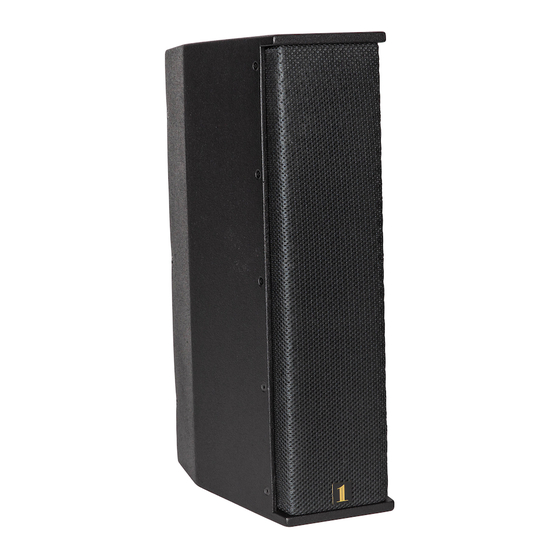
TOWER LCC84 Chapter 1. Speaker models Cardioid Column Line Array Enclosure Figure 2. LCC84 with Tower Rigging System (left), TOWER LCC44 and without. Cardioid Column Line Array Enclosure Figure 1. LCC44 with Tower Rigging System (left), and without. Tower LCC44 is a cardioid line array element featuring designed to be compact, high powered and array-able. -
Page 4: Chapter 2. Accessories
LCC84 Wall Bracket Chapter 2. Accessories Figure 4. LCC84 Wall Bracket LCC44 Wall Bracket Figure 3. LCC44 Wall Bracket The LCC44 Wall Bracket attaches to an LCC44 Tower loudspeaker in order to mount to a wall or ceiling. To provide versatility in terms of installation and to adapt to the coverage requirements of the speaker enclosure, the bracket is articulated on two axes, with 180°... -
Page 5: Chapter 3. Installing Lcc44/Lcc84 On A Wall Mount Bracket
Restriction: Only hardware and accessories included with the product or specified by 1 Sound should be used for its installation. Restriction: Do not modify or alter the loudspeaker or any accessory. - Page 6 TOWER SYSTEM LCC44/LCC84 WALL INSTALLATION Figure 6. Removing the R-clip from the clevis pin. • Remove the R-clip (hairpin cotter) from the clevis pin that serves as a pivot axle for the tilt mechanism, and remove this clevis pin. Put the pin and the R-clip aside, as they will be required to complete the installation.
-
Page 7: Installing The Bracket On The Lcc44/Lcc84 Enclosure
| 3 - INSTALLING LCC44/LCC84 ON A WALL MOUNT BRACKET Installing the bracket on the LCC44/LCC84 enclosure Figure 10. Removing the M8 x 20 mm screws for the installation of the bracket (LCC44 shown). Once the bracket has been separated from the wall-mount plate, it can be easily attached to the LCC44 or LCC84 enclosure. - Page 8 TOWER SYSTEM LCC44/LCC84 WALL INSTALLATION • Insert one of the M8 x 20 mm screws previously removed, and Figure 11. Positioning the bracket and aligning the mounting holes. thread it into the bottom (toward floor) panel of the enclosure through the mounting hole in the bracket. Figure 13.
-
Page 9: Installing A Redundant Safety Anchor
| 3 - INSTALLING LCC44/LCC84 ON A WALL MOUNT BRACKET • Using a 4 mm hex wrench, remove one of the M6×16 mm Installing a redundant safety anchor countersunk screws from the top pf the LCC44 or LCC84 enclosure. Though any one of these rigging points is capable of Attention: When correctly installed, the Wall Mount Bracket supporting the enclosure, it is good practice to use one of the is designed to safely support The LCC44 or LCC84 speaker... -
Page 10: Mounting The Bracket
Notice: Due to the wide variety of building materials and construction methods that can be encountered in an installation, 1 Sound can only provide general recommendations for installing the Wall Mount Bracket. It is the responsibility of the installer to assess the appropriate stability and sturdiness of the installation. - Page 11 | 3 - INSTALLING LCC44/LCC84 ON A WALL MOUNT BRACKET Figure 20. The wall-mount plate of the LCC44/84 Figure 22. Drilling the mounting holes . Wall Bracket • Drill the four holes, using a drill or percussion drill with a bit approriate to the substrate material (masonry/concrete, wood, steel etc.) with the appropriate diameter and to the appropriate Figure 21.
-
Page 12: Coupling The Lcc Enclosure And Bracket To The Mounting Plate
TOWER SYSTEM LCC44/LCC84 WALL INSTALLATION Figure 23. Driving the screw anchors into the wall. Figure 25. Applying downward force to verify the mount. • While holding the plate in place, use a socket wrench or a power screwdriver to tighten each fastener gradually, alternating •... - Page 13 | 3 - INSTALLING LCC44/LCC84 ON A WALL MOUNT BRACKET Figure 27. Installing the LCC44 with the bracket Figure 29. Replacing the R-Clip. onto the mounting plate, overhead view. • Lift the LCC44/84 enclosure with the bracket installed up to the mounting plate on the wall.
-
Page 14: Redundant Safety
TOWER SYSTEM LCC44/LCC84 WALL INSTALLATION Redundant safety Figure 32. Securing the redundant safety sling. If the LCC44 or LCC84 speaker enclosure has been equipped with an eye bolt for a redundant safety cable (steel wire rope sling or steel chain), this should be attached to the external anchor before proceeding with the pan/tilt positioning of the enclosure on the Wall Mount Bracket. -
Page 15: Fixing The Pan Angle
| 3 - INSTALLING LCC44/LCC84 ON A WALL MOUNT BRACKET Figure 34. Releasing the pan lock bolt. Fixing the pan angle With the tilt angle locked, setting the pan angle is as simple as turning the LCC44 or LCC84 enclosure to the desired angle and locking it in place by tightening the pan lock bolt. - Page 16 © 2022 1 SOUND All rights reserved. No part of this publication may be reproduced or transmitted in any form or by any means without the express written consent of the publisher. 1 SOUND INC 34 Apple Street Tinton Falls, New Jersey 07724 U.S.A.
Need help?
Do you have a question about the Tower Series and is the answer not in the manual?
Questions and answers