Table of Contents
Advertisement
Quick Links
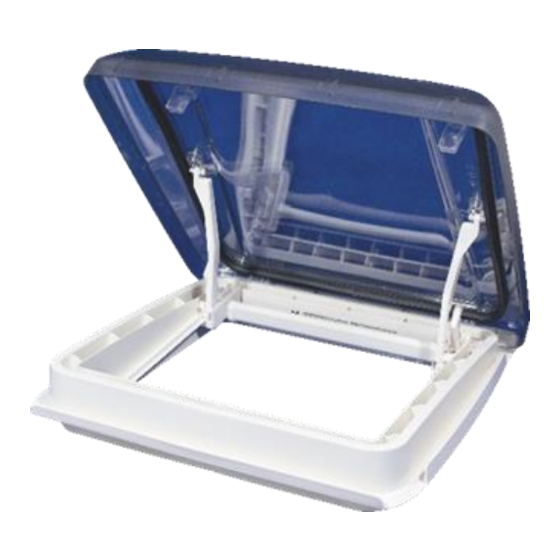
Rooflight with pleated blind and net
for installation in caravans and mobile homes
VisionStar M pro ll
EN
Installation and Operating Instructions
Please read the instructions carefully before installing the rooflight and store
it for future.
We cannot be held responsible for incorrect fitting, handling or operation.
Any product faults relating to the production and materials used should be notified to us via
an authorised dealer immediately.
1
MPK Metall- und
Plastikverarbeitung GmbH & Co. KG
Friedrich-Ebert-Str. 298-300
LED
D-58566 Kierspe
mpk-kierspe.de
Technical data:
Aperture
400 x 400 mm
Roof thickness
25 bis 60 mm
Corner radius
Site dome
490 x 470 mm
Height over roof
Ventilation
0 bis 150 cm²
Weight
Size inner frame
585 x 570 x 35 mm
Outer frame material
Polypropylene
Dome material
Polycarbonate
Speed limit
Authorization
ECE R43 -019651
LED-light
Light color
~ 3000 K (warmwite)
Energy efficiency class
Nom. useful liminous flux
Voltage
Condumption
2 x 4 kW/h / 1000h
Nominal lifetime
Dimensions
400 x 10 mm
Included with delivery
1x Rooflight with outer frame
1x Inner frame with LED, polyswitch fuse, connection cable
1x Fixing parts (8x fixing brackets and 4x large plastic screw)
Additionally required for installation (not included in delivery)
1x Elastic sealant adhesive, e.g. Dekalin Dekaseal 8936 or SikaLastomer®-710
8x Fixing screws for the upper frame
Pan 3,5 mm / head according to DIN ISO 7049 (DIN 7981) / The length of the screw should
be determined by the roof thickness, plus approximately 10 mm for the screw to enter the
upper frame.
With timber support under the roof lining:
4x Fixing screws for the inner frame:
Pan 3,5 mm / head according to DIN ISO 7049 (DIN 7981) / length max. 10 mm
28 mm
Explanation of symbols
80 mm
NOTE
Particulary important information.
3,8 kg
ATTENTION!
Failure to observe can lead to material damage.
WARNING!
Safety note: Serious risk of injury.
160 km/h
Safety and installation instructions
Check the roof thickness of your vehicle before mounting.
The rooflight should only be fitted to a flat roof surface, both internally and
externally.
2 x 490 lm
Choose a fitting position that will not interfere with other roof mounted components
12V DC
(e.g. roof-racks/antenna's etc.) and avoid internally installed electrical cables and
furniture, which could impede the correct operation of the rooflight.
50.000 h
Make sure that there is a suitable supply line and switch for the lighting in the vehicle.
We recommend installation with the hinge side in the direction of travel.
Never stand on the dome of the rooflight!
Inner frame
Issue 09.2021
Advertisement
Table of Contents

Subscribe to Our Youtube Channel
Related Manuals for MPK VisionStar M pro II LED


Summary of Contents for MPK VisionStar M pro II LED
- Page 1 1x Rooflight with outer frame 1x Inner frame with LED, polyswitch fuse, connection cable MPK Metall- und 1x Fixing parts (8x fixing brackets and 4x large plastic screw) Plastikverarbeitung GmbH & Co. KG Friedrich-Ebert-Str.
- Page 2 Do not open the rooflight while driving. The rooflight must be locked down before Version 1: Timber support under the roof lining traveling. Offer up the inner frame into the outer frame. Use the four small Var.1 Do not open the rooflight in strong wind or rain . holes to fix the inner frame with standard screws into the timber support.
- Page 3 The lever arm pins should be re-installed with the flat side towards the dome. Clean the pleated blinds with a soft brush, dry cloth or feather duster. We strongly advise against wet cleaning, as this can damage the insect screen and blackout pleated blind. mpk-kierspe.de/Downloads Issue 09.2021...
Need help?
Do you have a question about the VisionStar M pro II LED and is the answer not in the manual?
Questions and answers