Advertisement
- 1 Package contents
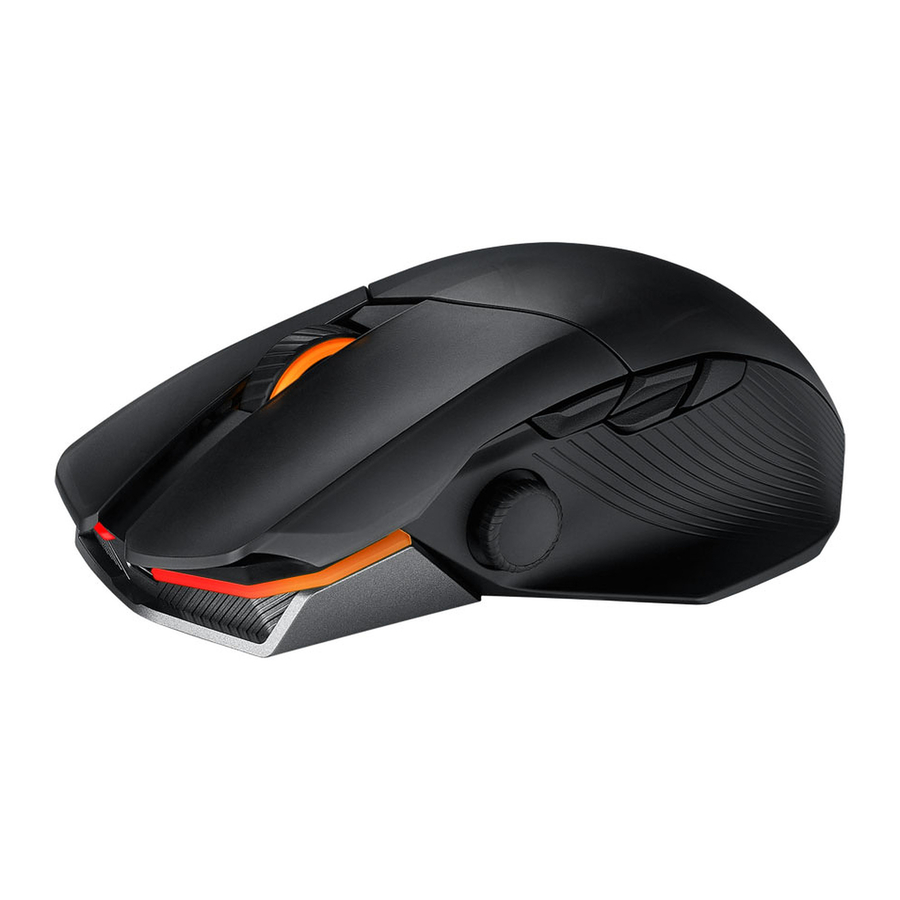
- 2 Mouse features
- 3 DPI adjustment
- 4 Polling Rate
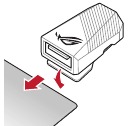
- 5 Using the dongle extender
- 6 Customizing the joystick or applying the cover
- 7 Replacing the switches
- 8 Connecting your gaming mouse
- 9 Default mouse profiles
- 10 Setting up Chakram X controls and joystick in Steam
- 11 System requirements
- 12 Videos
- 13 Documents / Resources
Package contents

Mouse features

- Left-click button
- Scroll wheel
- USB dongle (hidden)
- Logo plate (hidden)
- USB Type-C ® port / USB Type-C ®
- Right-click button
- Connection mode switch
- Pair button
- DPI button
- AimPoint optical sensor
- Qi wireless charging area
- Analog/Digital joystick
- Side button 6
- Side button 7
- Side button 8
- Side button 9
DPI adjustment
DPI Button
The hidden DPI button on the bottom of the mouse switches the DPI between 4 levels instantly. The LED will flash to indicate the current DPI level. Please refer to the table below for the more information on the DPI levels.
| Resolution | DPI 1 (Red) | DPI 2 (Purple) | DPI 3 (Default / Blue) | DPI 4 (Green) |
| 100 DPI to 36000 DPI | 400 DPI | 800 DPI | 1600 DPI | 3200 DPI |
DPI On-The-Scroll
The DPI On-The-Scroll tuning function allows you to customize the DPI of your gaming mouse without using Armoury Crate.
- Press and hold the DPI button for 3 seconds until the LEDs on your gaming mouse light up.
- Rotate the scroll wheel forwards or backwards to adjust the DPI. The LED color hue on your scroll wheel will differ depending on the DPI adjustment. Move the mouse around to test until you find the best sensitivity.
NOTE:
- The DPI increments at 100 DPI per scroll forwards and decrements at 100 DPI per scroll backwards.
- The DPI ranges from 100 DPI (blue) to 36000 DPI (red).
- Tuning DPI On-The-Scroll will disable independent X-Y controls.
- Press the DPI button again once you have finished customizing the DPI value to save the changes made.
Polling Rate
| Wired | RF | Bluetooth | |
| 250 | V | V | V |
| 500 | V | V | |
| 1000 | V | V | |
| 2000 | V | V | |
| 4000 | V | ||
| 8000 | V |
Using the dongle extender
Connect the bundled paracord cable and the RF receiver to the dongle extender to improve wireless reception or extend the RF signal range. You may also clip the dongle extender to your mouse pad (2~3mm in thickness) if required.
Customizing the joystick or applying the cover
NOTE: To prevent damage, place the mouse on a flat surface, then push the joystick into the socket while ensuring the small circular hole is pointing upwards.

Replacing the switches


- Ensure to install the switch with its button facing the front of the mouse.
- Ensure that the switches are seated properly on the switch sockets.
- Both 3-pin mechanical and 5-pin optical micro switches are supported. Refer to www.asus.com for the list of compatible switches.
Connecting your gaming mouse
Using the ROG Paracord cable
Connect the bundled USB Type-C® to Type-A cable to your gaming mouse and any available USB 3.2 Gen 1 port (or above) on your computer for fast-charging.

Using RF wireless mode
- Connect the USB dongle to a USB port on your computer.
- Set the connection switch to the RF 2.4G Wireless mode.
![]()
- Press and hold the Pair button for 3 seconds if the connection is lost.

Switching to Bluetooth mode
- When pairing Bluetooth mode for the first time, your gaming mouse will enter discovery mode automatically. Find ROG Chakram X from the device list and then confirm to pair.
![]()
- Up to 3 devices can be saved. Press the Pair button to cycle through the 3 paired devices, or you can overwrite any of the saved devices by pressing and holding the Pair button for 3 seconds.

Default mouse profiles
NOTE: The mouse buttons and analog/digital joystick can be assigned to other functions using Armoury Crate.
| Profile 1 | DPI button + Side button 6 |
| Default lighting effect | Rainbow |
| Joystick function | 4 Keyboard direction keys |
| Profile 2 | DPI button + Side button 7 |
| Default lighting effect | Color Cycle |
| Joystick function | Analog joystick (vertical) |
| Profile 3 | DPI button + Side button 8 |
| Default lighting effect | Comet |
| Joystick function | Analog joystick (horizontal) |
| Profile 4 | DPI button + Side button 9 |
| Default lighting effect | Breathing (blue) |
| Joystick function | Analog joystick (vertical) |
| Profile 5 | DPI button + Scroll wheel click |
| Default lighting effect | Reactive (green) |
| Joystick function | 4 Keyboard direction keys |

Side button configuration for Profile 1, 2, 4, and 5

Side button configuration for Profile 3
Setting up Chakram X controls and joystick in Steam
You can setup your gaming mouse buttons and joystick to work like a controller in Steam.
- Connect your gaming mouse to your computer.
- Install Armoury Crate and Steam.
- Launch Armoury Crate, then switch your gaming mouse to Profile 3, and click on Reset to revert to default settings.
- Launch Steam, then go to View > Settings > Controller > GENERAL CONTROLLER SETTINGS.
- Only check the Xbox Configuration Support and Generic Gamepad Configuration Support options.
- Under Detected Controllers, select CHAKRAM X.
- You can set up the Chakram X joystick and 4 side buttons to work exactly like a gamepad. Please refer to the table below to map side buttons 6, 7, 8, and 9 on the Chakram X to work as an XBOX controller in Steam:
| Chakram X - Steam | Chakram X - Horizontal | Chakram X - Vertical | XBOX |
| Button 0 | Side button 8 | Side button 7 | B |
| Button 1 | Side button 9 | Side button 8 | A |
| Button 2 | Side button 6 | Side button 9 | X |
| Button 3 | Side button 7 | Side button 6 | Y |
- Map the x-axis and y-axis of the Analog joystick to the Left Stick X and Left Stick Y commands.
- Press Esc on your keyboard, then click SAVE to complete.
- If you wish, you can share the settings you've made online from the next prompt.
System requirements
- Windows® 10 and Windows® 11
- 100 MB of hard disk space (for optional software installation)
- Internet connection (for downloading optional software)
- USB 2.0 port (USB 3.2 Gen 1 port for fast charging)
VideosASUS CHAKRAM X Gaming Mouse Unboxing and Review
Documents / Resources
References
Download manual
Here you can download full pdf version of manual, it may contain additional safety instructions, warranty information, FCC rules, etc.
Download ASUS ROG CHAKRAM X - Gaming Mouse Manual And Review Video
Advertisement


Need help?
Do you have a question about the ROG CHAKRAM X and is the answer not in the manual?
Questions and answers