Advertisement
Quick Links
Advertisement

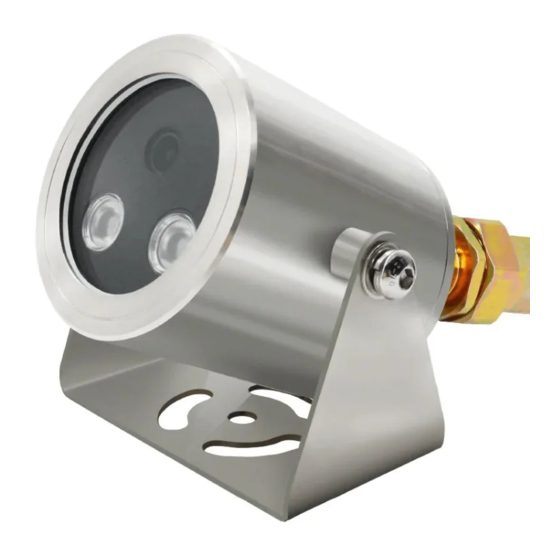
Related Manuals for LINOVISION IPC608EX


Summary of Contents for LINOVISION IPC608EX
- Page 1 IPC608EX Explosion-proof Camera User Manual...
-
Page 2: Table Of Contents
Contents Connection Guide ..................... 3 Activating the Camera ..................3 Access to the Camera ..................7 Accessing by Web Browsers ...................... 7 LED Light Control ..................... 8 Access Camera from Guarding vision APP ..........10 Enable the Guarding vision Platform ..................10 Setup Guide for Guarding vision ................... -
Page 3: Connection Guide
1. Connection Guide It is an overall connection application diagram, among Explosion-proof camera, PoE Switch, PC,NVR, Smartphone, etc. Please see below. Solar and/or Wireless Transmission Internet POE Switch Figure 1-1 Connection diagram 2. Activating the Camera Activation via Web Browser Steps: 1. - Page 4 Figure 2-1 Activation via Web Browser 3. Create a password and input the password into the password field. 4. Confirm the password. 5. Click OK to save the password and enter the live view interface. Activation via SADP Software SADP software is used for detecting the online device, activating the camera, and resetting the password.
- Page 5 Steps: 1. Run the SADP software to search the online devices. 2. Check the device status from the device list, and select the inactive device. Figure 2-2 SADP Interface 3. Create a password and input the password in the password field, and confirm the password.
- Page 6 5. Change the device IP address to the same subnet with your computer by either modifying the IP address manually or checking the checkbox of Enable DHCP. Figure 2-3 Modify the IP Address 6. Input the password and click the Save button to activate your IP address modification.
-
Page 7: Access To The Camera
3. Access to the Camera 3.1 Accessing by Web Browsers Steps: 1. Open the web browser. 2. In the browser address bar, input the IP address of the camera, and press the Enter key to enter the login interface. 3. Activate the Explosion camera for the first time using, refer to the Section 2 for details. -
Page 8: Led Light Control
6. Install the plug-in before viewing the live video and operating the camera. Please follow the installation prompts to install the plug-in. Figure 3-2 Download and Install Plug-in Note: You may have to close the web browser to install the plug-in. Please reopen the web browser and log in again after installing the plug-in. - Page 9 2. Close the Infrared LED light When the environment is bright, click the “Image” and switch to “Day” mode, the LED light will be turned off. Figure 4-2 Turn off the LED...
-
Page 10: Access Camera From Guarding Vision App
5. Access Camera from Guarding vision APP 5.1 Enable the Guarding vision Platform Steps: 1. Open Internet Explorer and Enter the camera IP (192.168.1.64) Enter Username as admin and password,Allow/Install the ActiveX plugin. Figure 5-1 Login Interface... - Page 11 2. Click on Configuration, then Network, Advanced settings, Platform Access enable box Figure 5-2 Platform setting 3. Create your verification code, then click on OK. Figure 5-3 Verification code...
-
Page 12: Setup Guide For Guarding Vision
4. Click on Save Refresh page, you should see your platform access register status as online. Figure 5-4 Register Status 5.2 Setup Guide for Guarding vision Steps: 1. Download Guarding Vision APP for IOS or Android from link below IOS: https://itunes.apple.com/us/app/guarding-vision/id1101697283?mt=8 Android: https://play.google.com/store/apps/details? - Page 13 2. Register account for the APP Figure 5-5 APP GUI 3. Once registered and logged into your account, click on Add Device. Figure 5-6 Add Device...
- Page 14 4. Scan the QR code on the camera. Figure 5-7 Camera QR code 5. Once camera found, click on add Figure 5-8 Scan results...
- Page 15 6. Enter the verification code from step 5-1-3 and click on OK. Figure 5-9 Adding Completed 7. Click on the camera to view the live image. Figure 5-10 Device list...
Need help?
Do you have a question about the IPC608EX and is the answer not in the manual?
Questions and answers