Advertisement
Quick Links
Advertisement

Related Manuals for LINOVISION IPC608UW


Summary of Contents for LINOVISION IPC608UW
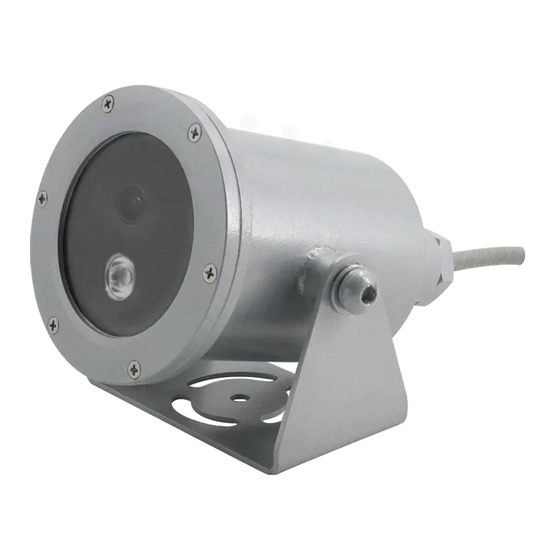
- Page 1 IPC608UW Underwater Camera Quick Guide...
-
Page 2: Table Of Contents
Contents 1. Connection Guide ............................ 2 2. Access Camera from WEB Browser ....................2 3. Access Camera via NVR ......................... 7 4. Access Camera from GUARD STATION - CMS Software ............11 5. Access Camera from Guard Viewer - Mobile Phone App ............13... -
Page 3: Connection Guide
1. Connection Guide It is an overall connection application diagram, among underwater camera, PoE Switch, PC, NVR, Smart Phone, etc. Please see below. Note: the camera also support DC12V power supply. 2. Access Camera from WEB Browser Note: Before you access camera from WEB Browser, please check the computer network segment. (as following) 1) Click the “Start”... - Page 4 3) Click the “Network and Sharing Center” 4) Click the “Local connection” 5) Click the “Properties” 6) Double click the “Internet Protocol Version 4(TCP/IPv4)” 7) Click the “Advanced” 8) Click the “Add”...
- Page 5 9) Enter the IP address “192.168.1.xxx(0-255)” and the subnet mask will appear when you click the blank area, then click the “Add” After checking the network segment, use IE to enter 192.168.1.88 Basic information: Camera default IP address: 192.168.1.88 Camera user: admin Camera password: #admin123456 If other computer software or NVR connect to the camera via the ONVIF protocol, and images cannot appear, please try to adjust the camera video encoding: H.264/MJPEG/H.265/H.265+.
- Page 6 Camera parameter adjustment: Use IE browser 192.168.1.88 to enter the camera internal settings 1) Modify IP Address 2) LED Light Control Open the LED light: When the environment is dark, click the “Image” and switch to “Night” mode in Day/Night Mode, the LED light will be turned on.
- Page 7 Close the LED light: When the environment is bright, click the “Image” and switch to “Day” mode, the LED light will be turned off. 3) Adjust the Video Compression, Image Resolution and Frame Rate...
-
Page 8: Access Camera Via Nvr
3. Access Camera via NVR Note: Ensure the camera has been connected, then do the following steps. 1) Click the right mouse button, choose the “Common Menu” and “Network” 2) Cancel √ and enter “IPv4 Address / IPv4 Subnet Mask / IPv4 Default Gateway” IPv4 Address: 192.168.1.xxx (0-255) IPv4 Subnet Mask: 255.255.255.0 IPv4 Default Gateway: 192.168.1.1... - Page 9 3) Click the right mouse button and choose the “Menu” 4) Click the “Camera” 5) Find the camera and click the “blued pencil”...
- Page 10 6) Enter the “IP Camera Address/Protocol/User Name/Password” IP Camera Address: 192.168.1.88 Protocol: ONVIF User Name: admin Password: #admin123456 7) After successful addition, the Status will display a blued icon.
- Page 11 8) Click the left mouse button to preview the image.
-
Page 12: Access Camera From Guard Station - Cms Software
4. Access Camera from GUARD STATION - CMS Software Note: Before you access camera by Guard Station, please check the computer network segment. (Methods of adding a network segment: P3-P5) 1) Software download address: https://www.linovision.com/4k-poe-ip-underwater-camera-for-aquaculture-and-underwater-inspection 2) After the installation is complete, open the software and add the camera. - Page 13 3) Modify the camera parameters through GUARD STATION. 4) Check the real-time video of the camera...
-
Page 14: Access Camera From Guard Viewer - Mobile Phone App
5. Access Camera from Guard Viewer - Mobile Phone App 1) Through the mobile phone app -- ”Guard Viewer”, you can watch the camera view remotely. Please search Guard Viewer in the Apple Store or Android Market, then download and install it. 2) Click the “Sign Up”... - Page 15 3) Click "Devices", then “Scan”, scan the QR code from the camera web browser.
- Page 16 4) After adding the camera, then go to “Live View” to watch the camera live video.
Need help?
Do you have a question about the IPC608UW and is the answer not in the manual?
Questions and answers