Advertisement
Quick Links
Instruction Sheet
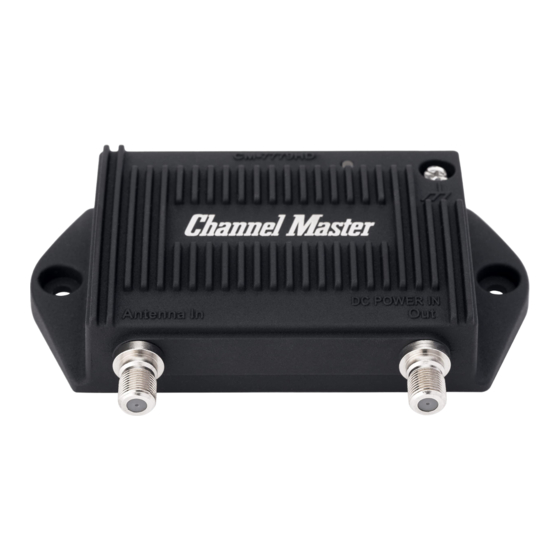
CM-7779HD
Package Contents and Accessories
•
PreAmp 1 Amplifier
•
Power Inserter
•
Power Supply
•
Coaxial Cable (Recommend for use between the power supply and power
inserter.)
•
Optional Mast Mounting Bracket (mounting plate, mounting clamp, u-bolt/
nuts and screw for attaching mounting plate to preamplifier)
•
Screws (For attaching amplifier directly to a wood surface)
Important Information - Please Read Before Installing
Preamplifier
1. It is important to install the preamplifier as close to the antenna as possible for
best results.
2. This preamplifier is not intended for use with antennas that have a built-in
amplifier or rotator that is powered over the coaxial cable. (Multiple power
sources on the same coaxial cable will cause issues and potentially damage
your preamplifier.)
3. Using high quality RG-6 coaxial cable between the power inserter and the
preamplifier is critical. Poor quality coaxial cable or other types of coaxial
cable such as RG-59 and RG-58 can cause intermittent or total power loss to
the amplifier limiting its ability to properly function.
4. It is important to eliminate all devices in the coaxial cable network that will block
or degrade the power/voltage that travels over the coaxial cable from the
power inserter to the preamplifier. Devices that will block or degrade power/
voltage if installed between the power inserter and the preamplifier include,
regular non-power passing splitters, other amplifiers, satellite splitters and
switches, surge protectors, and filters. If you plan to install a splitter between
the power inserter and the preamplifier, it must be a high quality "Power
Passing" splitter. The use of non-power passing splitters and looping coaxial
cable through a surge protector/power strip are the most common causes of
issues.
5. When using good quality RG-6 coaxial cable the maximum distance between the
preamplifier and the power inserter should not exceed 300'. (Inadequate or
poor quality coaxial cable will substantially reduce the maximum distance and
in many cases cause complete loss of power to the amplifier.)
6. If you have issues with the amplifier powering on, you can test the device on
your own to make sure it is functional. Simply remove the amplifier from the
installation, then at a table or work bench connect the amplifier, power inserter
and power supply using short coaxial cables that are good quality. If the
amplifier powers on during this test, this indicates an issue somewhere in the
coaxial cable network. Double check all splitters are good quality and power
passing, make sure all cables and connectors are good quality and remove
other devices that could potentially be blocking power.
7. For additional troubleshooting tips and information, please visit
www.channelmaster.com/support and select your amplifier model from
the list to view a list of support articles.
Insert U-bolt through mounting plate as shown below.
Attach mounting plate to the AMP with TWO 1/2" Philips #2 machine screws.
Clamp the AMP/MOUNT to a 1.25" to 2" diameter pole and tighten
the TWO 1/2" flange nuts.
U-Bolt
Clamp
Mounting Plate
Connect the coaxial cable from your antenna balun to the coaxial port labeled
"Antenna In" as indicated on the label. Connect a coaxial cable from the coaxial port
labeled "DC Power IN/OUT"
Outdoor
Antenna In
Power Supply
Indoor
*Power Inserter must be installed indoors.
Connect the coaxial cable from the AMP output labeled "DC Power IN/OUT" to the
power inserter labeled "TO Amplifier". Next, connect the provided power
supply to the port labeled "Power In" to a power source. Now, connect the port
labeled "TO TV" to the coaxial input on your television or set-top device. Ensure your
television, set-top box or DVR is set to scan Antenna channels, NOT CABLE. In your
device set-up menu, it will typically ask if you want to scan Antenna/Air/Broadcast or
Cable. You will need to choose the option that says Antenna, Air, or Broadcast.
Proceed with the Auto Channel Scan.
* The LED is located on the
front face of the AMP
MORE INFORMATION
Additional product information including videos and frequently asked questions is
available at www.channelmaster.com/support
Warranty Information is available online at www.channelmaster.com/warranty
www.channelmaster.com
Installation:
Philips #2
Machine Screws
Balun
DC Power IN
"OUT"
Power Inserter
We recommend starting with
the low setting for most
applications.
Preamplifier
Power Inserter
To TV
Advertisement

Related Manuals for Channel Master CM-7779HD


Summary of Contents for Channel Master CM-7779HD
- Page 1 Clamp the AMP/MOUNT to a 1.25” to 2” diameter pole and tighten the TWO 1/2” flange nuts. Preamplifier U-Bolt Philips #2 CM-7779HD Clamp Machine Screws Mounting Plate Package Contents and Accessories Connect the coaxial cable from your antenna balun to the coaxial port labeled “Antenna In”...
- Page 2 ChannelMaster.com © 2022 Channel Master. Channel Master is a registered trademark. Specifications subject to change. All rights reserved. © 2022 Channel Master. Channel Master es una marca registrada. Especificaciones sujetas a cambio. Todos los derechos reservados. © Channel Master, 2022. Channel Master est une marque déposée. Les caractéristiques peuvent être modifiées sans préavis. Tous droits réservés. Pub CM7779HD.6/24/2022...
Need help?
Do you have a question about the CM-7779HD and is the answer not in the manual?
Questions and answers