ECD SmartDry SD Series Setup And Operation Manual
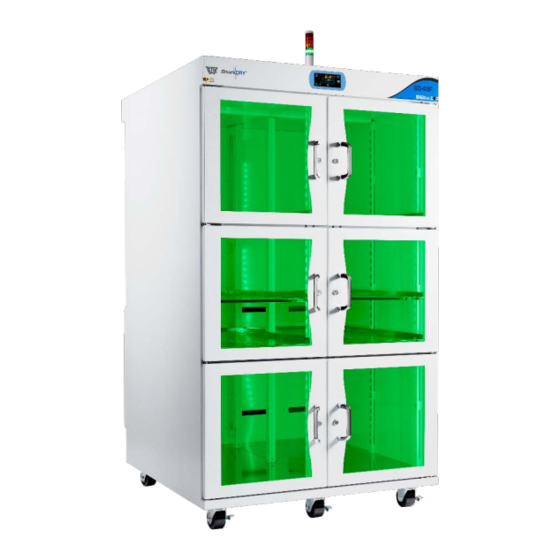
Dry cabinets
Hide thumbs
Also See for SmartDry SD Series:
- Setup and operation manual (119 pages) ,
- Setup and operation manual (99 pages)
Advertisement
Quick Links
Advertisement

Subscribe to Our Youtube Channel
Related Manuals for ECD SmartDry SD Series


Summary of Contents for ECD SmartDry SD Series
- Page 1 SD Series Dry Cabinets Setup and Operation Manual...
-
Page 2: Table Of Contents
CONTENTS Operators Safety Information ................1 Quick Start ......................2 Safety and Installation ..................4 Location......................4 filiment Reel Rack Configuration ..............5 Power ....................... 6 Time Settings....................7 Clear History ..................... 9... -
Page 3: Operators Safety Information
Declaration of Conformity. Hardware changes or modifications to the ECD SmartDRY™ Cabi- net or components are not expressly approved by ECD and could void the warranty. THE WARRANTY WILL NOT COVER DAMAGE CAUSED BY NEGLECT OR ABUSE OF ANY ECD PRODUCTS. -
Page 4: Quick Start
Setup and Operation Man- ual. The ECD SmartDRY™ Cabinet is ready to plug in and begin using as soon as it is safely set up. No additional programming is required. Once unpacked, here are some steps to quickly get your Cabinet up and running. - Page 5 WHEN ACCESSING OPTIONS THAT REQUIRE A PASSCODE THE SYSTEM DEFAULT PASSCODE IS 314. AS YOU ENTER PROTECTED OPTIONS, YOU WILL BE PROMPTED TO ENTER IT USING THE UP OR DOWN BUTTONS. ONCE SELECTED, ALL LOCKED OPTIONS RE- MAIN “UNLOCKED” UNTIL YOU RETURN TO THE MAIN DISPLAY.
-
Page 6: Safety And Installation
ECD SmartDRY™ SD Series Dry Cabinets Setup and Operation Manual. LOCATION Move the ECD SmartDRY™ Cabinet into the desired position. When selecting a site for the Cabinet, consider conditions which may affect performance, such as heat from radiators, ovens, pro- duction equipment, etc. -
Page 7: Filiment Reel Rack Configuration
FILIMENT REEL RACK CONFIGURATION Install the filiment reel racks to meet your storage requirements. SmartDRY™ 3D Quick Start Guide | A62-3337-16 REV: 1.0.0 Page 5... -
Page 8: Power
POWER Connect to properly grounded power plug. SmartDRY™ 3D Quick Start Guide | A62-3337-16 REV: 1.0.0 Page 6... -
Page 9: Time Settings
TIME SETTINGS Set the Real Time Clock and ALL time settings for your location. To set the Time: 1) From the Main Display, enter the Main menu by pressing the Menu button. enter the Other Settings menu by press- ing the Settings button. 2) Enter the Date/Time Settings by pressing the Time button. - Page 10 3) Edit the desired settings selecting the OK button to accept each edited value. 4) To exit the screen, select the Back button which takes you “Back” to the previous menu. SmartDRY™ 3D Quick Start Guide | A62-3337-16 REV: 1.0.0 Page 8...
-
Page 11: Clear History
CLEAR HISTORY Clear the stored memory. Performing this step clears unwanted data and starts logging data new data from this point on. To clear history: 1) From the Main Display, enter the Main menu by pressing the Menu button. enter the Other Settings menu by press- ing the Settings button. - Page 12 ©2022 ECD. All Rights Reserved. Printed in USA. US Products of ECD are covered by foreign and US Patents and Patents Pending. Information in this publication supersedes all previ- ously published information. This Publication may not be translated and/or reproduced or stored in data retrieval system, or transmitted in any form or by any means without the ex- press written permission of ECD.
Need help?
Do you have a question about the SmartDry SD Series and is the answer not in the manual?
Questions and answers