Table of Contents
Advertisement
Quick Links
Advertisement
Table of Contents

Subscribe to Our Youtube Channel
Related Manuals for Crenova XPE500


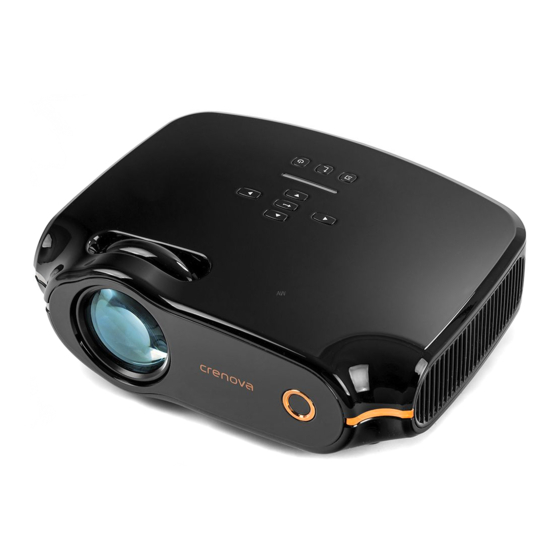
Summary of Contents for Crenova XPE500
-
Page 2: Warranty
Whether you need further assistance, are looking for answers, or just want to share your reviews with us, you will find many ways to contact us right here. 1.4A • Email: service@crenova.net • Call: United States United Kingdom (323)-250-0585 01892 71 0138 • Facebook: https://www.facebook.com/icrenova/ • Official Homepage: www.crenova.net... -
Page 3: Important Safety Instructions
Important Safety Instructions • Don't use chemical • Don't look directly • Don't disassemble detergents to clean into the light the projector • Unplug the projector • Use a soft and dry • Don't use the projector after shutdown cloth for cleaning near water or moisture •... -
Page 4: Box Contents
Box Contents Crenova ""''"'- Crenova XPE500 projector Instruction manual □ � Adjustable foot HDMI cable Power cord Remote control 3-in-1 AV cable Note: Adjust the focus ring and the keystone slider before using the projector. Turn off this product when not in use to prolong... -
Page 5: Product Parts
Product Parts Focus/Zoom ring Air exhaust port Keystone slider Air intake port Left � - - - - - -+ Up But ton n Butt N o lu m e D o w Right � m Nolume Up Button Down Button �----�'"""... -
Page 6: Remote Control
Remote Control � G--lf----®� ---=-= =-+tt- _ -_-_-_-_-_-_-_-----=-@ -& � =.+ --- - 0 ® - - - - - - - - - - -�®-: -tt- _- _- � ,,-- ��- -_-_-_- _- _- f-== r;i, 1°1 :==- lf-- 1. -
Page 7: Projector Operations
Projector Operations 1. Connect the power cord to the projector's power inlet, press the Power Button to turn on the projector. CD � CTI 2. Rotate the Focus Ring and the Keystone Correction simultaneously until to get the clear image. - Page 8 3. Press the Menu Button. Press Left/Right to select OPTION. Choose OSD Language under OPTION. OPTION 05D Language English Restore Factory Default Blending Off Osd□uration Off Software Update(USB) 4. Press Enter to access the submenu of OSD Language and press Up/Down/Left/Right to select the language.
- Page 9 5. To connect a device, press the Source Button. DB□ � � 6. Select the correct input source and prepare the cable for device connections if necessary. Input Source PC-RGB HDMI USB/SD E) o ,...
-
Page 10: Flexible Connectivity
Flexible Connectivity 7. Connect the projector to your device with the compatible cable and port. Note: Do not hot plug the device, power off the device before making any connections. � Connect to a HDMI device Connect to a USB storage device �... -
Page 12: Projection Distance And Screen Size
Projection Distance and Screen Size 600 (CM) Helpful Tips • Please operate the projector in a dark room. • The cooling system makes slight noise to avoid overheating. • Connecting to an external audio device is recommended. • Business data presentation is not recommended. •...
Need help?
Do you have a question about the XPE500 and is the answer not in the manual?
Questions and answers