
Related Manuals for Denver MC-7100S


Summary of Contents for Denver MC-7100S
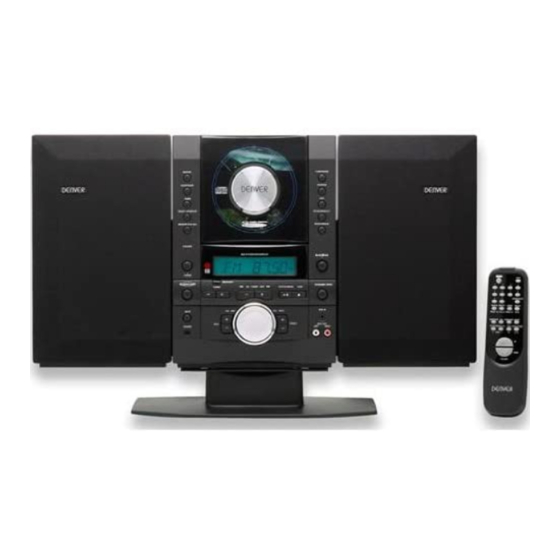
- Page 1 MODEL: MC-7100S Digital MW/FM Stereo Tuner CD / CD-R / CD-RW Clock Wall Mountable Remote Control www.denver-electronics.com...
-
Page 2: Important Notes
IMPORTANT NOTES SAFETY CERTIFICATION * Avoid placing the unit in locations described below: CAUTION - Places exposed to direct sunlight or close to heat radiating appliances such as electric heaters. RISK OF ELECTRIC SHOCK DO NOT OPEN - On top of other stereo equipment that radiates too much heat. - Places lacking ventilation or dusty places. -
Page 3: Location Of Controls
LOCATION OF CONTROLS FM ANT 75Ω 21 22... - Page 5 LOCATION OF CONTROLS (cont. .) CD / TUNING / SKIP forward setting button SUREWAKE button CD - Press to skip/search forward. Press to turn ON the SureWake function. TUNER - Press to radio stations scan forward. LCD display CLOCK or TIMER - Press select the time forward while Shows the operating status in all modes.
- Page 6 LOCATION OF CONTROLS (cont. .) Power ON/OFF - Standby button Left channel speaker terminal Program select buttons Connect the left speaker cable here. Tuner - To recall preset stations CD - To recall tracks. Right channel speaker terminal For 1-9, press 0 and 1-9 buttons. Connect the right speaker cable here.
-
Page 7: Installation
INSTALLATION Installation options: To install center section on a table or shelf: Wall mount Insert the base from the back of the unit, push until it clicks shelf placement into position. one or both speakers attached or detached To connect the speakers with the center section: To mount the center section on the wall: Attach left and right speakers to the center section by sliding down Position the bracket on the wall (as shown below) where you... -
Page 8: General Operation
GENERAL OPERATION To set the clock Power on Press the POWER button to turn the unit off “standby”. When power is connected for the first time, or if the power cord was unplugged and reconnected. Press the MEMORY/CLK-ADJ button ONCE. The Minute The STANDBY LED lights, and the LCD panel appears as follows segments display “00”. - Page 9 CD OPERATION Basic operation If there is no disc in the CD compartment and the CD button is pressed, the LCD will show “NO DISC.” Press POWER button to turn on the power. Open the CD door, display shows “OPEN”, then load the Disc with the label side up and press it onto the spindle until it “CLICKS”...
- Page 10 CD OPERATION (cont.) To begin program play Repeat steps 3-4 to program additional tracks up to a maximum of 32 tracks. The CD player can be programmed to play up to 32 tracks in the order desired. While display showing tracks programmed, press the button.
- Page 11 CD OPERATION (cont.) To begin random play To begin repeat play Press the PRESET DN/RANDOM button by Remote Handset, the Press the REPEAT button once and the selected track will play “RDM” indicator appears on the LCD. repeatedly. The “REPEAT” indicator flashing on the LCD. Press the REPEAT button again and all tracks will play repeatedly.
-
Page 12: Tuner Operation
TUNER OPERATION Basic operation Press the “0” + NUMBER buttons (for example: 01, 02 …) on the remote then press the MEMORY/CLK-ADJ button again to Press POWER button to turn on the power. store the selection station and the LCD appears follows: Press the TUNER/BAND button to select MW or FM. -
Page 13: Timer Operation
TIMER OPERATION To set the wake-up timer Press the CD-TUNING-SKIP button to select the timer-off hour. Press the power button to turn the unit off “STANDBY” Press MODE / REMAIN button. The TIMER ON indicator Press the MEMORY/CLK-ADJ button again. The hour segment appears on the LCD and flashes. -
Page 14: Volume Control
TIMER OPERATION VOLUME CONTROL SureWake function Turn the VOLUME knob to get a satisfactory sound level when This feature lets you adjust the night-time listening volume as low or you select the desired program. high as desired without affecting the wake-up volume. In the In SUREWAKE mode, within 10 seconds the volume will morning, SureWake starts the music quietly and then increases it to gradually increase to a room-filling level. -
Page 15: Troubleshooting
TROUBLESHOOTING Before requesting service, check the chart below for a possible cause of the problem you are experiencing. Some simple checks or a minor adjustment on your part may eliminate the problem and restore proper operation. If you are in doubt about some of the check points, or if the remedies indicated in the chart do not solve the problem, please consult your dealer for instruction. -
Page 16: Specifications
The materials are recyclable as mentioned in this marking. By recycling, material recycling or other forms of re-utilization of old appliances, you are making an important contribution to protect our environment. DENVER ELECTRONICS Please inquire at the community administration for the authorized disposal location. COPY RIGHT DENVER ELECTRONICS ALL RIGHTS RESERVED -15-...
Need help?
Do you have a question about the MC-7100S and is the answer not in the manual?
Questions and answers