Lexmark X74 Setup Sheet
Hide thumbs
Also See for X74:
- User manual (35 pages) ,
- Safety information (2 pages) ,
- Quick install (2 pages)
Table of Contents
Advertisement
Quick Links
コンピュータの電源をオンにします。
Turn your computer on.
(英語版 / 日本語版)
(英文版 / 日文版)
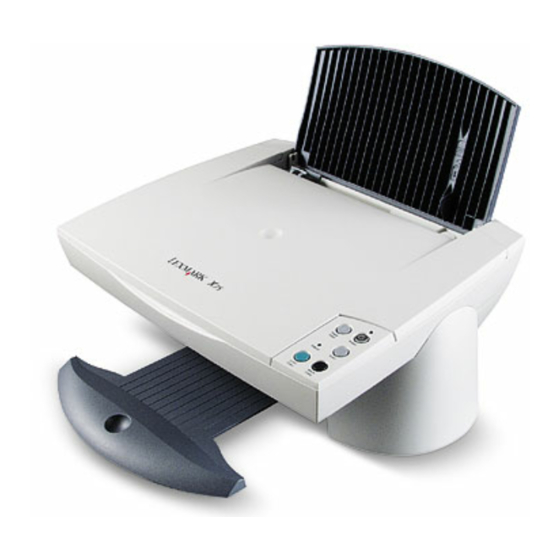
用紙サポーターを開き、排紙トレイを引き出します。
Lift the paper support and extend the paper exit tray.
セットアップシート
Setup Sheet
AC アダプタを本体に接続します。次に
電源コンセントに差し込みます。
Connect the power supply.
1
2
普通紙をセットし、用紙ガイドとリリースレバーをいっしょに
つまみながら用紙の幅に合わせます。
Load plain inkjet paper and adjust the paper guide.
操作パネル用オーバーレイが同梱されている場合は貼り付けます。
Apply an overlay to change language.
3
スキャナユニットを開きます。
Lift the scanner unit.
注意:スキャナユニット固定レバーでスキャナユニットが固定されていることを
確認してください。
Caution: Make sure the scanner support is in place before installing or
replacing cartridges.
www.lexmark.co.jp
www.lexmark.com.cn
www.lexmark.com/ap/
www.lexmark.com/ap/
Advertisement
Table of Contents

Related Manuals for Lexmark X74


Summary of Contents for Lexmark X74
- Page 1 セットアップシート www.lexmark.co.jp www.lexmark.com.cn www.lexmark.com/ap/ Setup Sheet www.lexmark.com/ap/ コンピュータの電源をオンにします。 AC アダプタを本体に接続します。次に 操作パネル用オーバーレイが同梱されている場合は貼り付けます。 電源コンセントに差し込みます。 Turn your computer on. Apply an overlay to change language. Connect the power supply. (英語版 / 日本語版) (英文版 / 日文版) 用紙サポーターを開き、排紙トレイを引き出します。 普通紙をセットし、用紙ガイドとリリースレバーをいっしょに スキャナユニットを開きます。 つまみながら用紙の幅に合わせます。 Lift the paper support and extend the paper exit tray.
- Page 2 Insert the CD. Connect the USB cable. Click Cancel on Add New Hardware screens. 画面の指示に従ってインストールを進めます。 Follow the instructions on your computer screen. 日本国内でご購入いただいた場合は『ユーザーズガイド』 および『安全のためのご案内、サービス・サポートのご案 内』が同梱されています。合わせてご覧ください。 Safety, help, questions... P/N 14J0079 EC 4J0008 © Copyright 2002 Lexmark International, Inc. All rights reserved.
Need help?
Do you have a question about the X74 and is the answer not in the manual?
Questions and answers