Advertisement
Quick Links
Advertisement

Related Manuals for Linear Tube Audio UL+


Summary of Contents for Linear Tube Audio UL+
- Page 1 U L + I N T E G R A T E D A M P L I F I E R...
- Page 2 UL+ Integrated Amplifier USER GUIDE: Linear Tube Audio Takoma Park, MD, USA 301-448-1534 hifi@lineartubeaudio.com WARNING: For safety, the cover of this amplifier should be secured at all times. This amplifier contains extremely high voltages and the user should not attempt to service the amplifier.
- Page 3 7. Linear Tube Audio reserves the right to improve or change its products without obligation to modify previously manufactured units.
- Page 4 Specifications Circuit Type: Push-Pull Class AB Speaker Output: 20W (8 Ohm) Input Sensitivity: 0.6V RMS for full output Input Impedance: Output impedance: 1.6 Ohms Gain: 21dB (8 Ohm load) Noise: -94dB Frequency Response: +0, -0.5dB, 6Hz-60kHz (8 Ohm Load) THD: 0.5% Input Voltage Universal...
- Page 6 Quick Start Remove ULi+ from the box. Attach the power cable to the IEC connector and plug into an outlet. Turn the power switch next to the IEC connector on. This will not turn the UL Integrated on. Hook up your sources and speakers. Once your system is fully connected, turn on your ULi+ via the power button on the front panel.
- Page 7 The back panel of the ULi+ features the IEC connector, power switch, tape in, tape out, four pairs of RCA inputs, one pair of XLR inputs, two pairs of RCA subwoofer outputs, and four binding posts. Inputs There are five total inputs: four RCA stereo pairs and one stereo XLR pair.
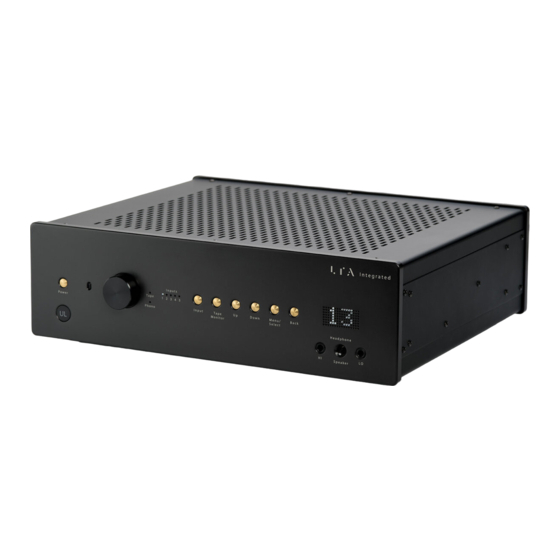
- Page 8 User Interface and Controls The front panel features a power switch, input switch, volume knob, and display. The remote control is able to adjust volume, mute, and access a menu with more configurable options. Remote Control Up and Down Buttons: Volume Up and Volume Down. They can be held down or used in a single step mode.
- Page 9 Menu The menu is accessed via the remote control or the buttons on the front panel. Scroll with the up and down buttons to see menu options. Pause on an option to see the entire title scroll by. Balance: Use the right and left remote buttons to adjust the balance.
- Page 10 VOL - The volume display turns off but the input LEDs remain on. ALL - The volume display and input LEDs turn off. L-R Remote Arrows: There are two functions that can be selected for the Left-Right Arrow buttons as follows: Off –...
- Page 11 Changing tubes: 17JN6: The power tubes are self-biasing and do not need to be matched for gain. 12AX7: The 12AX7s should be a matched pair. 12AU7: These are used in the preamp section (the smaller, vertical circuit board) and in the power amp section. In both cases, the 12AU7s should be matched pairs and each individual tube should have both of its triode sections matched as well.
- Page 12 NOTES...
Need help?
Do you have a question about the UL+ and is the answer not in the manual?
Questions and answers